Talos Principle 2: All puzzles in Circular Oasis
This page of our Talos Principle 2 guide contains the solutions to all the puzzles in Circular Oasis - Convolution, Transfer, Above, Control.
Check this page of our Talos Principle 2 if you want to find walkthroughs for both Main and Lost Puzzles in the Circular Oasis location. Additionally, we provide a video guide that shows step-by-step how to solve all puzzles, including Dismantling, The Passageway, Bridging the Gap, and Preliminary.
- All puzzles
- Centrifuge
- The Passageway
- Dismantling
- Control
- Bridging the Gap
- Displacement
- Above
- Preparation
- Transfer
- Convolution
All puzzles
In Circular Oasis region of Talos Principle 2, there are:
- 8 main puzzles
- 2 lost puzzles
- 1 gold puzzle
- 1 lost lab
- 2 stars
Look up our video guide for step-by-step solutions to Main and Lost puzzles appearing the Circular Oasis region. The Gold Puzzle will become available after solving all Main and Lost puzzles in the game (from every region).
Centrifuge
- Take the RGB converter.
- Put the converter on the rotating platform.
- Rotate the platform counter-clockwise two times.
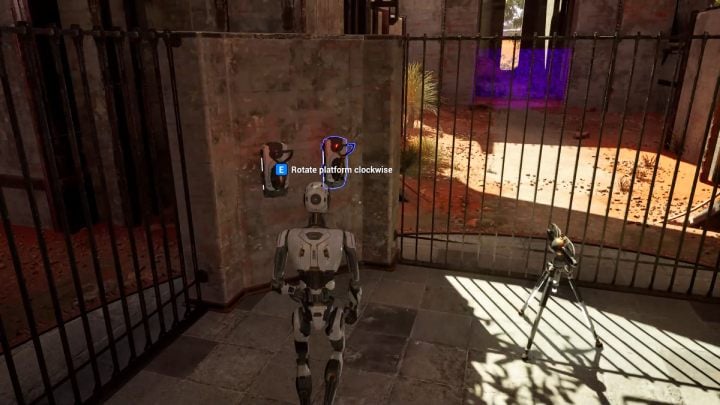
- Pick up the inverter and place it on the platform.
- Pick up the connector and leave it on the platform.
- Rotate the platform clockwise.
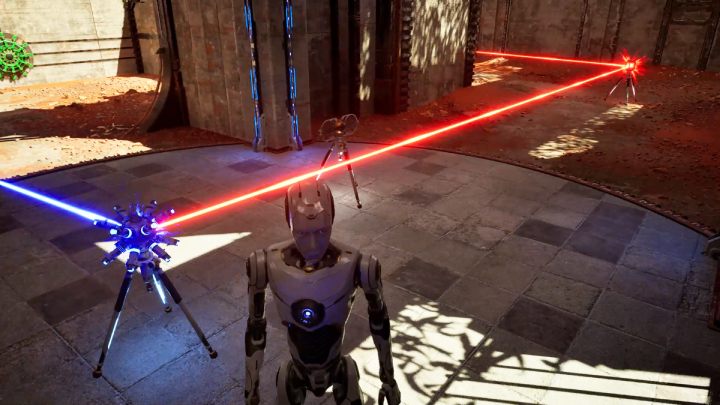
- Pick up the connector and connect it to the red laser.
- Leave the platform next to the wall opposite the laser.
- Pick up the inverter and connect it to the connector and blue button by the terminal.
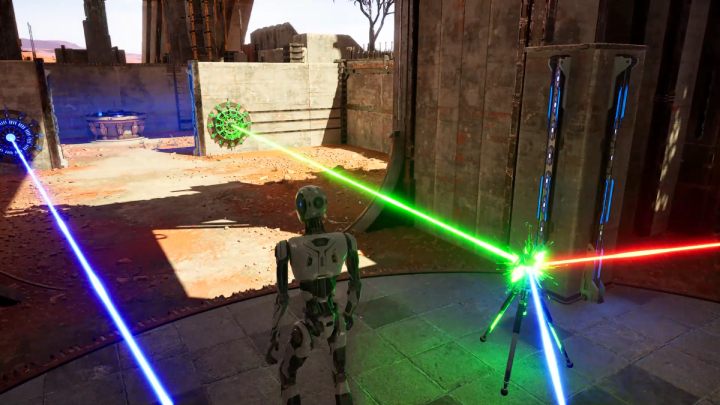
- Pick up the RGB converter and make a connection between the connector and the inverter.
- Now connect the whole to the green button.
The Passageway
- Pick up the connector.
- Make a connection between blue laser and blue button.
- Step on the rotating platform.
- Rotate the platform counter-clockwise two times.
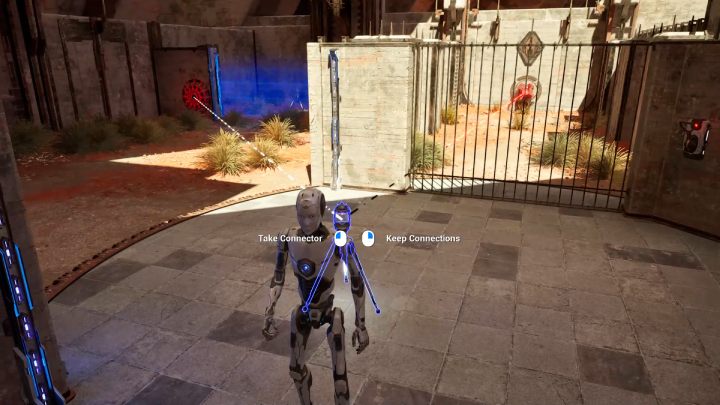
- Pick up the connector and break the connection.
- Step on the platform.
- Make a connection between the red laser and the red button.
- Rotate the platform clockwise once.
- Once the barrier by the red button is deactivated, pick up the second connector.
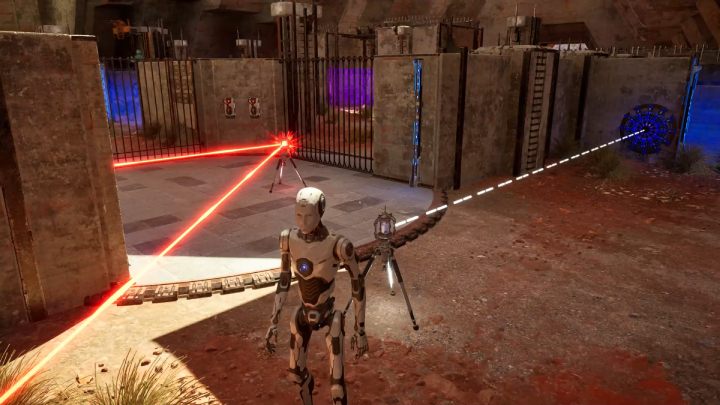
- Connect the second connector with the blue button.
- Place the second connector in the area shown in the picture above.
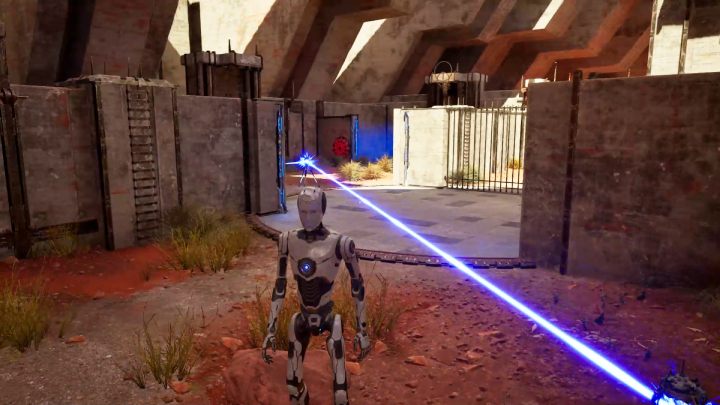
- Step on the platform and pick up the first connector and break the connection.
- Place the connector next to the wall switches.
- Rotate the platform counter-clockwise once.
- Pick up the first connector and connect it to the second connector and blue laser.
- Once the barrier next to the blue button disappears, pick up the third connector.
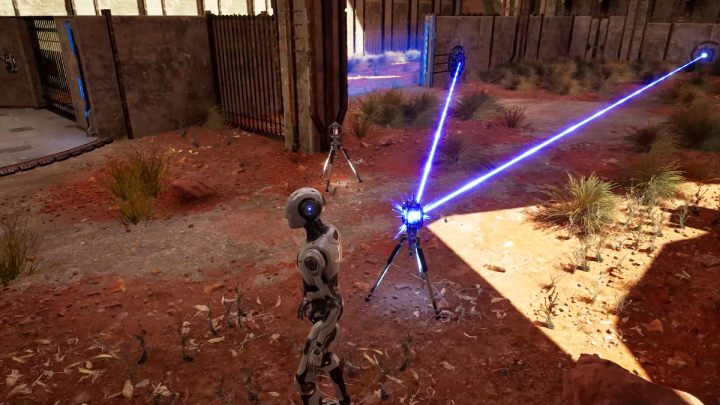
- Leave the third connector near the first one.
- Pick up the first connector and break the connection.
- Make a connection between the blue laser and the blue button by the laser.
- Put this connector aside in the area shown in the screenshot above.
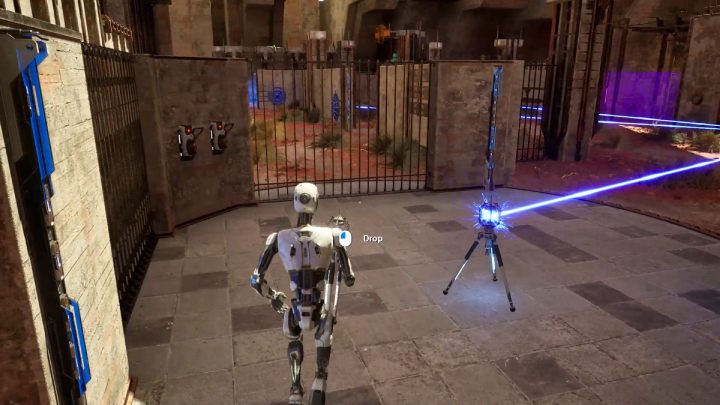
- Pick up the third connector and connect it to the first connector.
- Leave the third connector on the platform.
- Leave the second connector on the platform.
- Rotate the platform counterclockwise once.
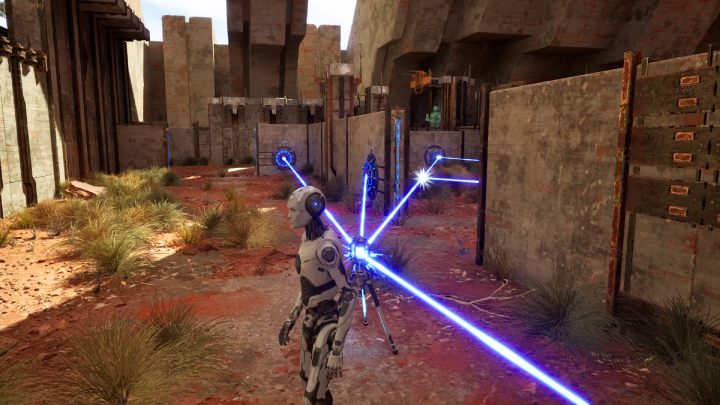
- Pick up the second connector.
- Connect the second connector to the third connector.
- Add two blue buttons and the laser to the connection.
- Put the connector aside in the area shown in the screenshot above.
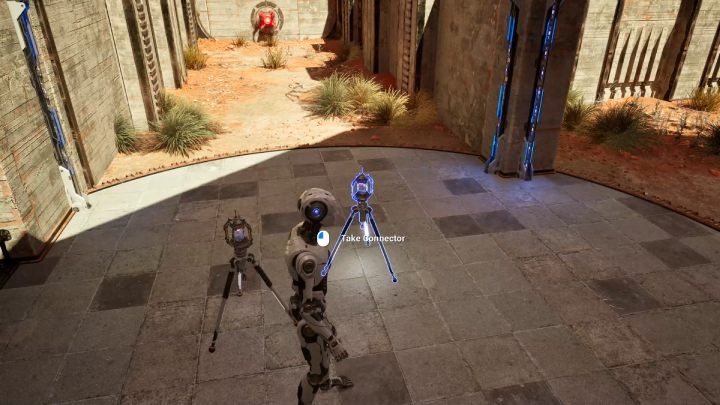
- Pick up the first connector and break the connection.
- Leave the first connector on the platform.
- Pick up the third connector and break the connection, then leave it on the platform.
- Rotate the platform counterclockwise once.
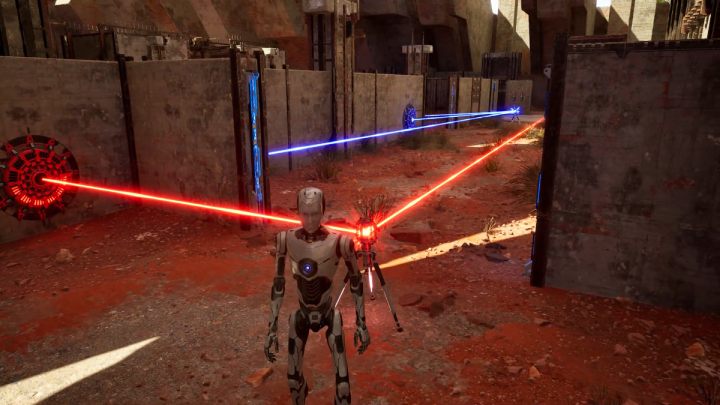
- Pick up the first connector and make a connection with the red laser.
- Leave this connector on the platform.
- Pick up the third connector and connect it to the first connector.
- Go forward a little and add the red button by the terminal to the link.
Dismantling
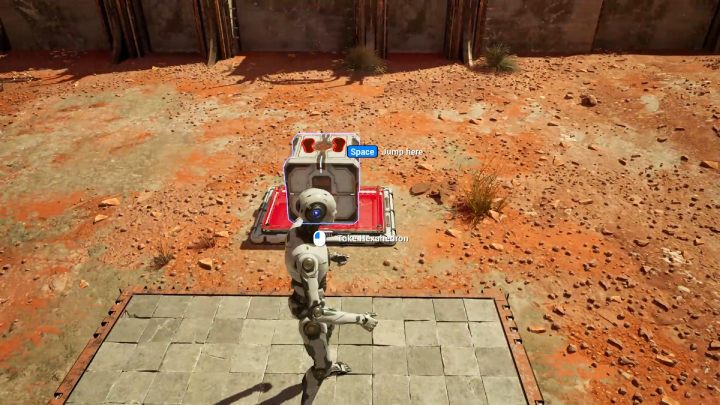
- Pick up the hexahedron and step on the stone platform.
- Place the hexahedron on the red platform.
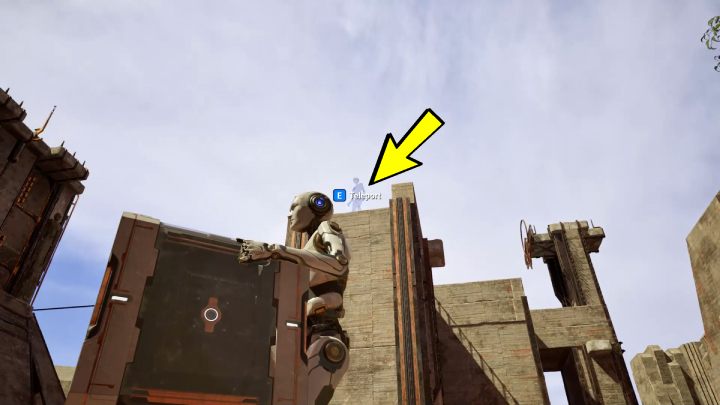
- Pick up the teleporter and put it near the stone platform.
- Jump down.
- Pick up the hexahedron and teleport with it.
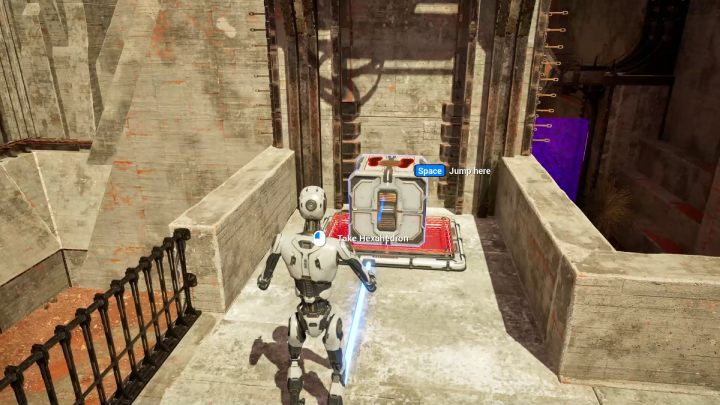
- Leave the hexahedron aside.
- Pick up the teleport and place it at the next stone platform.
- Pick up the hexahedron and leave it on the red platform next to the wall.
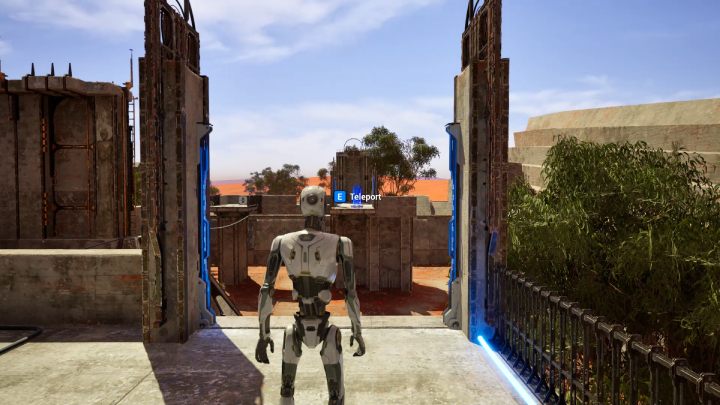
- Wait until the stone platform with the teleport is on the other side.
- Use the teleport.
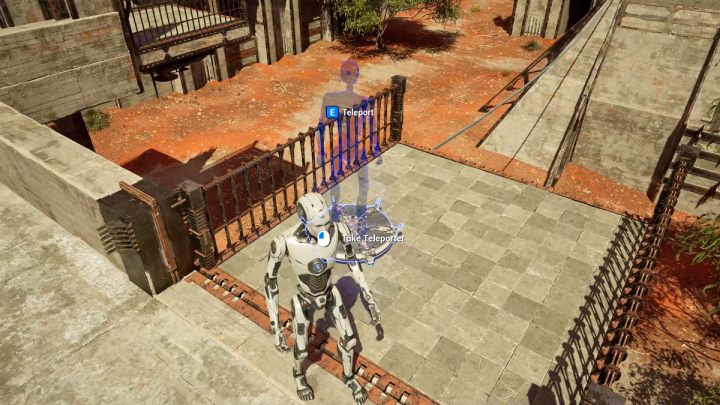
- Leave the teleport on the last stone platform.
- Pick up the hexahedron and jump down with it.
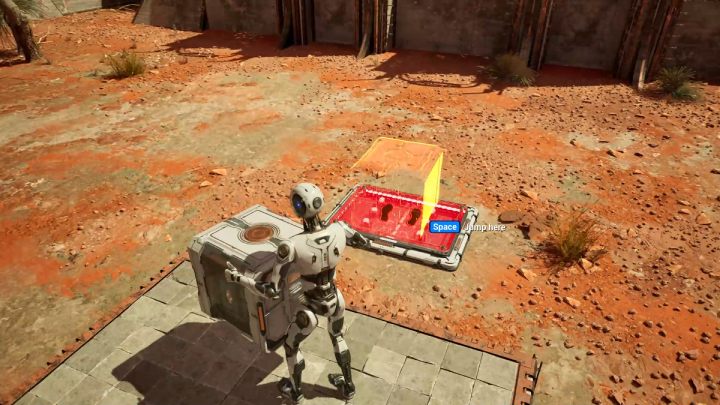
- Step on the first stone platform.
- Leave the hexahedron on the red platform.
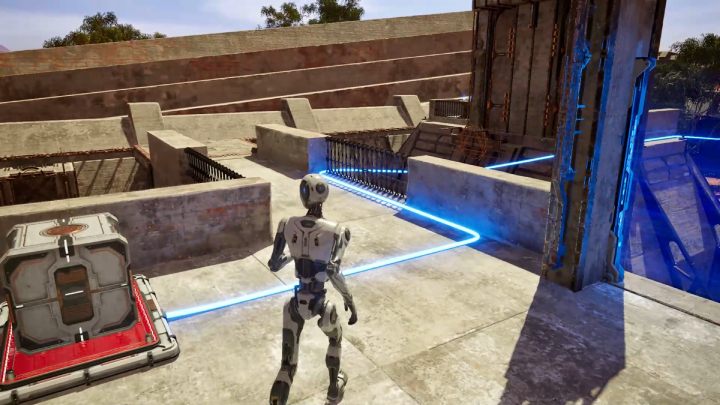
- Pick up the first hexahedron and place it on the second red platform.
- The stone platform with the teleport should move towards the terminal.
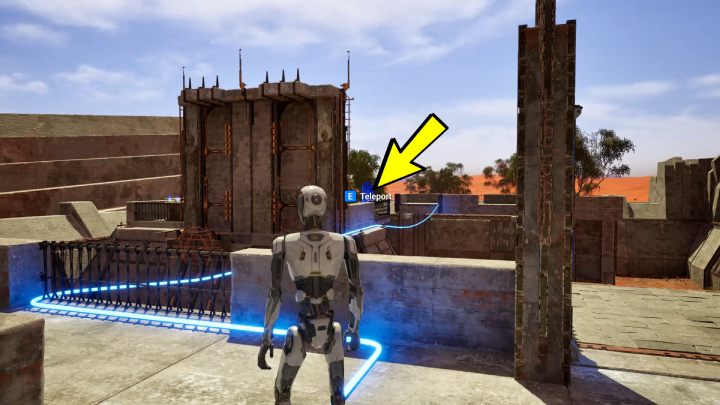
- Use the teleport.
- Activate the terminal.
Control
- Pick up the connector.
- Make a connection between the blue button and the blue laser.
- Leave the connector on the plaftorm before the blue laser.
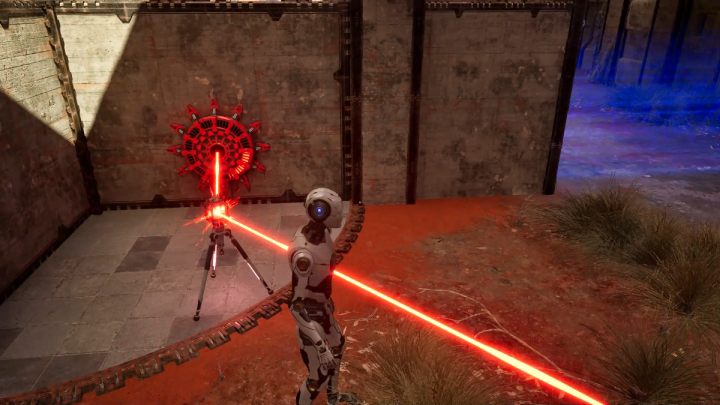
- Pick up the second connector.
- Make a connection between the red laser and the red button on the rotating platform.
- Leave the connector in the area shown in the screenshot above.
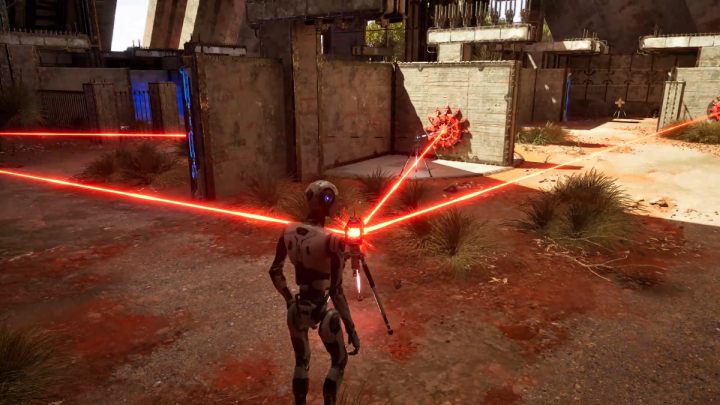
- Pick up the first connector and break the connections.
- Make a connection between the red laser and two red buttons.
- Put the connector aside in the area shown in the screenshot above.
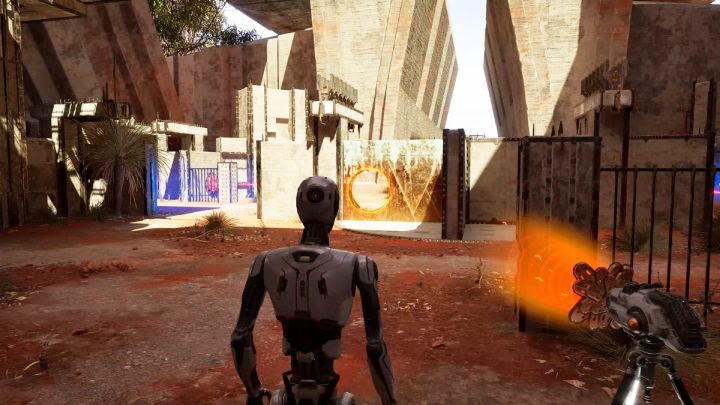
- Pick up the second connector and break the links.
- Put the connector aside next to the rotating platform.
- Pick up the drill and make a hole in the wall from the terminal side.
- Put the drill aside on the red platform.
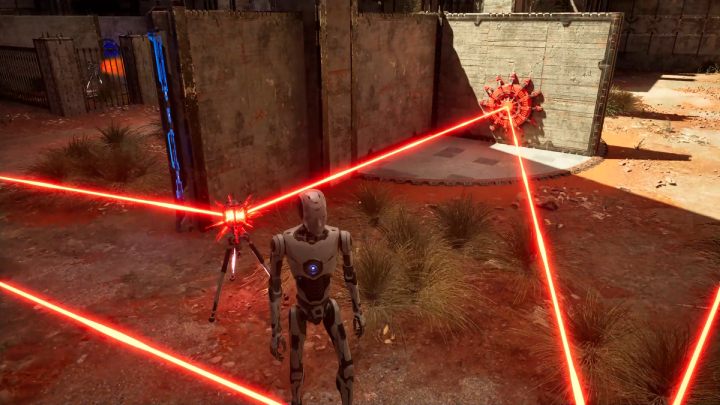
- Pick up the second connector.
- Make a connection between the red laser and the red button on the rotating platform.
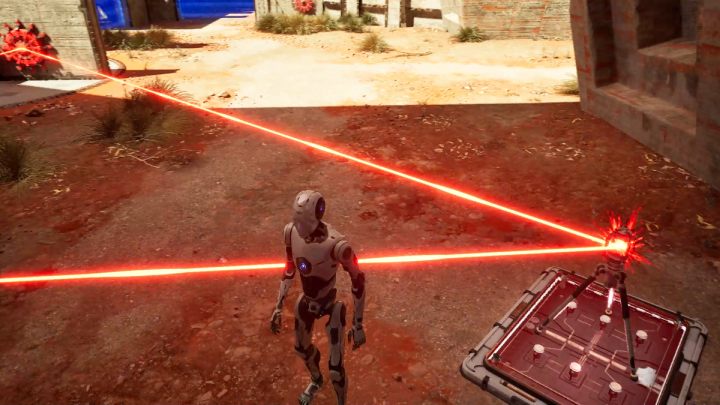
- Pick up the first connector and break the links.
- Make a connection between red laser and the button on the rotating platform.
- Put the connector aside on the red platform.
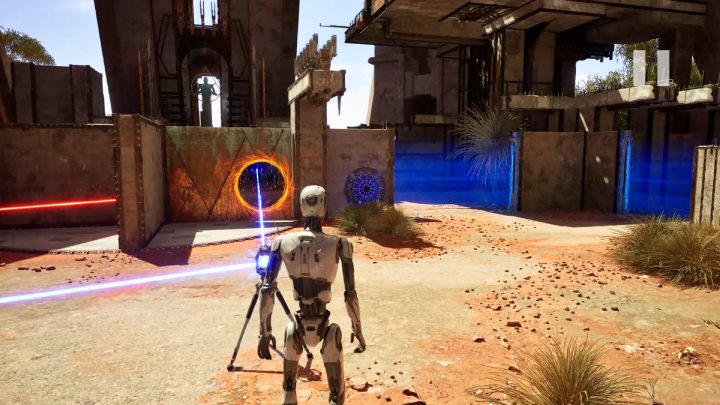
- Pick up the second connector and break the connections.
- Make connections between the blue laser and the blue button (via the hole you've drilled).
- Activate the terminal.
Bridging the Gap
- Go up the stairs and pick up the connector.
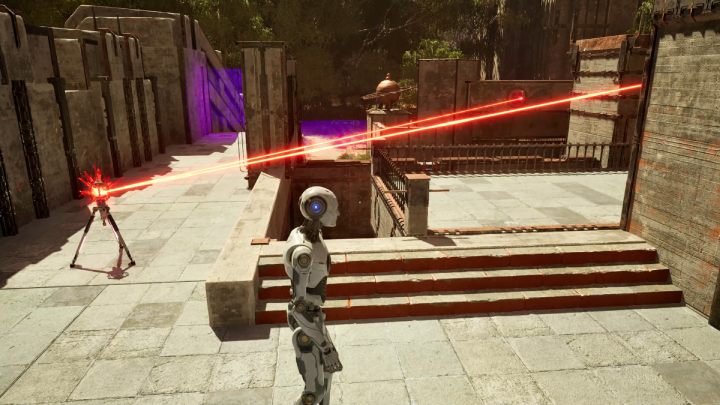
- Make a connection between the red laser and the red button.
- Wait until the stone platform moves towards you.
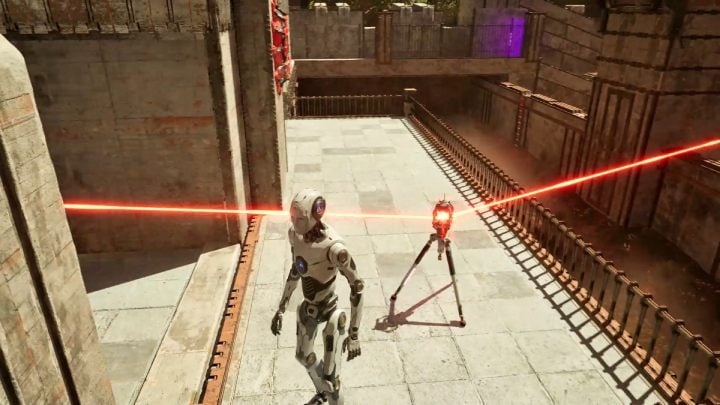
- Stand on the platform.
- Pick up the connector and break the connections.
- Wait until the platform moves towards the red button.
- Make a connection between the red laser and the red button by the barrier.
- Pick up the second connector and leave it on the stone platform.
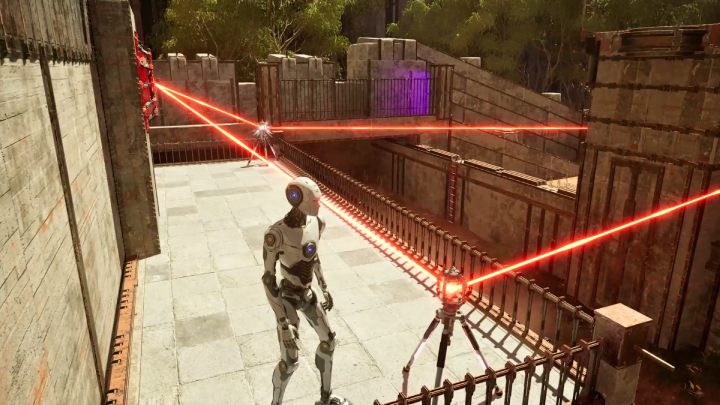
- Pick up the first connector and break the connections.
- Make a connection between the red laser and the red button on the platform.
- Put the connector on the corner of the platform.
- Pick up the second connector and make the same connection.
- Place the second connector in the other corner of the platform.
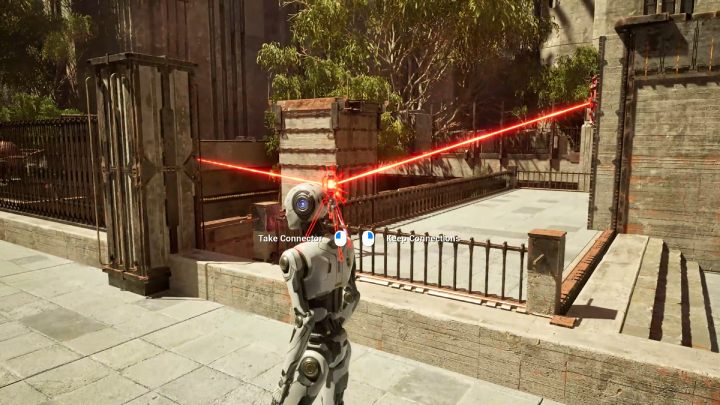
- When platform moves towards the terminal, pick up the connector that the red laser does not reach.
- Leave the connector on one of the red platforms.
- Get closer to the stone platform and pick up the second connector.
- Leave the connector on the second red platform.
Displacement
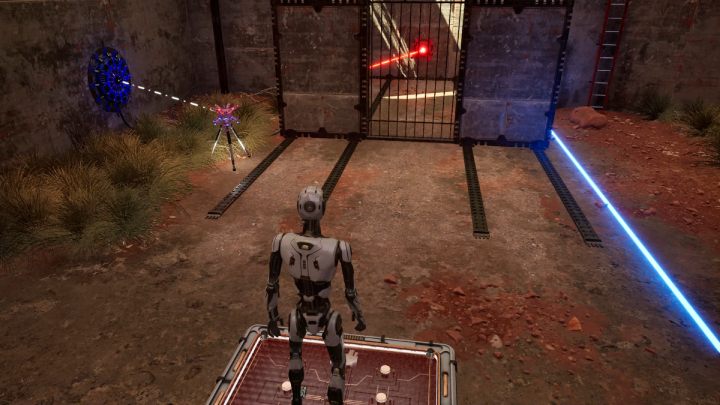
- Pick up the inverter.
- Make a connection between red laser and blue button by the wall with the ladder.
- Place the inverter in the area shown in the screenshot above.
- Stand on the platform.
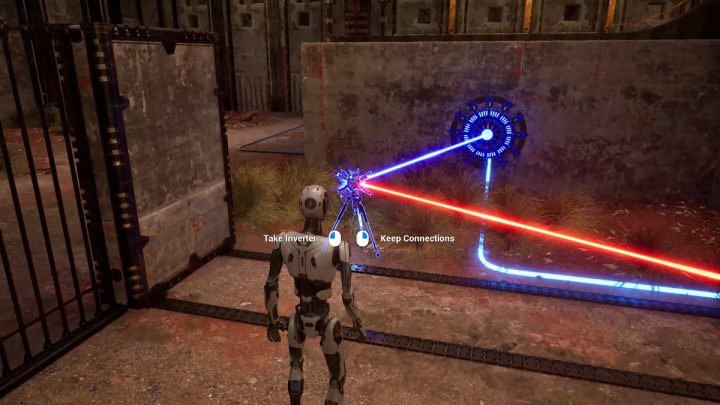
- When the wall moves, stand on the other side.
- Take the inverter.
- Wait until the wall moves again.
- Make a connection between the red laser and the blue button by the ladder.
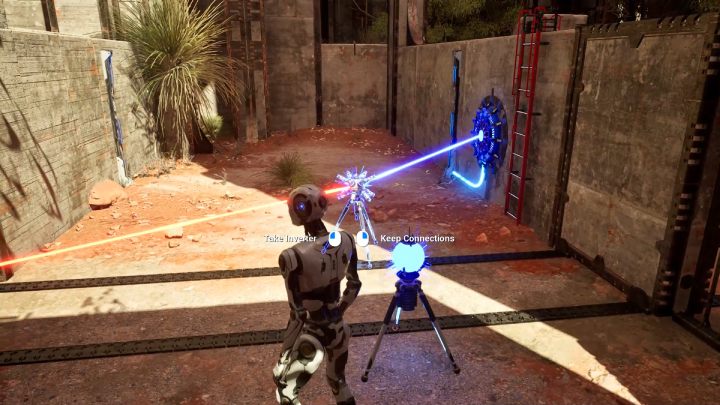
- Take the accumulator and connect it to the inverter.
- Wait until the accumulator is charged.
- Leave the accumulator by the red laser.
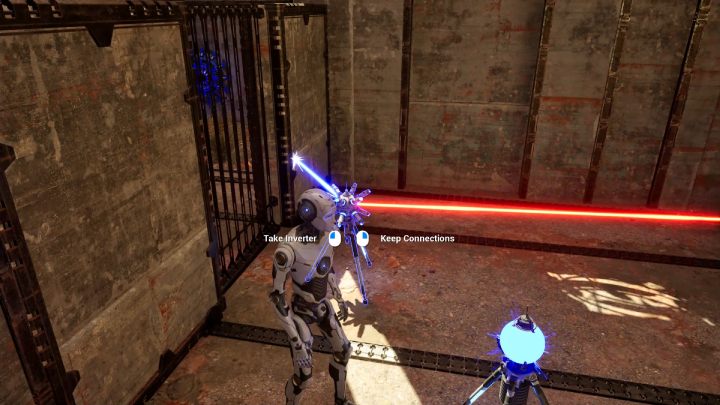
- Pick up the inverter and break the links.
- Make a connection between the red laser and the blue button behind the bars.
- Climb out of the room via the ladder.
- Step on the red platform.
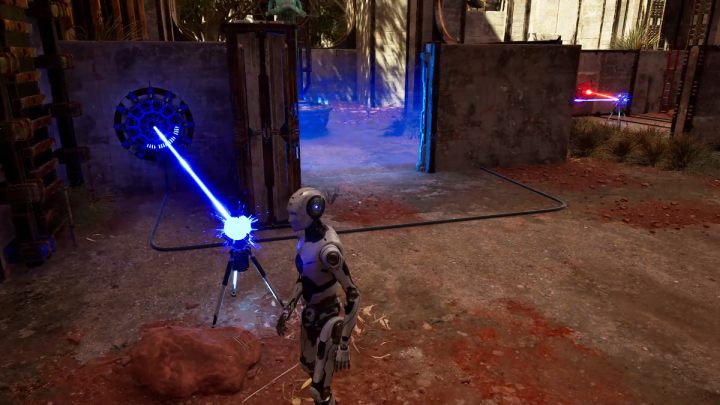
- Take the accumulator.
- Connect the accumulator with the blue button before the terminal.
Above
- Stand on the fan.
- Jump onto the floor.
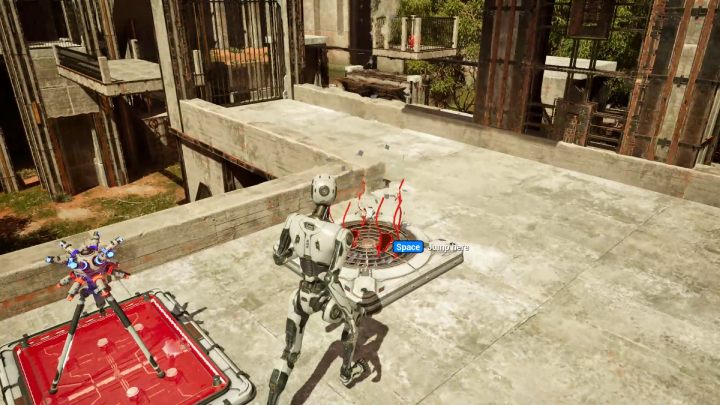
- Pick up the inverter.
- Place the inverter on the red platform next to the fan.
- Step onto the fan and pick up the drill.
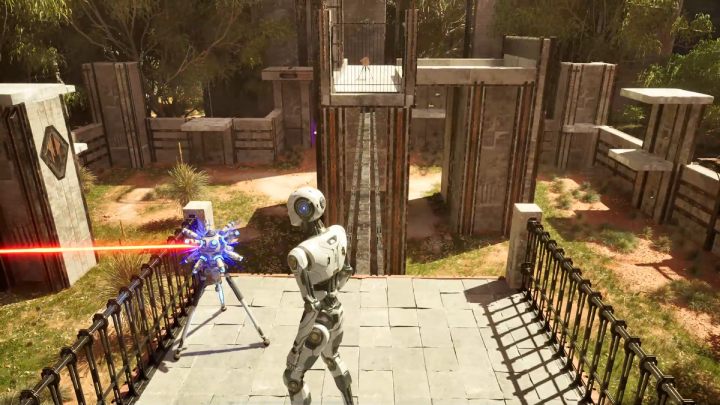
- Leave the drill next to the fan.
- Pick up the inverter.
- Stand on the ledge and wait for the stone platform to come your way.
- Step onto the stone platform.
- Connect the inverter to the red laser.
- Leave the inverter in the area shown in the screenshot above.
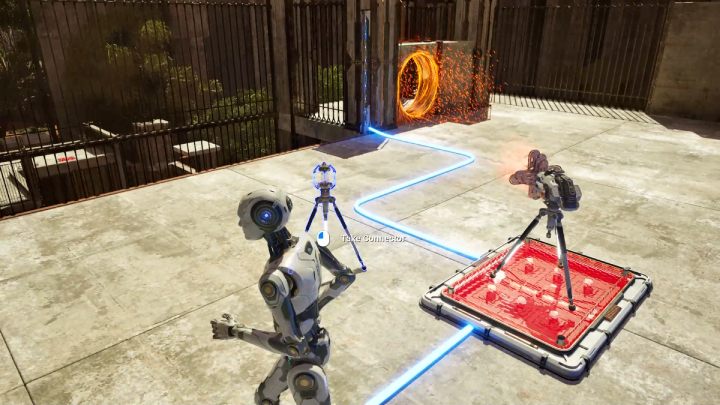
- Come back for the drill.
- Cross over to the other side.
- Stand on the fan.
- Pick up the connector and leave it aside.
- Drill a hole in the wall.
- Leave the drill on the red platform.
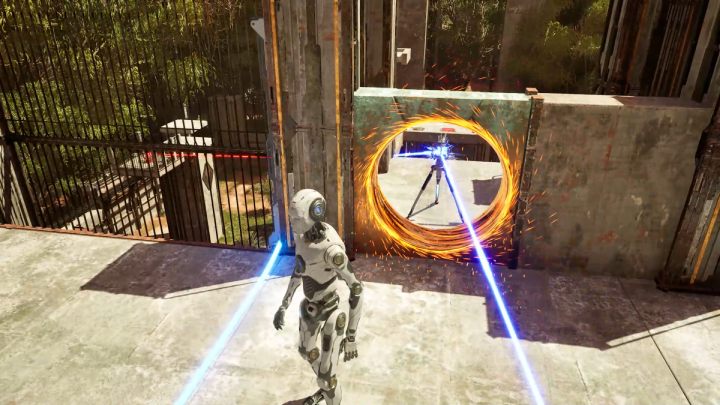
- Pick up the connector and connect it to the inverter.
- Add the blue button to the connection.
- Transfer the connector through the hole in the wall.
- Activate the terminal.
Preparation
- Pick up the first connector.
- Make a connection between the red laser and the red button on the rotating platform.
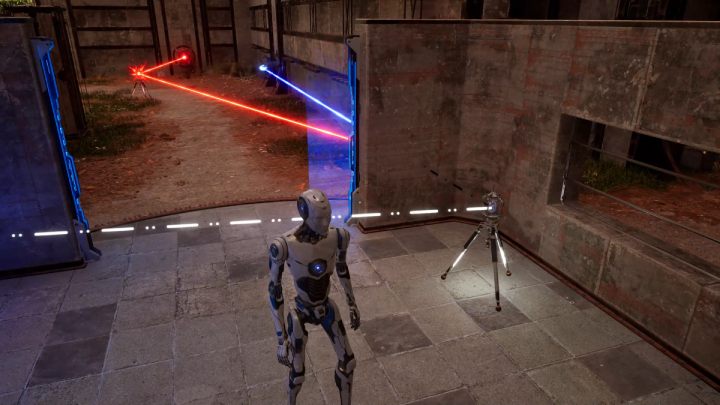
- Pick up the second connector, the one that is found in the main room of the puzzle.
- Step onto the rotating platform.
- Make a connection between blue laser and blue button.
- Leave the second connector in the area shown in the screenshot above.
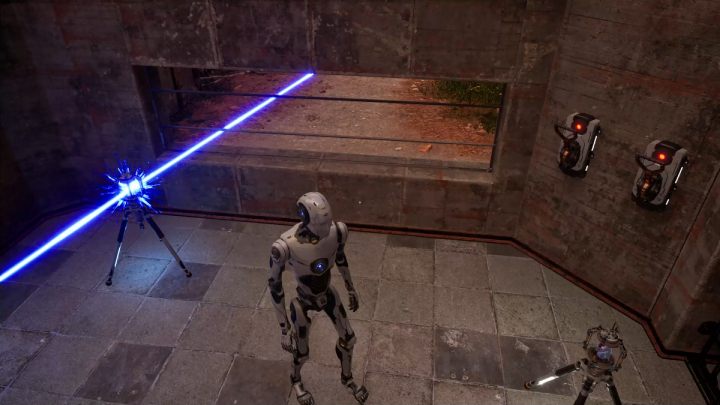
- Rotate the platform counterclockwise once.
- The blue laser should now connect with the second connector.
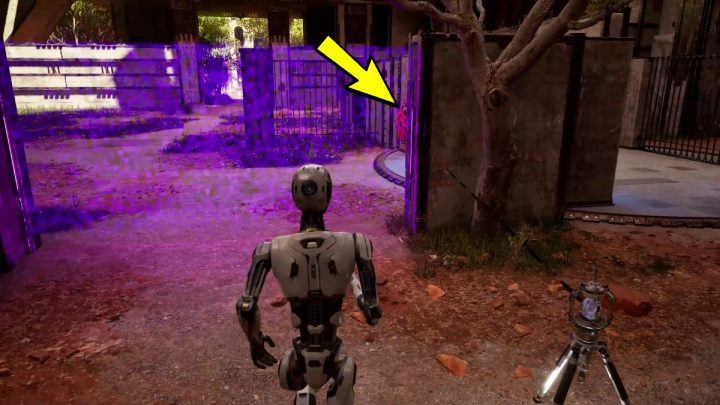
- Pick up the third connector and get off the rotating platform.
- Connect this connector with the red button on the rotating platform.
- Leave the connector in the area shown in the picture above.
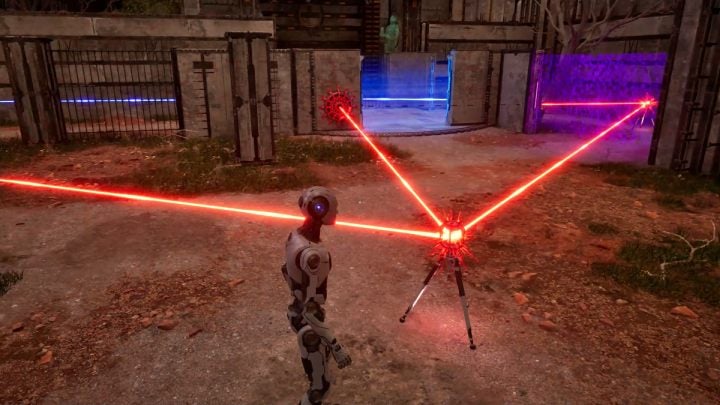
- Pick up the first connector and break the links.
- Make connections between the red laser, third connector and the red button on the platform.
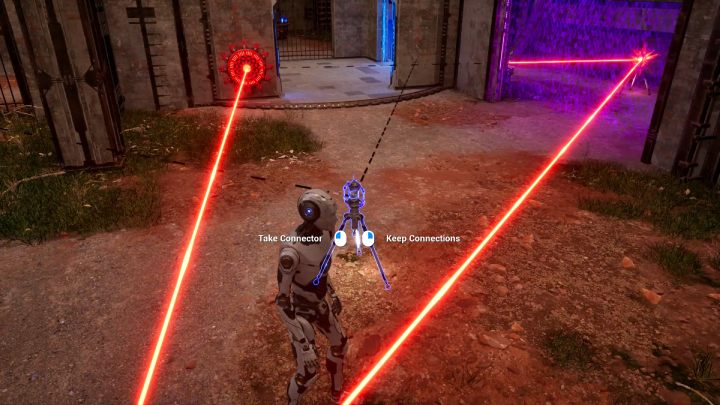
- Step on the platform.
- Pick up the second connector without breaking the connections.
- Leave the connector in the area shown in the screenshot above.
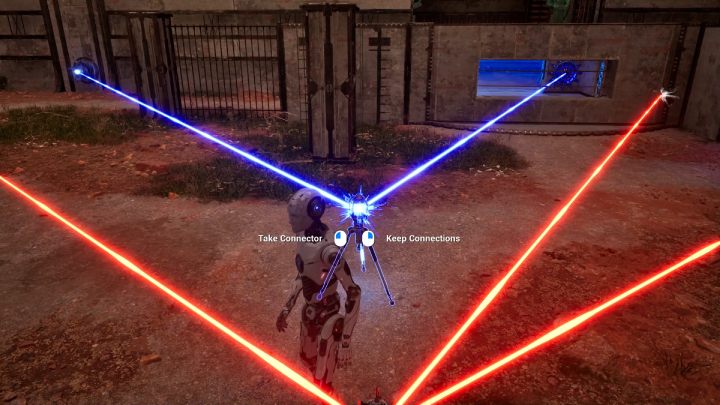
- Rotate the platform counterclockwise once.
- Pick up the second connector without breaking the connections and leave it same way as shown in the screenshot above.
- Activate the terminal.
Transfer
You'll encounter Lost Puzzle #1 in the northern part of Circular Oasis.
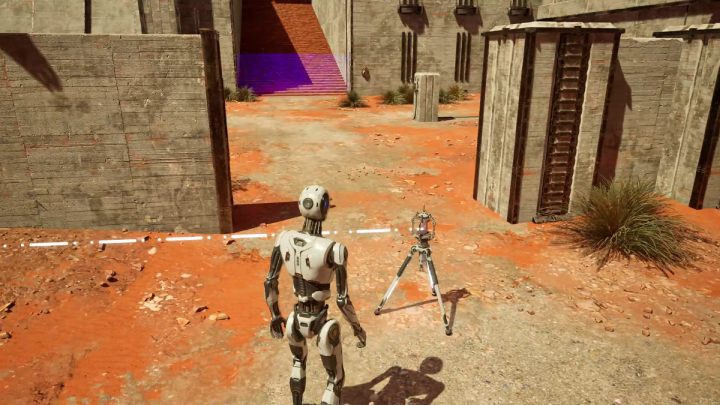
- Pick up the connector and make a link with the red button.
- Leave the connector in the area shown in the screenshot above.
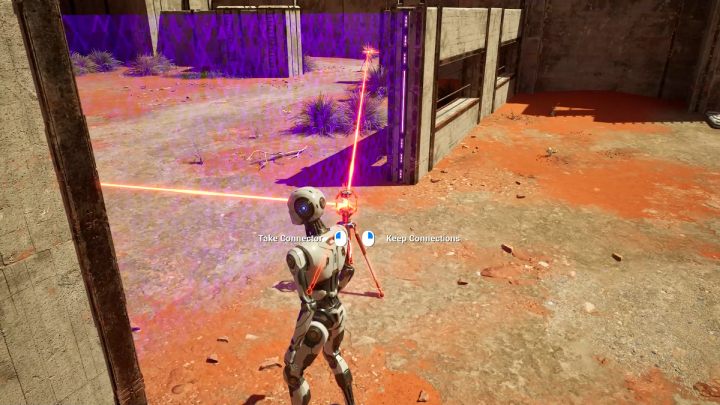
- Go past the purple barrier.
- Step onto the fan.
- Pick up the second connector and jump down.
- Make a connection between the red laser and the first connector.
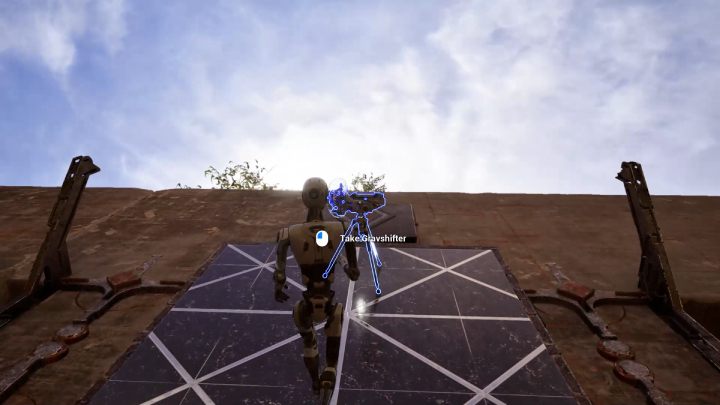
- When the barrier next to the red button falls, climb the antigravitional wall.
- Pick up the gravshifter and jump down.
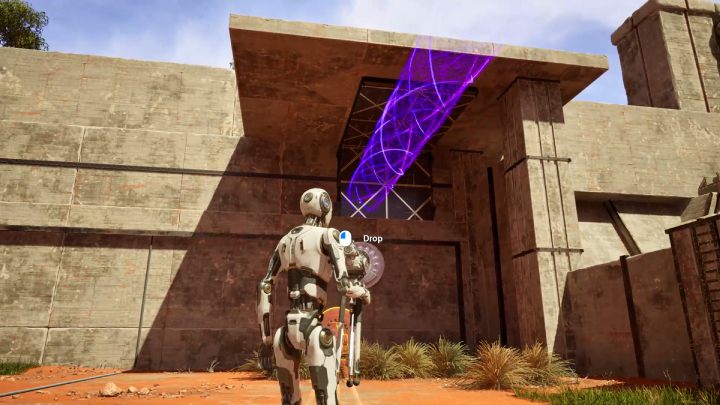
- Return to the first room of the puzzle.
- Aim the gravshifter at the wall as shown in the screenshot above.
- Pick up the first connector and break the connections.
- Leave the first connector by the gravshifter.
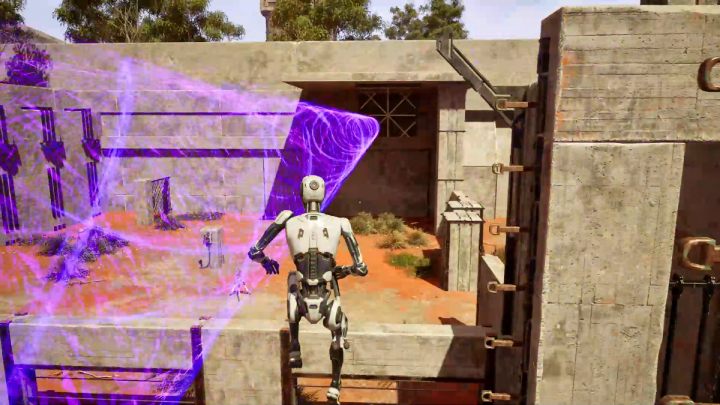
- Pick up the second connector and step onto the fan.
- Jump into the gravity shaft.
- Jump down.
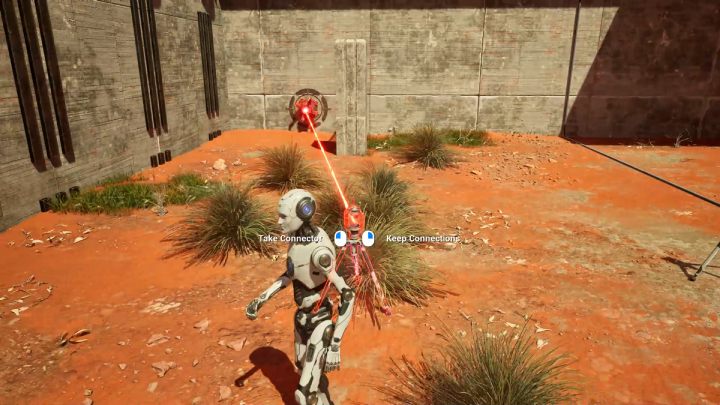
- Connect the second connnector to the red laser.
- Leave the connector in the area shown in the screenshot above.
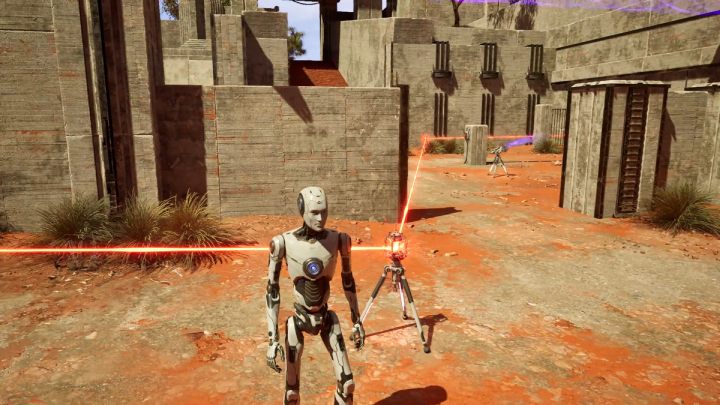
- Pick up the first connector and connect it to the second connector.
- Add the red button to the connection.
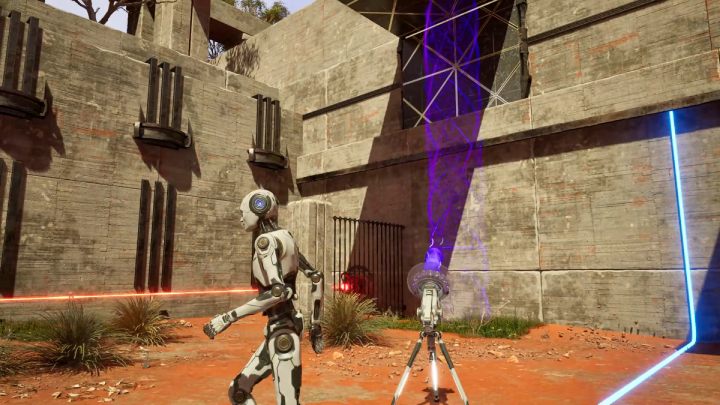
- Activate the switch on the low pillar.
- Aim the gravshifter as shown in the screenshot above.
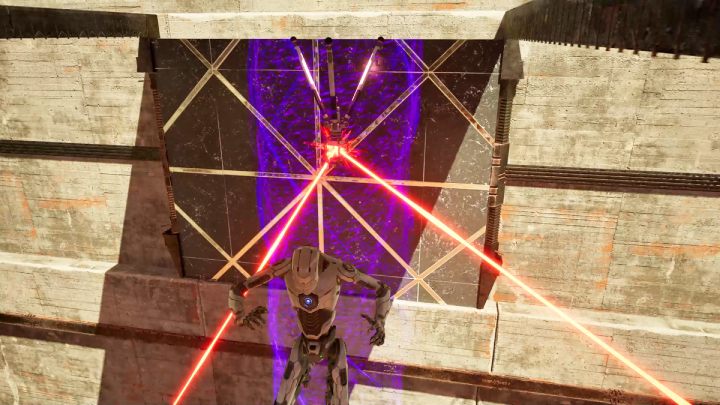
- Pick up the second connector without breaking the links.
- Jump into the gravity shaft.
- Leave the second connector on the ceiling.
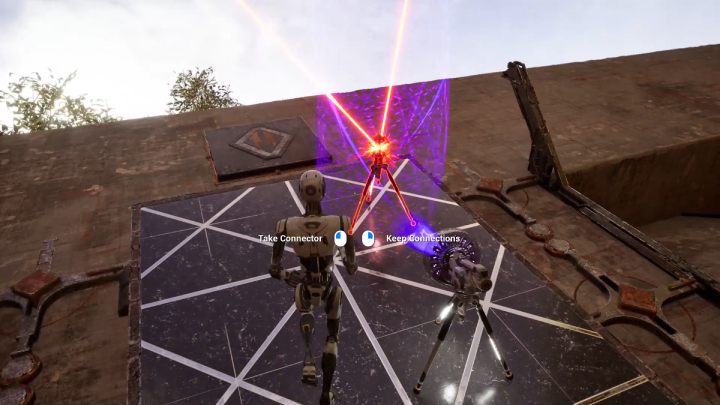
- Pick up the gravshifter and proceed to the room on the other side.
- Manipulate the gravity shaft so the second connector flies your way.
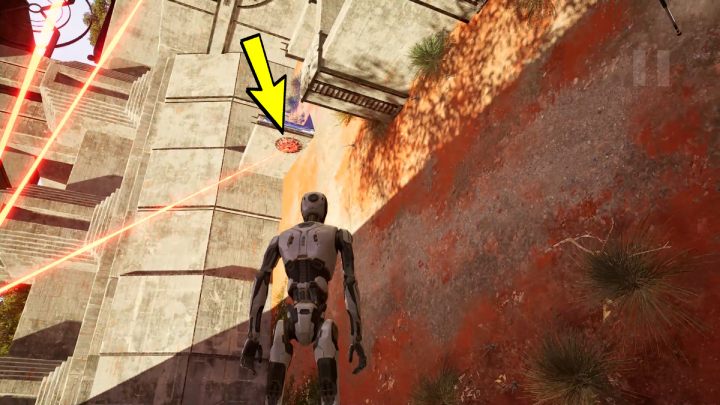
- Pick up the second connector without breaking the links.
- Add a link to the red button next to the terminal.
- Leave the connector on the ceiling.
- You can now reach the terminal.
Convolution
Lost Puzzle #2 can be accessed after Main Puzzle #2 (The Passageway).
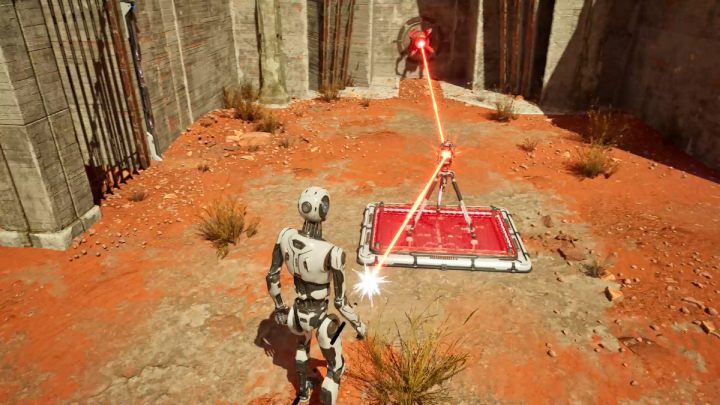
- Pick up the connector.
- Make a connection between the red laser and the red button.
- Leave the connector on the platform before the laser.
- Once the barrier is deactivated, pick up the second connector.
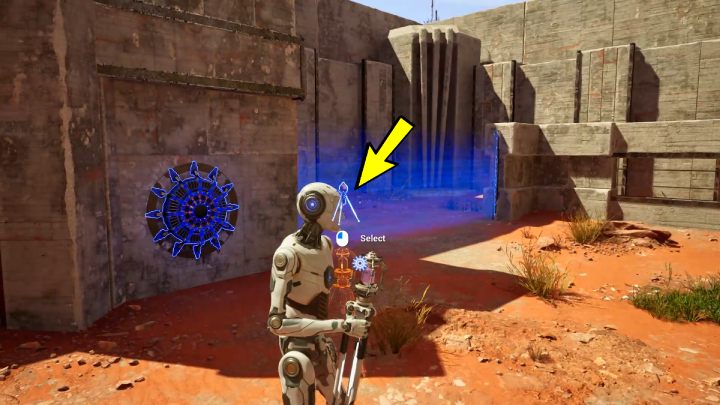
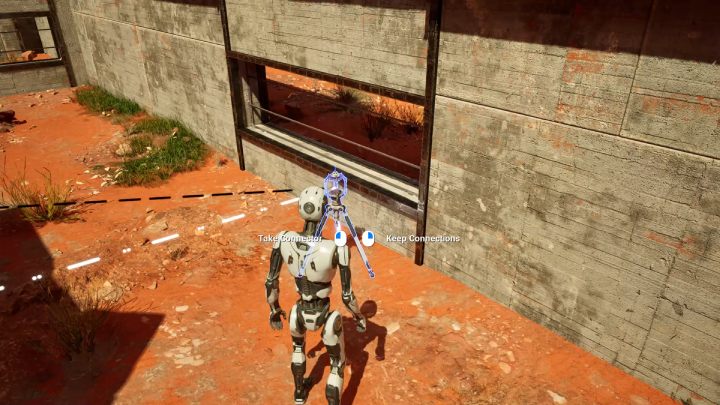
- Connect the second connector to the blue button and the accumulator behind the barrier.
- Leave the second connector in the area shown in the screenshot above.
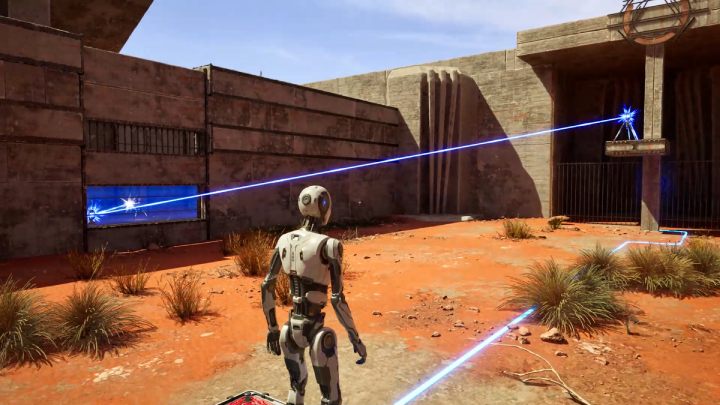
- Pick up the first connector and break the links.
- Connect the first connector with the blue laser and the second connector.
- Place the first connector on the stone platform in front of the blue laser.
- Step on the red platform.
- Once the stone platform is raised in the air, wait for the accumulator to fully charged.
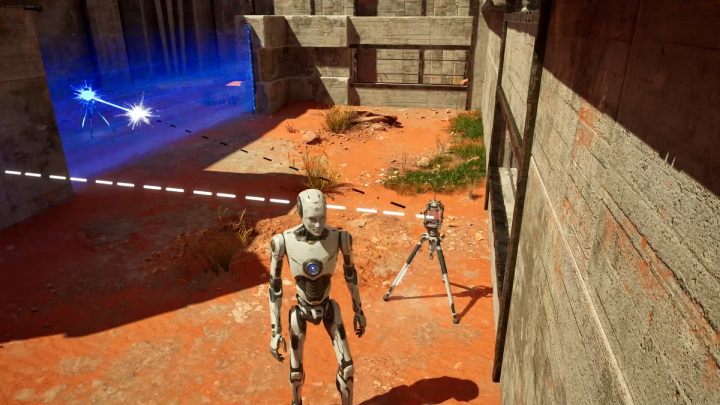
- Pick up the first connector and once again connect the red laser and the red button.
- Leave this connector on the platform before the red laser.
- Pick up the second connector and once again connect the blue button and the accumulator behind the barrier.
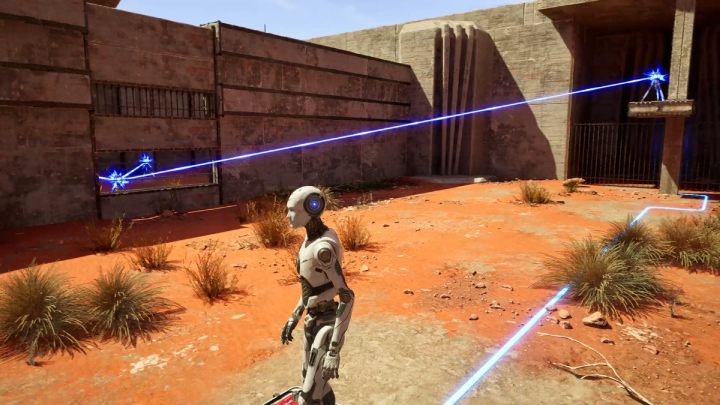
- Return to the first connector and break its connections.
- Connect this connector once again to the second connector and the blue laser.
- Place the connector on the stone platform and step on the red plaftorm.
- Wait for the barrier by the accumulator to drop.
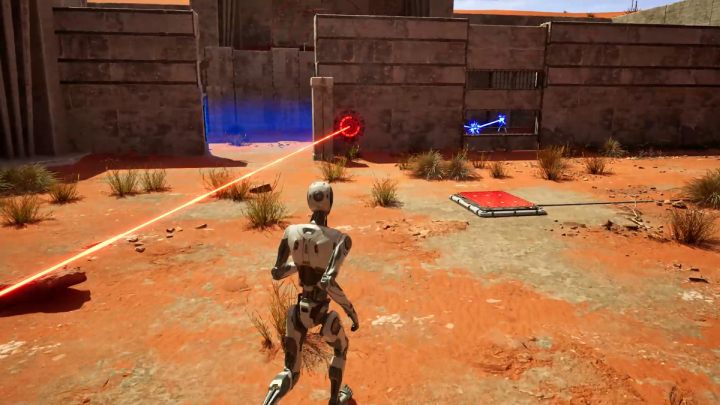
- Pick up the first connector and break the connections.
- For the final time, make a red connection.
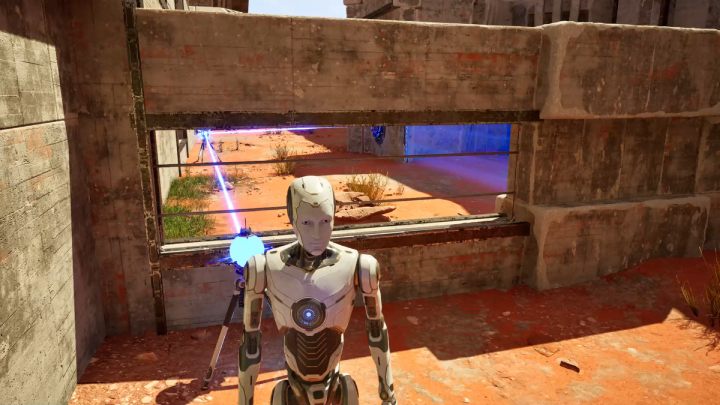
- Pick up the accumulator without interrupting the connection.
- Leave the accumulator in the area shown in the screenshot above.
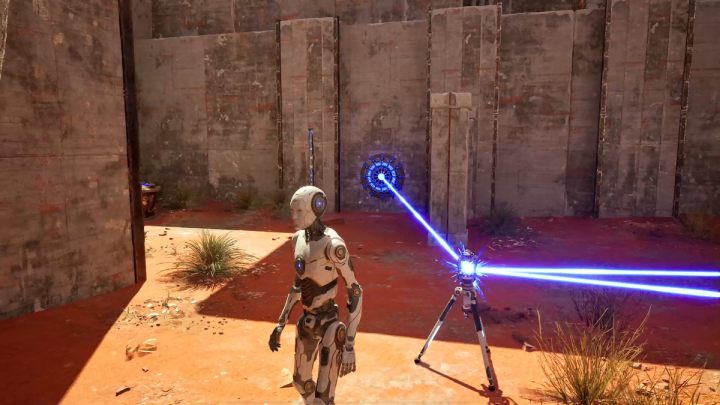
- Pick up the second connector but don't break the connection.
- Add the blue button by the terminal to the connection.
You are not permitted to copy any image, text or info from this page. This site is not associated with and/or endorsed by the developers and the publishers. All logos and images are copyrighted by their respective owners.
Copyright © 2000 - 2025 Webedia Polska SA for gamepressure.com, unofficial game guides, walkthroughs, secrets, game tips, maps & strategies for top games.
