Talos Principle 2: All puzzles in High Plain
In this Talos Principle 2 guide you will find solutions to puzzles from the High Plains - Alernator, Stack of Hexahedrons, Photon Cruise, Mobile Tool.
For walkthroughs to all Main and Lost puzzles from High Plain, be sure to check out our Talos Principle 2 guide. Our video guide has walkthroughs to puzzles like Chicken Flight, Precision, Rerouting, Duality, and Gateway Switch.
- From Within
- Chicken Flight
- Precision
- Duality
- Rerouting
- Mobile Instruments
- Gateway Switch
- Photon Snail
- Alternator
- Hexahedral Stacking
From Within
- Pick up the jammer.
- Aim the jammer at the barrier to unlock access to the connector.
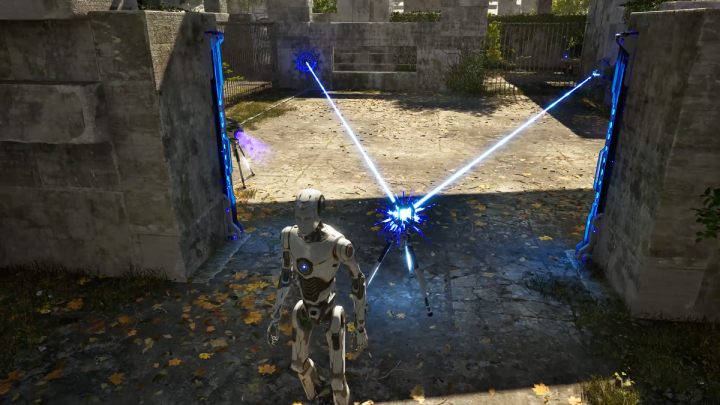
- Pick up the connector.
- Make connections between the blue laser and the blue button.
- Leave the connector in the area shown in the screenshot above.
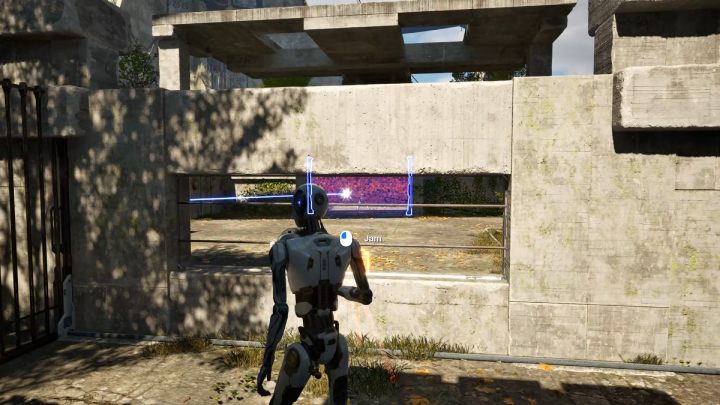
- Pick up the jammer.
- Proceed through the corridor with fans.
- Aim the jammer through the hole in the wall and deactivate the barrier.
Chicken Flight
- Pick up the first connector.
- Make connections between the blue laser and the red button.
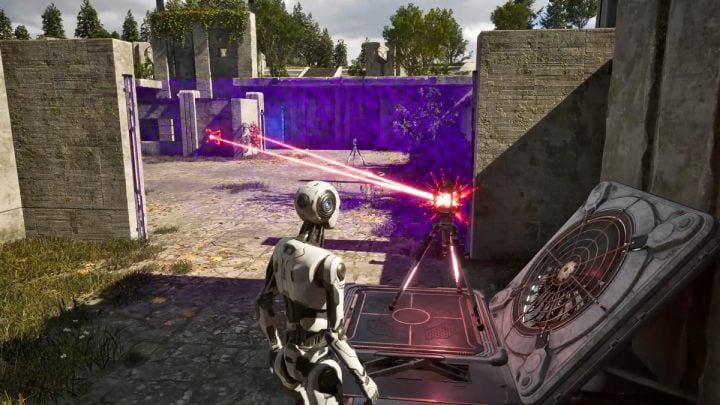
- Step onto the fan while holding the connector.
- Once you're on the other side, leave the connector on the platform in front of the fan.
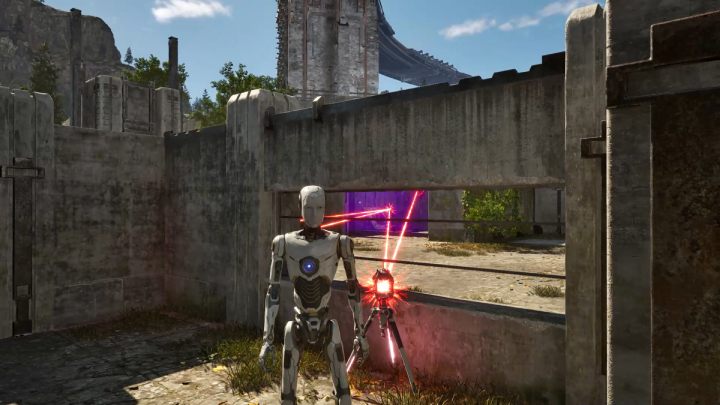
- Pick up the second connector and go through the deactivated barrier.
- Make connections between the first connector and the red button by the fan.
- Leave the connector aside by the hole in the wall.
- Once the fan is activated, the first connector will move.
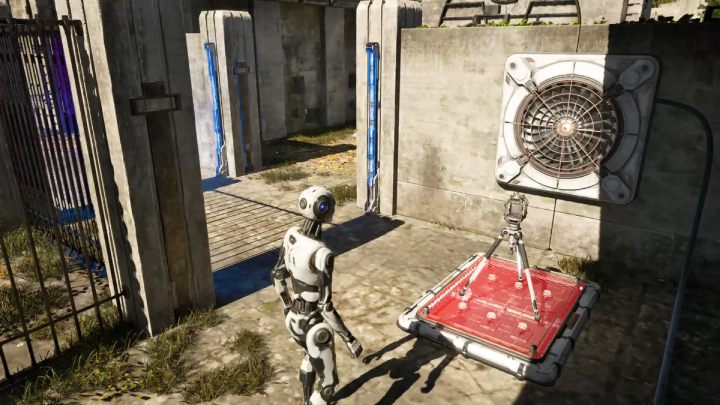
- Pick up the second connector and leave it on the platform.
- Activate the terminal.
Precision
- Pick up the connector.
- Make connections between the blue laser and the two blue buttons.
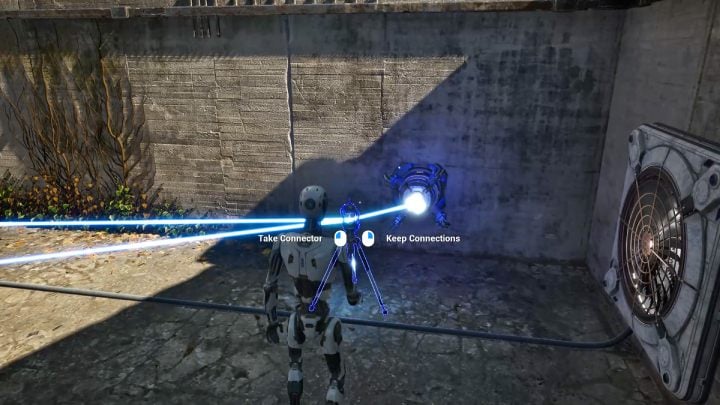
- Place the connector in front of the blue laser and quickly move away from the fan.
- With the fan activated, the connector will be moved towards the second button.
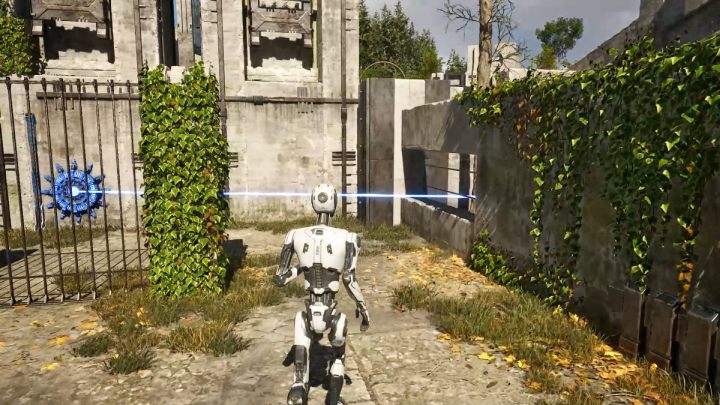
- Once the laser reaches the second blue button, you'll be able to reach the terminal.
Duality
- Pick up the first connector.
- Make connections between the blue laser and the blue button.
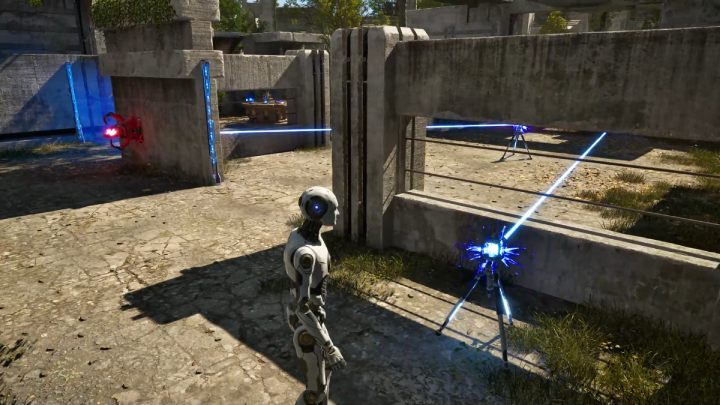
- Pick up the second connector and connect it to the blue laser.
- Leave the connector in the area shown in the picture above.
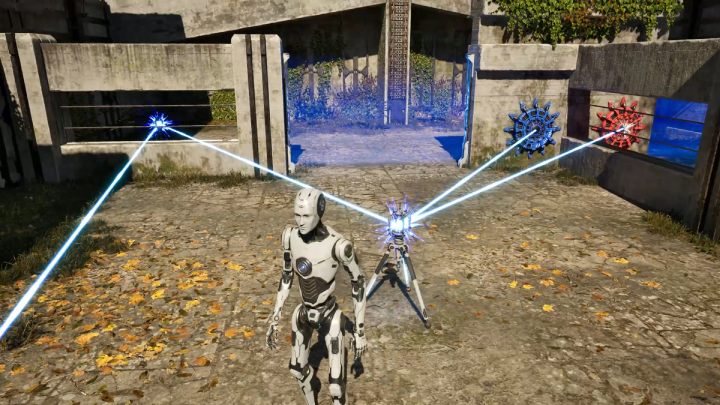
- Pick up the first connector and break the links.
- Make connections between the second connector, the blue button, and the red button.
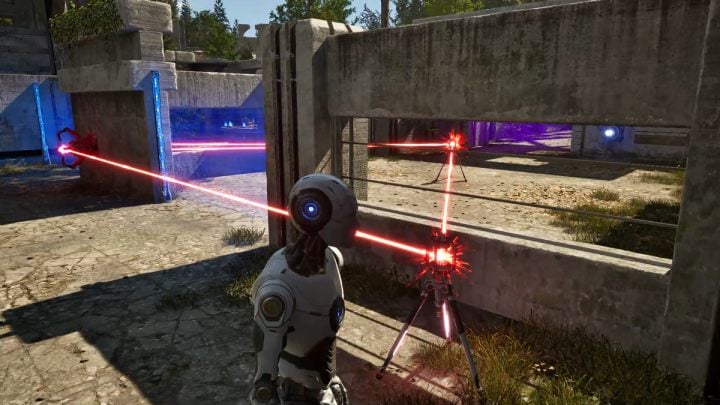
- Pick up the second connector and break the links.
- Make connections between the first connector and the red laser.
- Activate the terminal.
Rerouting

- Pick up the first connector.
- Make connections between the red laser and the red button.
- Leave the connector in the area shown in the screenshot above.
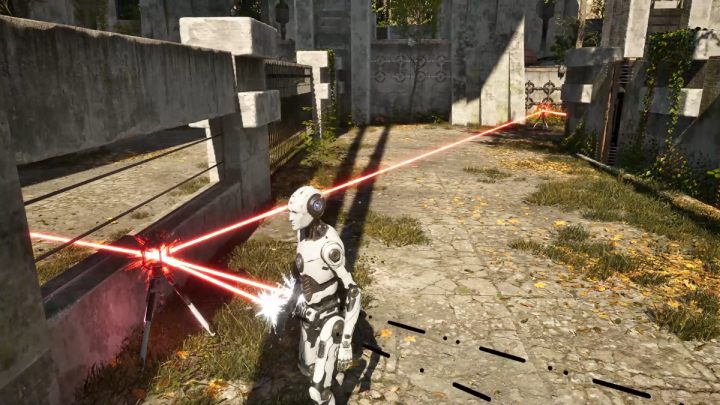
- Pick up the second connector.
- Make connections between the first connector, the red laser and the two red buttons.
- Leave the connector aside in the area shown in the screenshot above.
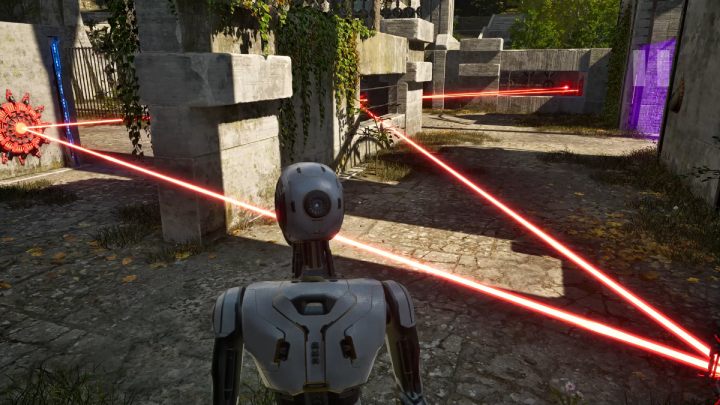
- Pick up the first connector and break the connections.
- Make connections between the second connector and the second red button.
- Leave the connector aside in the area shown in the screenshot above.
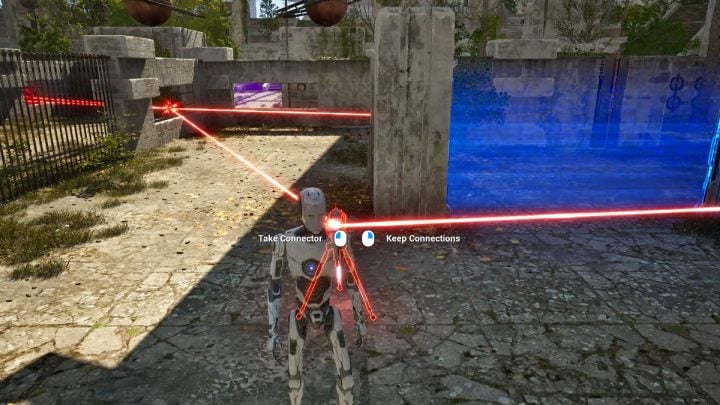
- Once the lase from the second connector reaches the red button, pick up the first connector and break the connections.
- Make connections between the second connector and the last red button.
Mobile Instruments
- Pick up the connector and make connections between the blue laser and the blue button by the hexahedron.
- With the barrier removed, pick up the hexahedron.
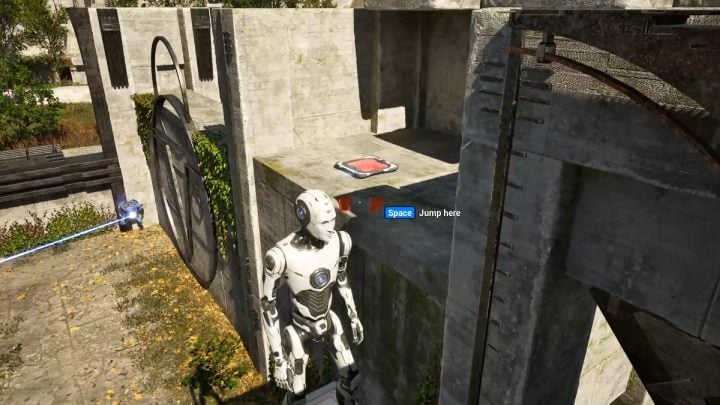
- Put the hexahedron on the fan.
- Jump on top of the hexahedron and turn the wall switch off.
- Jump to the shelf and take the portable platform with you.
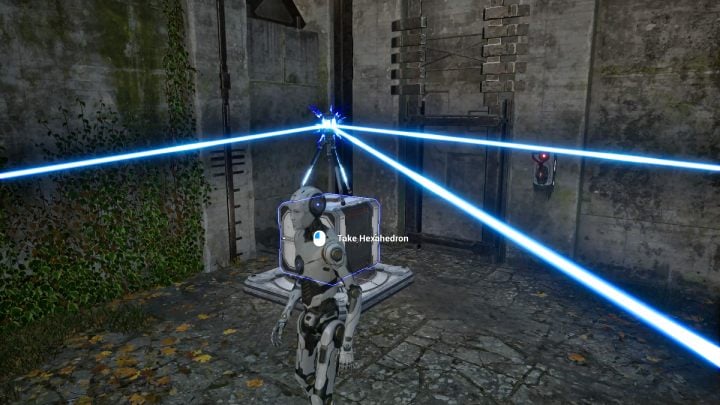
- Jump down and put the platform aside.
- Turn the wall switch off.
- Pick up the connector without breaking the links and add the blue button by the terminal to the connections.
- Put the connector on top of the hexahedron.
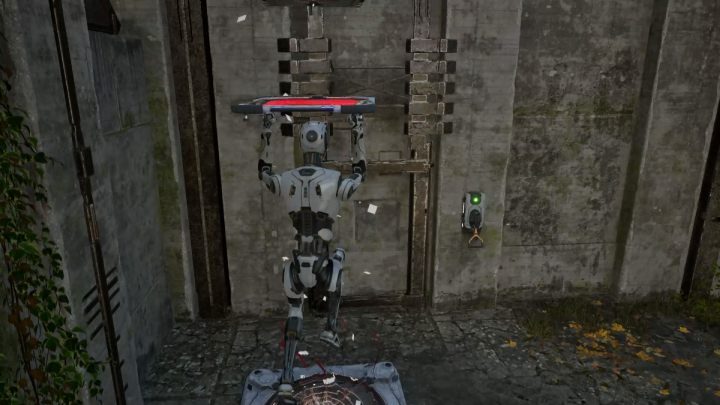
- Pick up the platform.
- Activate the switch on the wall.
- Stand on the fan.
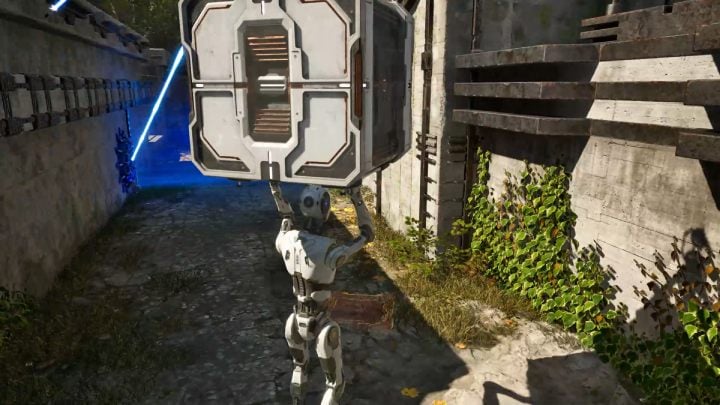
- Once you jump down, the hexahedron with the connector will be on the platform.
- Approach the first button and wait for the barrier to be deactivated.
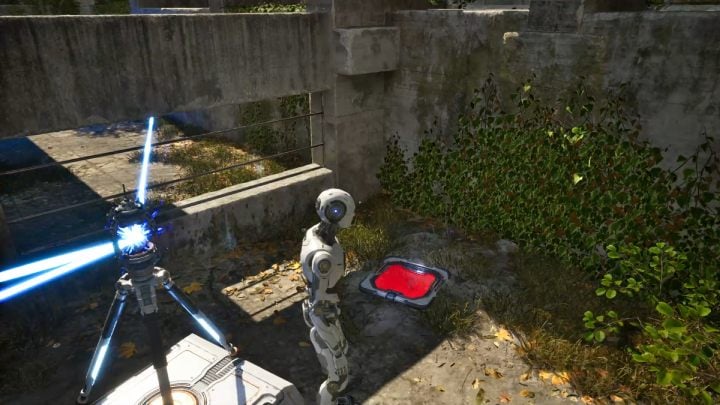
- Proceed forward and put everything aside.
- Thanks to the hole in the wall, the laser should reach the second blue button.
Gateway Switch
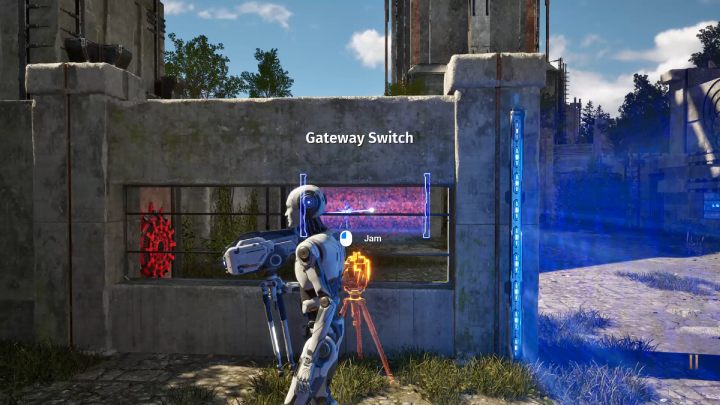
- Pick up the jammer.
- Aim the jammer at the barrier blocking access to the connector.
- Pick up the jammer again after the blue laser reaches the blue button.
- Deactivate the barrier near which you are standing.
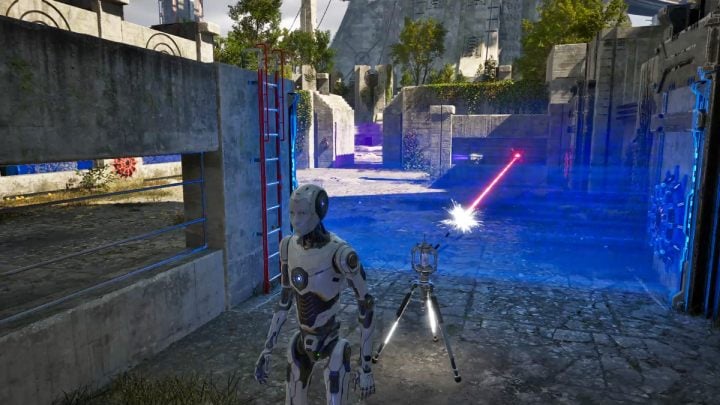
- Pick up the connector and break the connections.
- Make connections between the red laser and the red button.
- Leave the connector in the area shown in the screenshot above.
- Climb out of the room via the ladder.
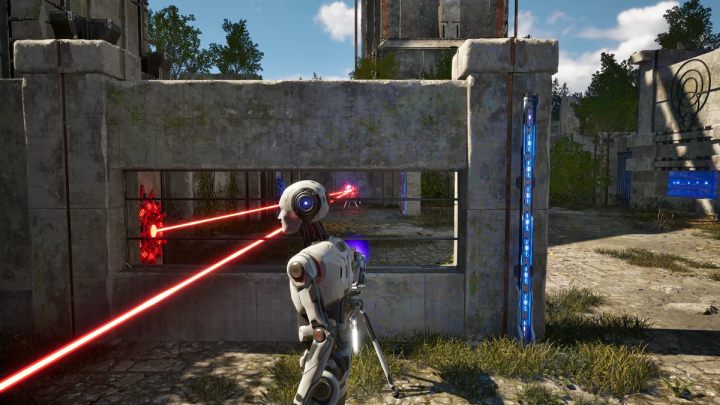
- Pick up the jammer and aim it at the barrier blocking access to the connector.
- When the red laser reaches the red button, you'll be able to pick up the connector.
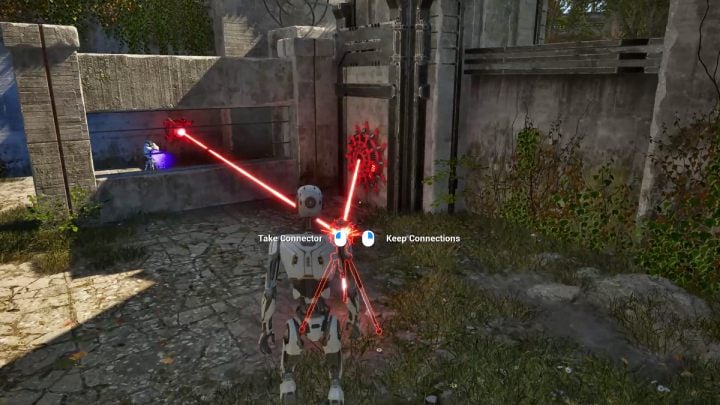
- Pick up the connector without breaking the links.
- Leave the connector aside by the red button.
- Pick up the jammer and put it next to the connector.
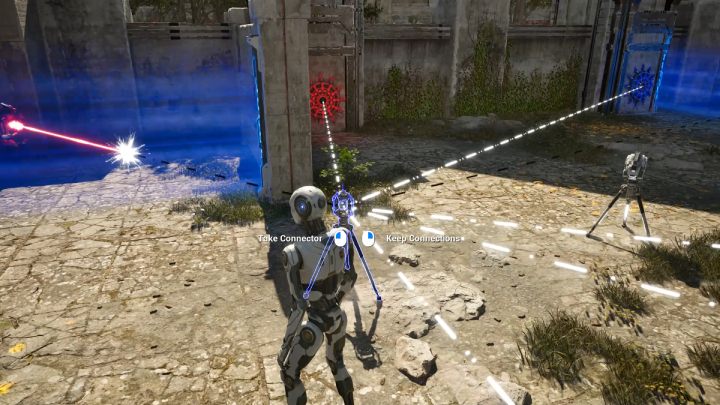
- Pick up the connector and break the connections.
- Connect everything there is in the room.
- Leave the connector aside in the area shown in the screenshot above.
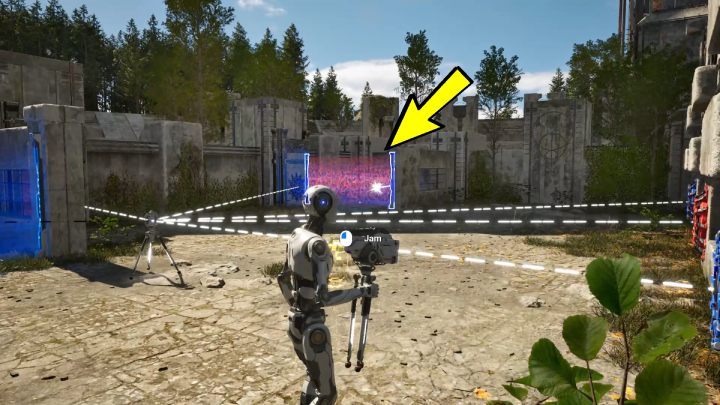
- Pick up the jammer and aim it at the barrier by the blue laser.
- Pick up the jammer again when the blue laser reaches the blue buttons.
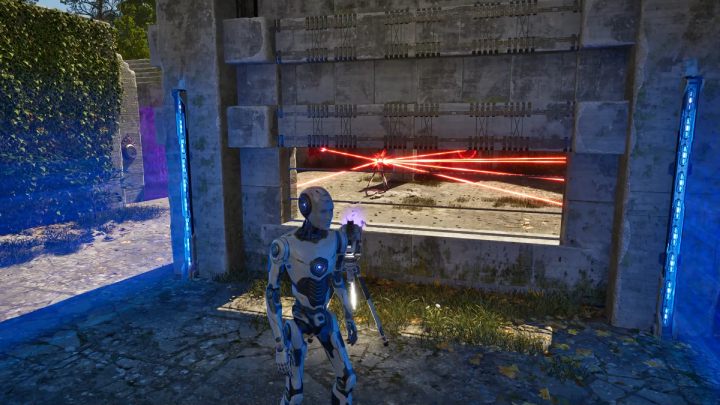
- Go through the first barrier and aim the jammer at the barrier by the red laser.
- When the barrier in front of you drops, you'll be able to pick up the jammer and proceed forward.
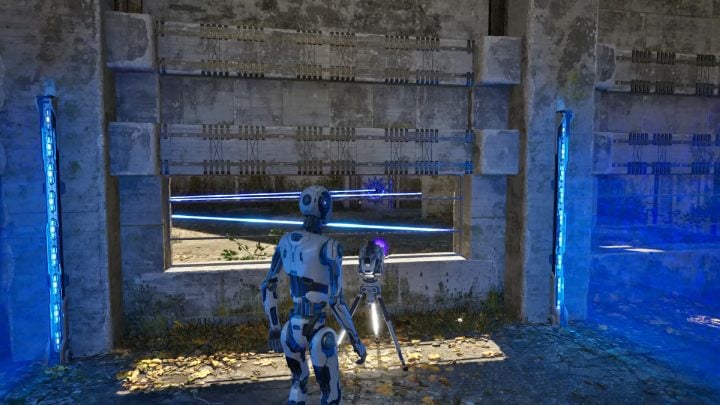
- Deactivate the barrier in front of the blue laser again.
- When the barrier in front of you drops, pick up the jammer and deactivate the barrier in front of the terminal.
Photon Snail
- Pick up the connector.
- Make connections between the blue laser and the red button.
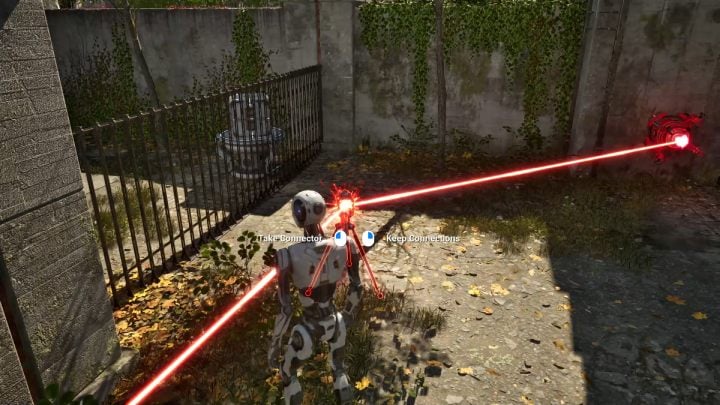
- Put the connector aside by the low fence near the laser.
- Step on the active fan and reach the other side.
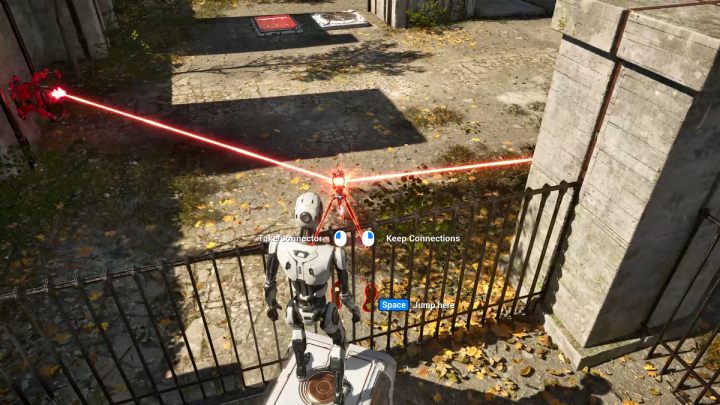
- Pick up the hexahedron and place it by the fence.
- Jump onto the hexahedron and pick up the connector.
- Exchange the connector for the hexahedron from the rotating platform.
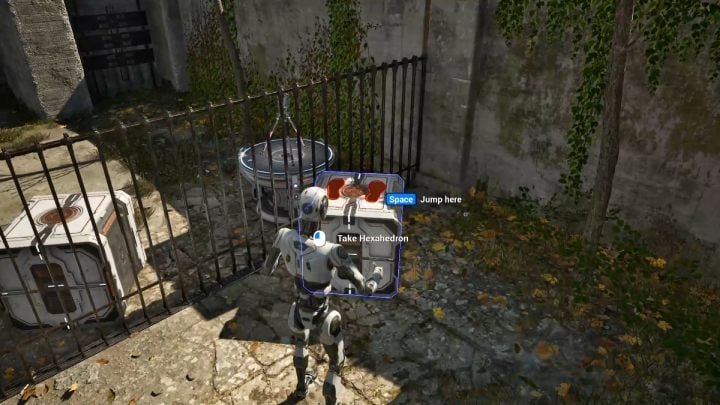
- Jump to the other side.
- Place the second hexahedron by the fence near the rotating platform.
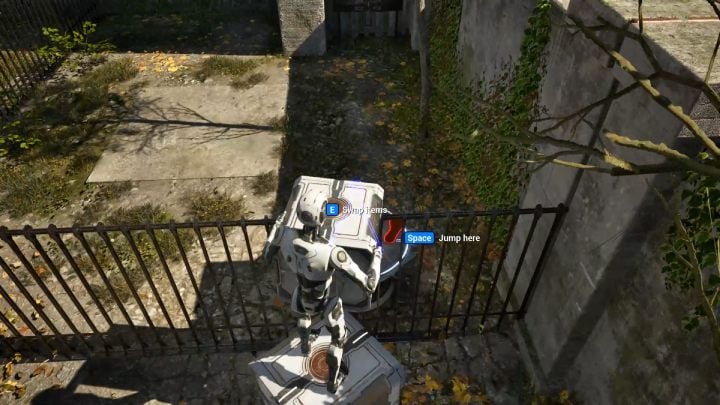
- Jump onto the second hexahedron and pick up the first hexahedron.
- Exchange the hexahedron for the connector.
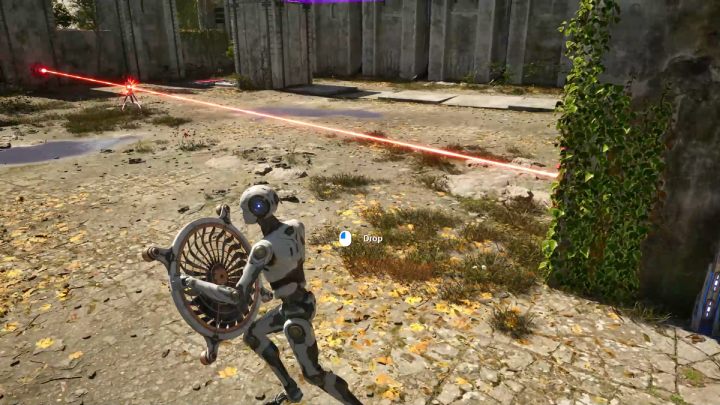
- Make connections between the blue laser and the red button.
- When the barrier by the fan goes down, pick up the fan.
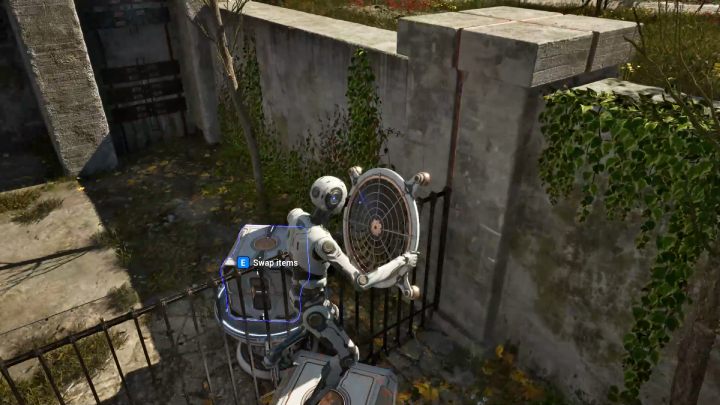
- Jump onto the hexahedron.
- Exchange the fan for the second hexahedron.
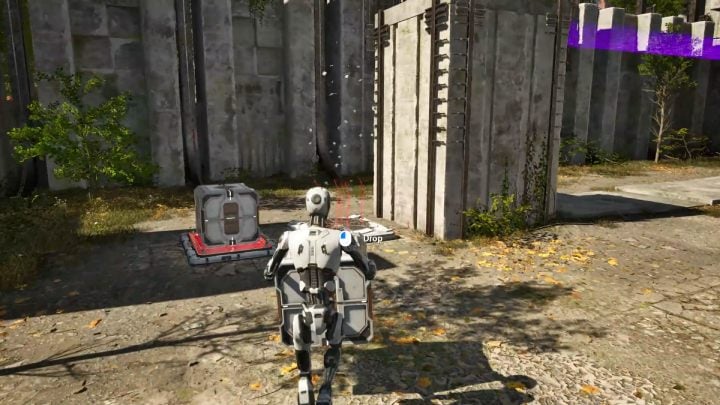
- Put the second hexahedron on the red platform.
- Pick up he first hexahedron and step on the fan.
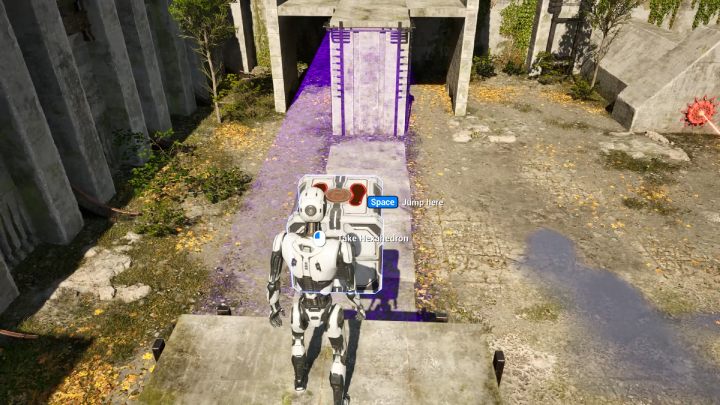
- Land on the pillar.
- Put the first hexahedron on the purple barrier.
- Jump down.
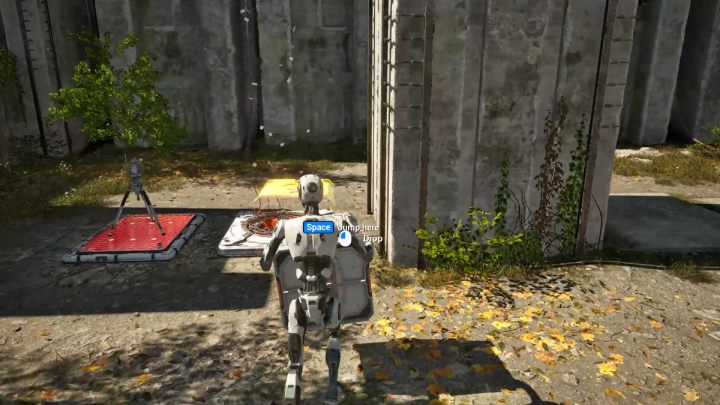
- Pick up the second hexahedron from the platform and put it aside.
- Pick up the connector and place it on the platform.
- Take the hexahedron and step onto the fan.
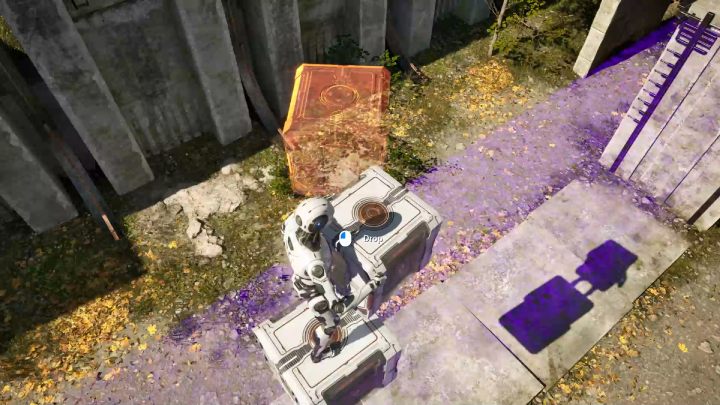
- Land on the pillar and jump on the first hexahedron.
- Place the second hexahedron before the first one and jump to it.
- Turn around and pick up the hexahedron.
- Place the hexahedron in front of the second hexahedron and repeat this action until you reach the terminal.
Alternator
Lost Puzzle #1 is in the southern part of the region.
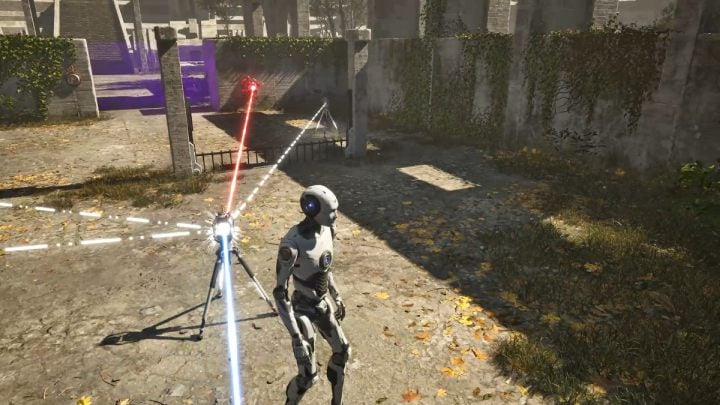
- Pick up the first connector.
- Make connections between the second connector, the blue and red lasers, and the blue and red buttons.
- Leave the connector in the area shown in the screenshot above.
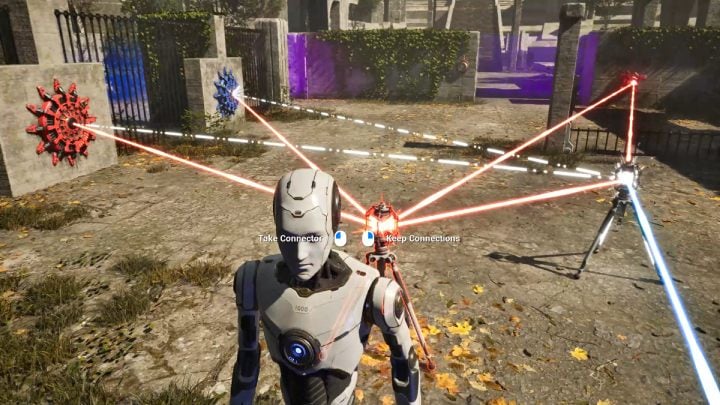
- Pick up the second connector but don't break the connection.
- Add the red laser and the blue and red buttons to the connection.
- Leave the connector in the area shown in the screenshot above.
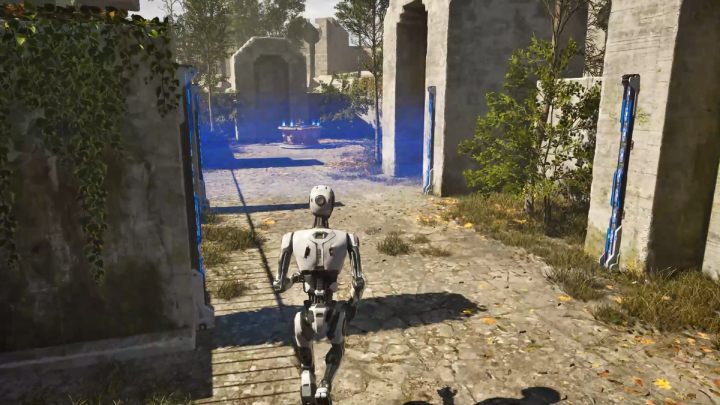
- Proceed through the purple barrier and wait for the first barrier to drop.
- Proceed forward and wait for the second barrier to drop.
Hexahedral Stacking
Lost Puzzle #2 is found in the western part of the region.
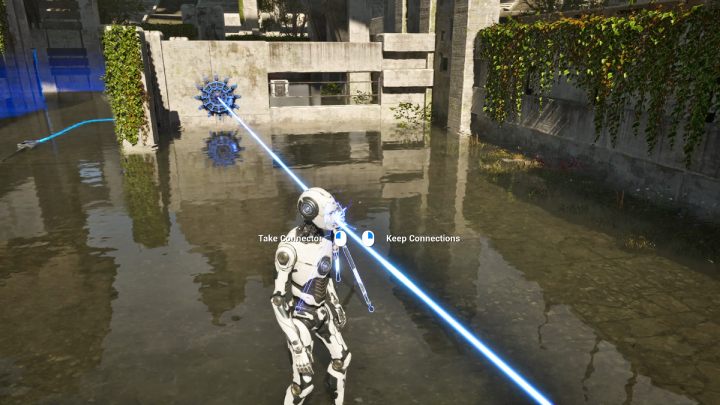
- Pick up the connector.
- Make a connection between blue laser and blue button.
- Leave the connector in the area shown in the screenshot above.
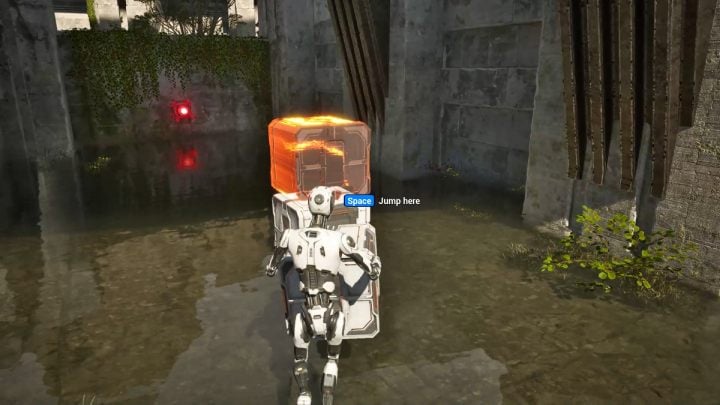
- Pick up the hexahedron.
- Put the hexahedron on top of the second hexahedron.
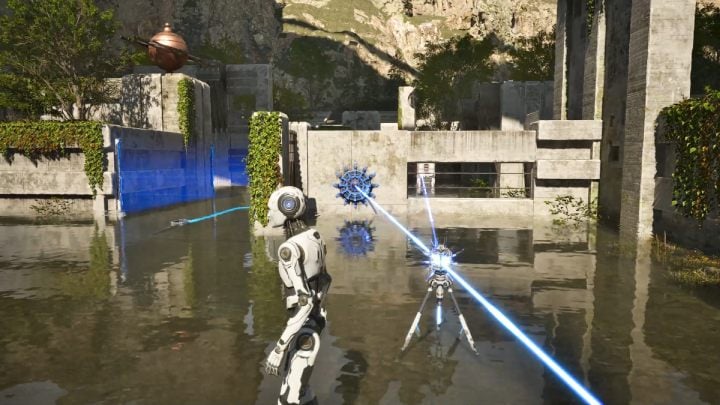
- Pick up the connector without breaking the links.
- Add the red laser to the connection.
- Place the connector so the red laser is obscured by hexahedrons.
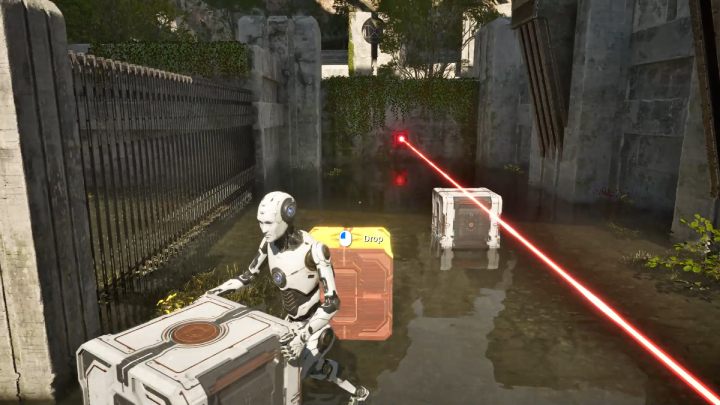
- Go through the barrier and pick up the hexahedron.
- When the red laser reaches the connector, the second barrier will be deactivated.
- Put the hexahedron at the wall with the terminal.
- Jump onto the hexahedron and activate the terminal.
You are not permitted to copy any image, text or info from this page. This site is not associated with and/or endorsed by the developers and the publishers. All logos and images are copyrighted by their respective owners.
Copyright © 2000 - 2025 Webedia Polska SA for gamepressure.com, unofficial game guides, walkthroughs, secrets, game tips, maps & strategies for top games.
