Spyro The Dragon: Dry Canyon Walkthrough
Dry Canyon is the next level that you will face while playing Spyro The Dragon. It is a relatively vast level. Below you will find advice on how to complete it without any major issues.
What is necessary to achieve 100% completion?
Reaching 100% completion on the Dry Canyon level will require you to meet the following conditions:
- Collect 400 gems.
- Save 4 dragons.
- Find a Dragon Egg.
Walkthrough description
There are two routes that you can follow from your starting location in the Dry Canyon. Both are connected to each other to form a small circle. Your choice of route is therefore not the least important. The first thing you have to do on this level is to eliminate two incoming Gnorc Musketeers.
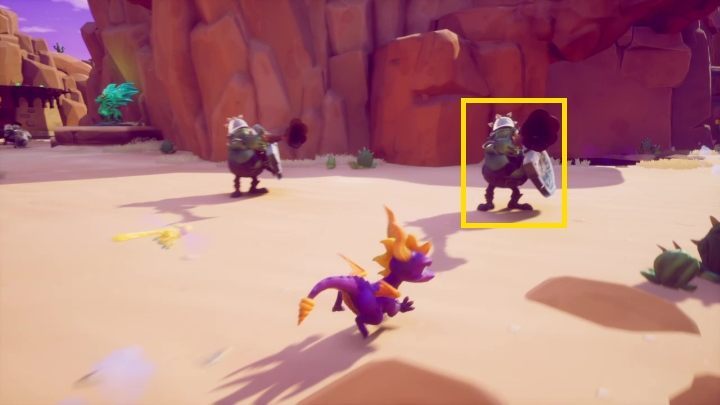
You approach this in two ways. The first method is the use of your charge attack. The second is to wait until the Gnorcs are preparing to attack. They will then discard their shields, as shown in the picture above. This will allow you to effectively use the fire attack. Afterwards, you should destroy all of the chests located by the canyon wall. Thanks to this, you will collect the gems contained within them.
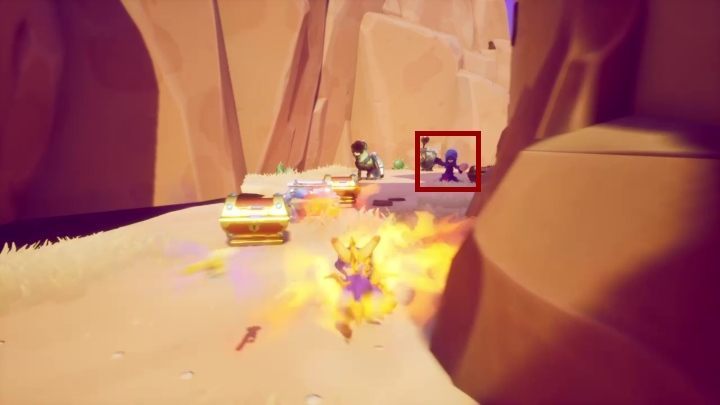
Going further along this path you will reach a place where it connects with the second road that began near the starting location. Take down the Gnorcs and use the second path. There you will find more chests, and therefore, more gems. You will also run into an Egg Thief, whom you will have to catch. However, before you do this, eliminate the two Gnorc Musketeers.
After collecting everything that was available on this path, you can freely explore further parts of the level. There is another road which starts in the location where the two starting paths have met. There you will find more chests with gems inside and the first dragon that you can save on this map.
Afterwards, jump over the stream and eliminate the Gnorc and its two Vultures. Both of these types of enemies can be eliminated with the fire attack. Gather all of the gems available here.
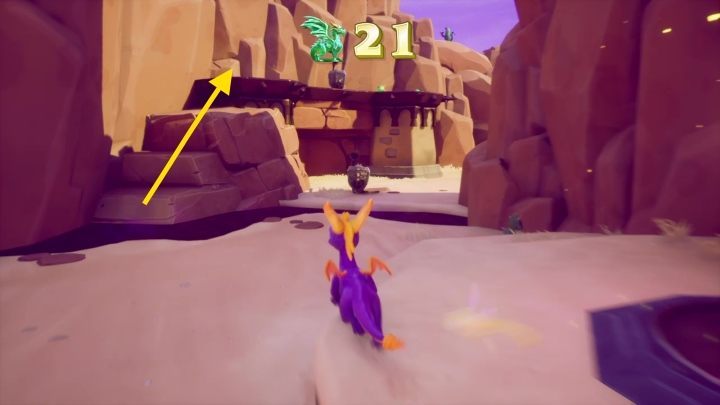
Do not go up the stairs that are located behind the Gnorc. They lead to the last part of the level. Go back to the stream instead. You will find some stone steps there. Climb onto them and you will reach a ledge. Eliminate the Gnorc you will find there and collect any available gems. Then, jump to the next ledge. There you will find the entrance to a tunnel. Eliminate another Gnorc and three more Gnorc Musketeers. After that, you can collect the gems which are scattered around the location, as well as those stored in nearby chests.

After leaving the tunnel you will find yourself in a vast, open area with a castle in the middle. Another Gnorc is guarding it, along with two Vultures. Defeat them with the help of your fire attack. You will find an identical group on the left and right sides of the castle. On the left side, they will be accompanied by an additional Gnorc. The castle contains another dragon within its walls.
On the right side of the castle, there are ledges which you can use to get to the top of the structure. From there, you can jump to two places. One of them is a small ledge where you can find gems and additional health.
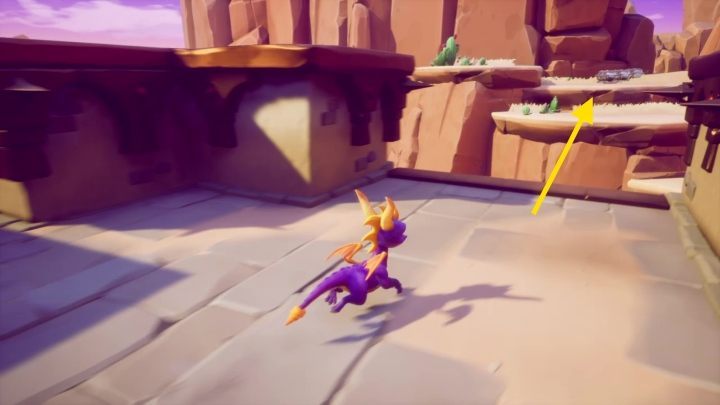
The second option will lead you another set of steps. You will find a new type of chest here. Opening it will require you to burn it. Unlike wooden chests, these will blow up as they are being opened. That is why you have to move away from them, in order to avoid damage.
Afterwards, go through the narrow passage. It leads to the roof of the building. On your way there, however, you will encounter another Gnorc with Vultures. In the central part of the roof, you will have to defeat another Gnorc Musketeer. From here you can jump onto two ledges. On one of them, there is only a chest. On the second one, you will find a dragon [1] and a key to a chest [2].

You will find the chest itself near the gorge through which you got to your current location. Therefore, you have to go back to the rock ledges that lead to it. From there, you will be able to jump to a ledge, where you will find several chests with gems, including the locked chest that you have the key to.
After searching this ledge, you can safely finish the level.
You are not permitted to copy any image, text or info from this page. This site is not associated with and/or endorsed by the developers and the publishers. All logos and images are copyrighted by their respective owners.
Copyright © 2000 - 2026 Webedia Polska SA for gamepressure.com, unofficial game guides, walkthroughs, secrets, game tips, maps & strategies for top games.
