
Homefront The Revolution: Ashgate - Yellow zone Key Points
Below you'll find a detailed description of all strike points in Ashgate - Yellow Zone.
- 1. Police Station
- 2. KPA Relief Depot
- 3. Journalist's Apartment
- 4. Market Apartment
- 5. Ashgate Drone Control
- 6. Propaganda Depot
- 7. Transceiver
- 8. Holloway Tunnel Access
1. Police Station
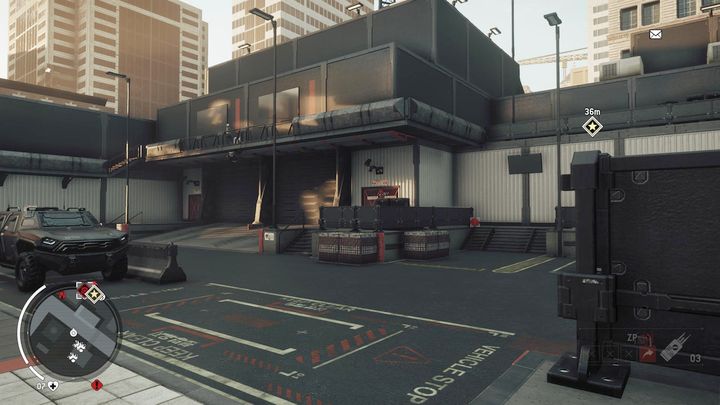
Once you arrive, the revolution should be in full swing. This means that you'll enter the station through the front door, which will be a major simplification. After entering, you need to get to the upper level, through the stairs visible on the screenshot.
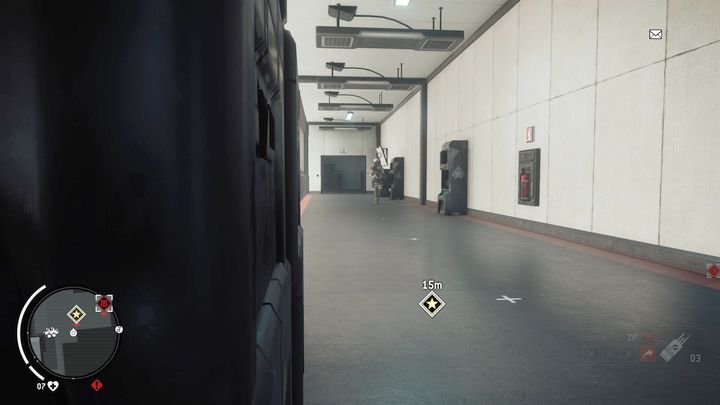
Inside, you'll find a single soldier patrolling the corridor. Eliminate him quietly to avoid unnecessary alarm.
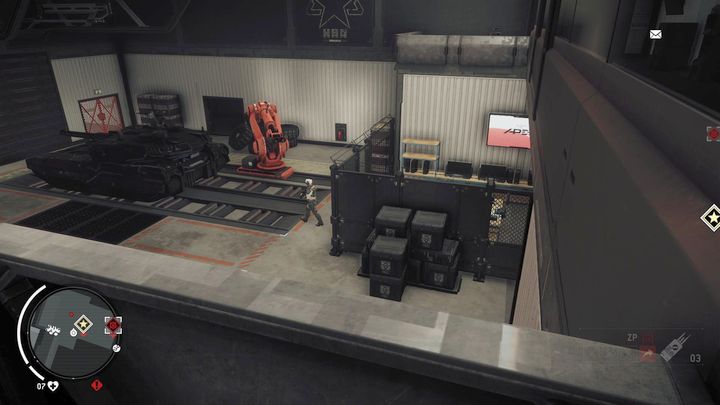
In the middle of the corridor, you'll find a passage to the room shown on the screenshot. It's patrolled by an another solider. Go behind his back and perform a silent execution to avoid the alarm.
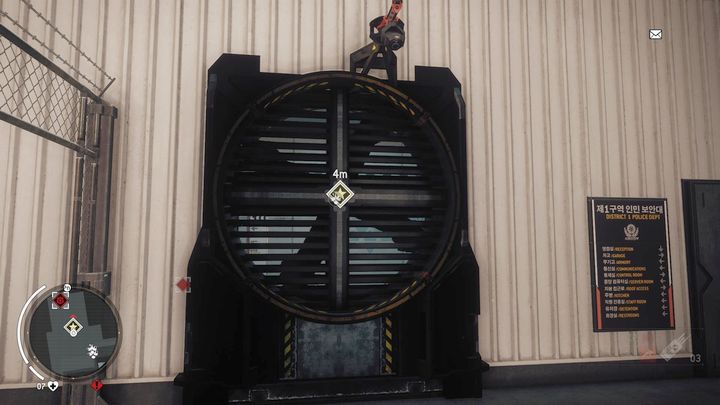
In the same room, under the stairs, you'll find a ventilation shaft. Once you destroy it, you'll receive access to another room of the police precinct.
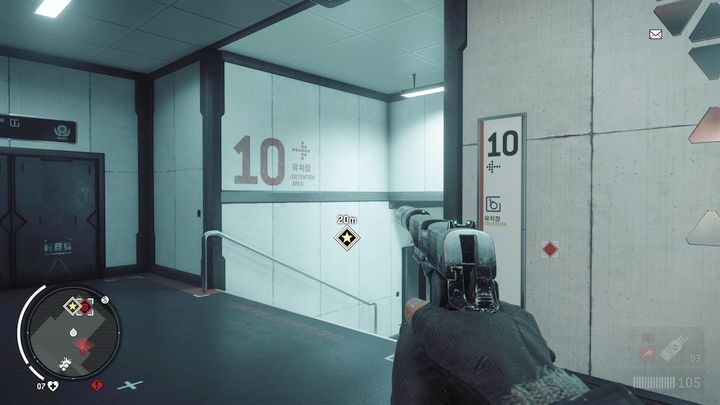
Once you get inside, turn left and go through the stairs to the lower level. At the end of the road, turn left again to get inside room 6.
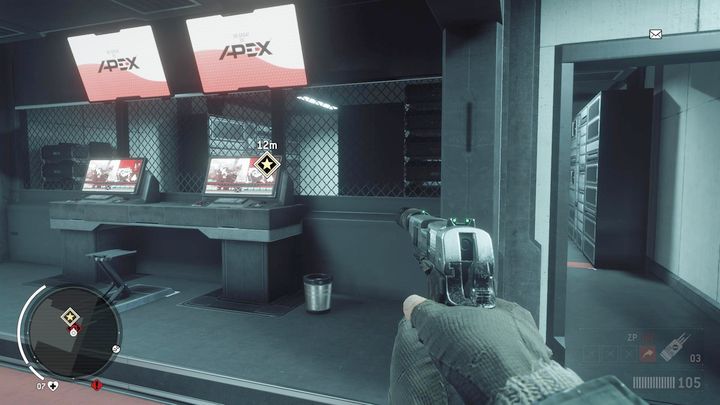
Room nr. 6 is a server room. Go to the main indicator, and hack the server to get access to data. This way, you unlock the base of the resistance, and four KPA tech points as a reward.
2. KPA Relief Depot
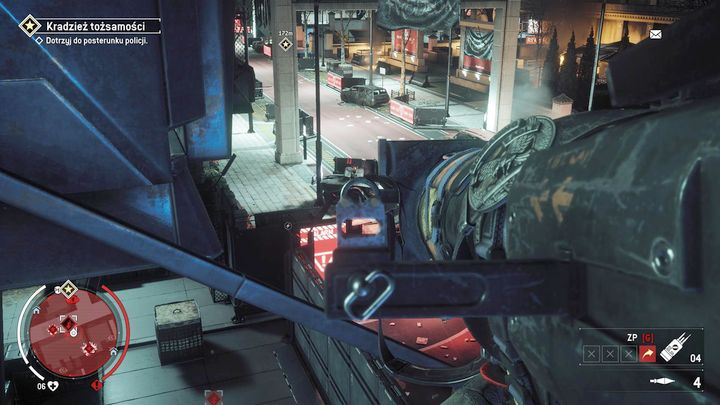
Once you arrive, you need to watch out for a goliath patrolling the vicinity. Prepare a rocket launcher before you enter the zone. The resistance from the normal soldiers shouldn't pose a problem, because you can find cover before the entrance to the outpost, and shoot the incoming enemies.
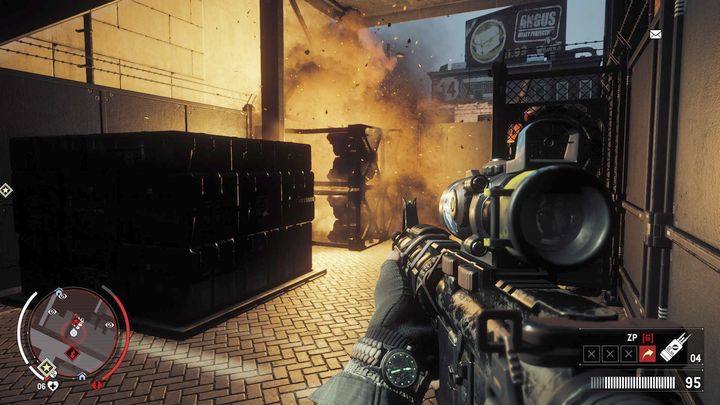
Once you eliminate the enemies, start destroying all fuel tanks. One concentration is in the north, and the second in the south. After destroying both concentrations of fuel tanks, return to the middle of the compound, and take over the supplies truck to get access to yet another resistance base. You'll be rewarded with three KPA tech points.
3. Journalist's Apartment
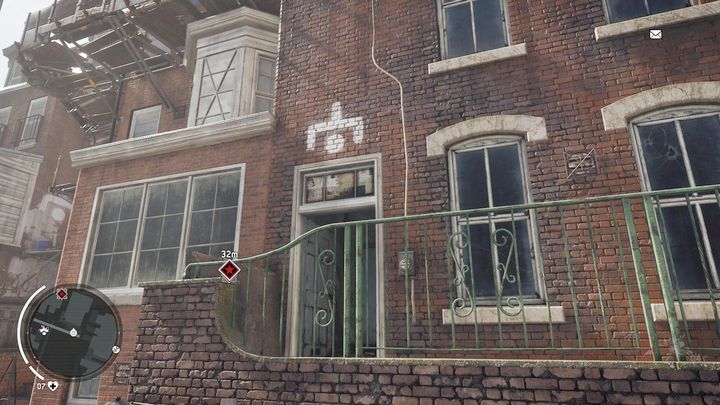
Once you arrive to the place, you will need to use the entrance shown on the screenshot. It cannot be bypassed, because it is distinctly marked with a white symbol above the door.
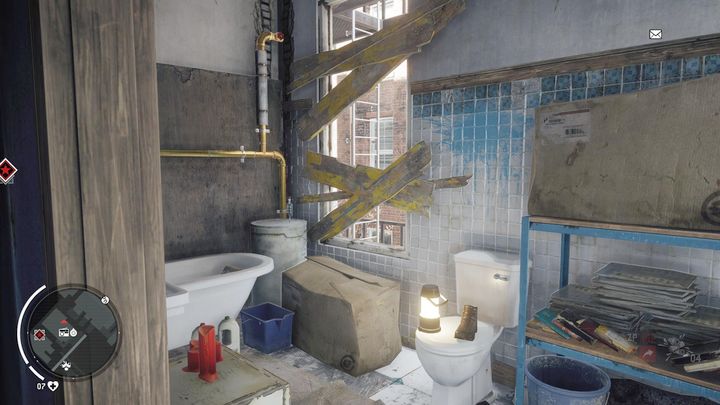
Once you enter the above floor, go to the bathroom to find yourself in a place shown on the above screenshot. Destroy the boards blocking the access to the firestairs and use the ladder found there to get to the upper floor.
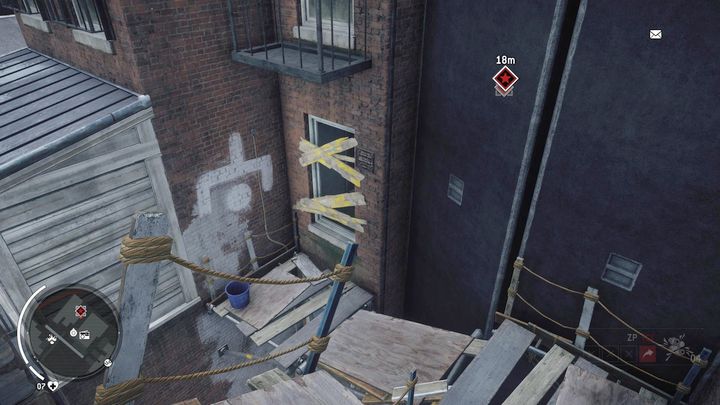
Once you get on the upper floor, you will find yourself in a place shown on the screenshot. You have to jump down and destroy the board blocking the access to the window. In this building, you'll find a yellow lock at the end of the corridor, blocking the access to the main room. In the room, you'll find a radio, which allows you to take control over this zone. As a reward, you'll receive three KPA tech points.
4. Market Apartment
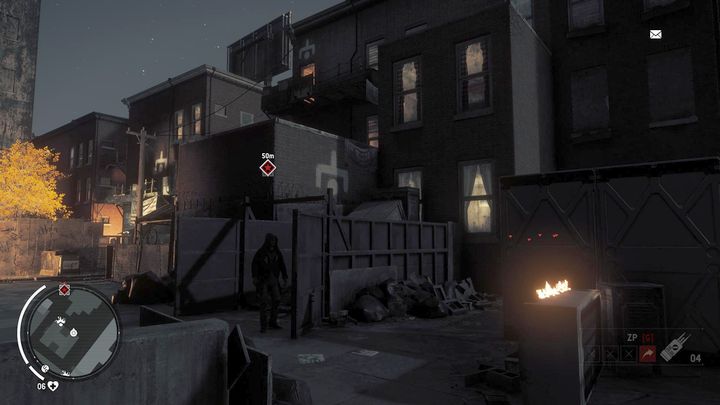
Once you arrive to the place, you will notice a white symbol on one of the buildings. It is a mark of the entrance to the main room, to which you need to get access to. To get there, you need to get to the back of the neighboring building (see the screenshot) and get to the roof using the container. On the roof, you'll find a ladder, which will lead you to a higher level.
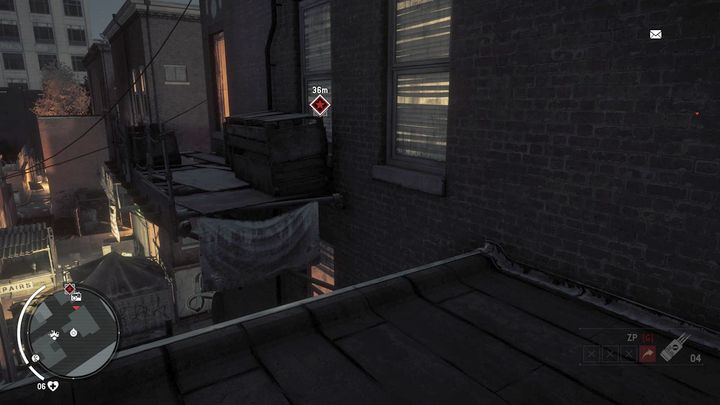
Once you get to the next part of the building, you'll find yourself in a place shown on the screenshot. You need to jump over the gap and go inside the open window. At the end of the corridor, you'll find another open window, which leads you to the other footbridge.
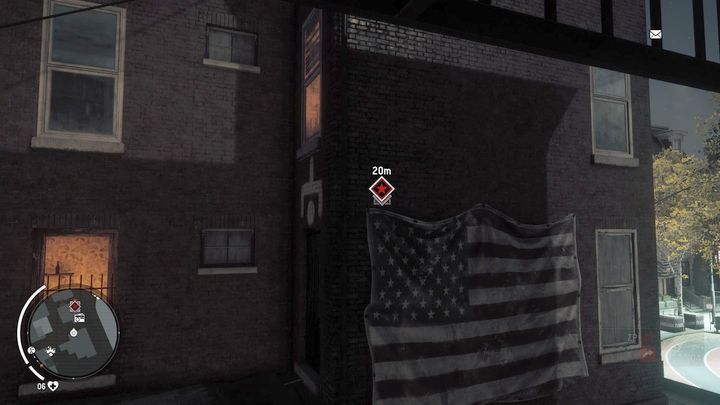
After the entry to the next area, you will see the view shown on the above screenshot. The symbol shows the entrance to the main apartment, so jump over the gap and get inside. At the end of the apartment you will find a window, which will lead you to another footbridge.
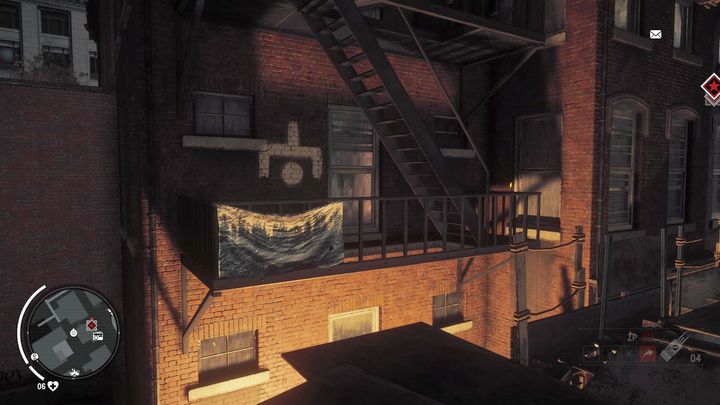
After you leave the apartment, you will be standing before a last jump, shown on the screenshot. Get to the upper floor using the fire stairs, and go through the footbridge to the main apartment. At the end of the corridor, destroy the lock blocking the access to the room, then activate the transceiver to get access to another resistance base. As a reward, you'll receive three KPA tech points.
5. Ashgate Drone Control
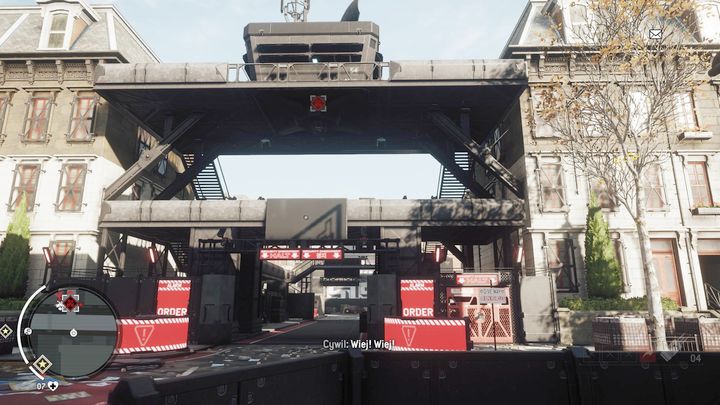
Once you arrive to the place, prepare a machine gun and eliminate the turret. Do not enter the outpost until you destroyed the turret.
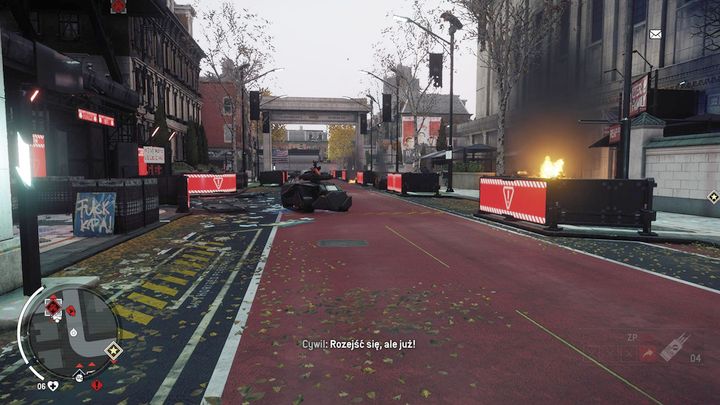
A goliath will patrol the area, so prepare a rocket launcher and eliminate it as quick as you can. The resistance from the soldiers shouldn't be a problem up to the moment of reaching the stairs. Prepare Molotov Cocktails and throw them in the direction of the stairs, to eliminate a bigger group of enemies.
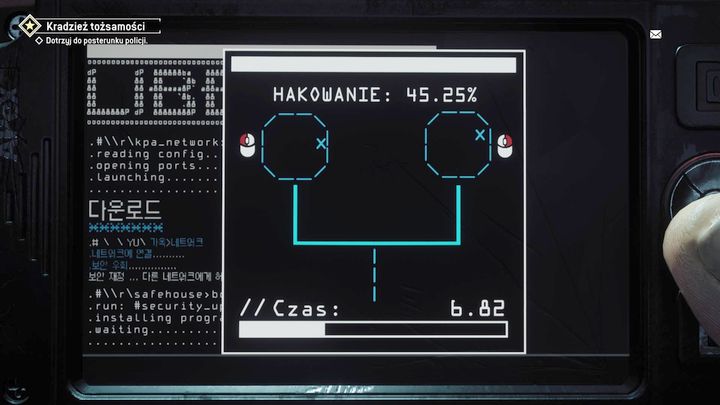
After eliminating all the enemies, go upstairs and hack the KPA terminal to get access to another zone. You'll receive three KPA tech points as a reward.
6. Propaganda Depot
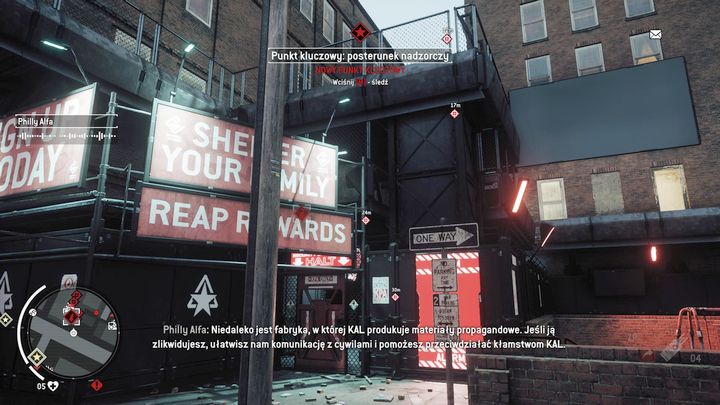
Once you get to the place, use the main entrance shown on the above screenshot, to get inside the outpost.
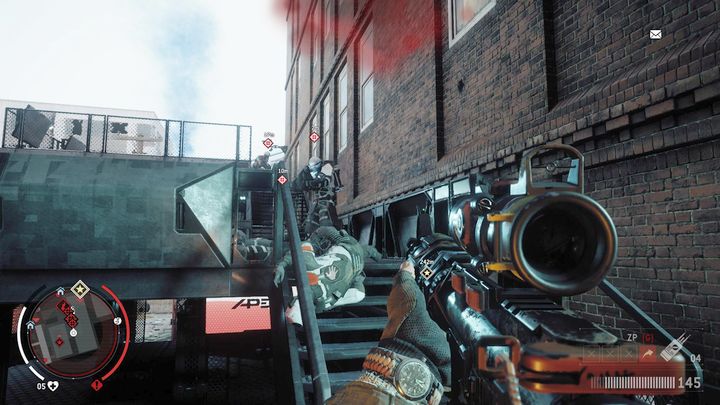
Once you enter the stairs, the Koreans' resistance will be really fierce. Among them, there will be few heavily armored soldiers and storm troopers. Throw the Molotov cocktails in this area to eliminate them in one go, and if the situation becomes desperate, retreat to the door you've entered the area.
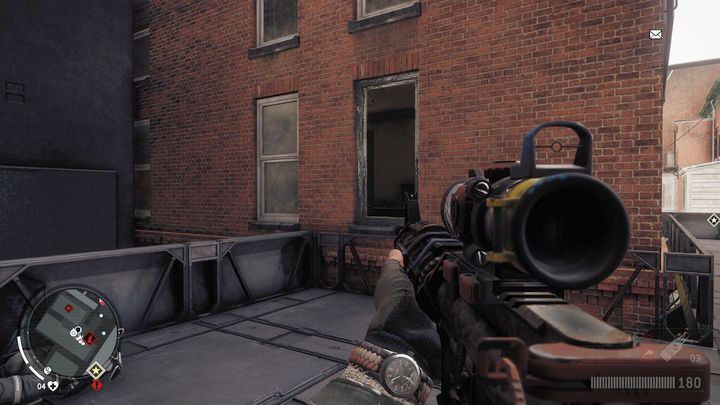
No matter how you dealt with the Koreans, return to the stairs and get inside the window shown on the screenshot. In one of the rooms, you'll find a server room, which needs to be hacked. Once you hack the terminal, go to the upper level through the stairs and take over the propaganda depot. As a reward, you'll receive three KPA tech points.
7. Transceiver
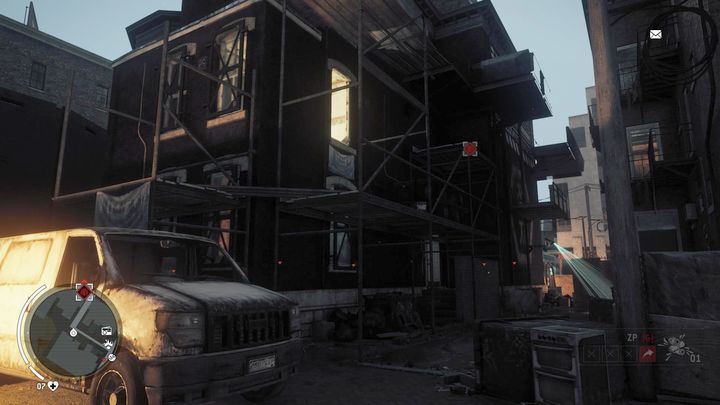
Once you arrive to the place, go to the back of the building, and you'll find yourself in a place shown on the screenshot. Your task is to get to the top, using the car on the left. Jump on it and follow the blue markers showing the right way. At the end of the road, you'll find an apartment with an open window, which you need to use.
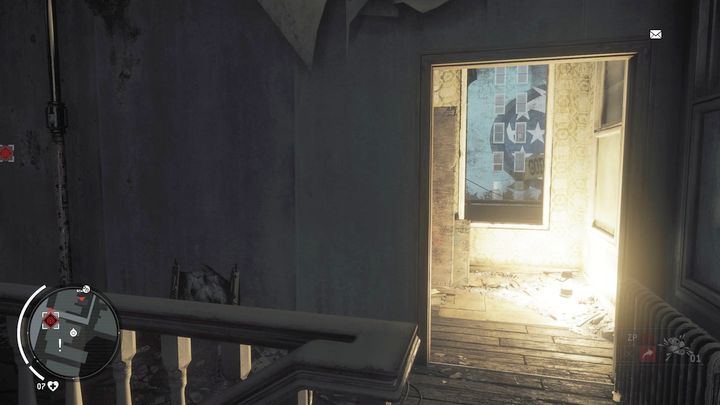
Get through the stairs to the first floor and go to the bathroom. You'll find an another open window, which leads to the outside.
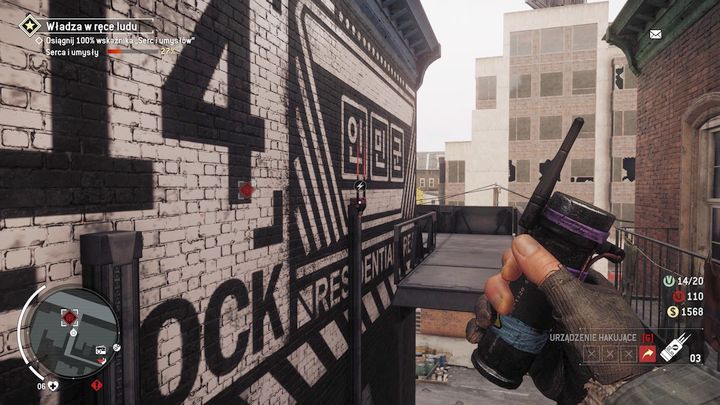
Following the only road up, you will find yourself at a drop shown on the screenshot. Prepare a hacking device and throw it at the transmitter visible on the screen, to bring the elevator up. On the other side, you'll find an entrance to the apartment, and a transmitter, which needs to be hacked. As a reward, you'll gain two KPA tech points.
8. Holloway Tunnel Access
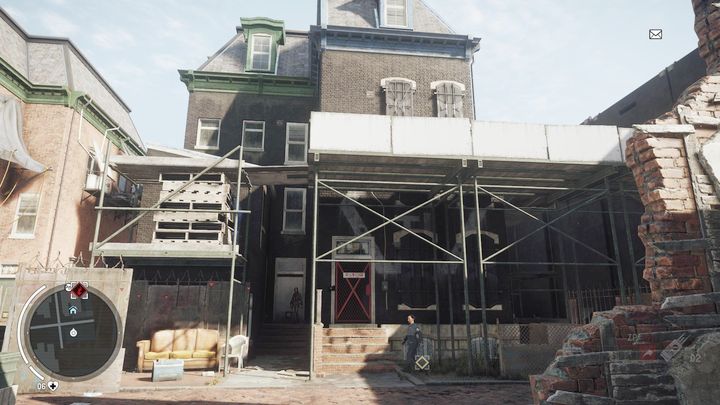
Once you arrive to the place, go to the back of the building, to find yourself in the place shown on the screenshot. This building has two entrances. One is visible on the screenshot, and the second is to the right from the place where you stand. Go to the right entrance and throw a hacking device on it to open it. Throwing hacking devices at the first entrance is pointless, because the control panel is behind that other door.
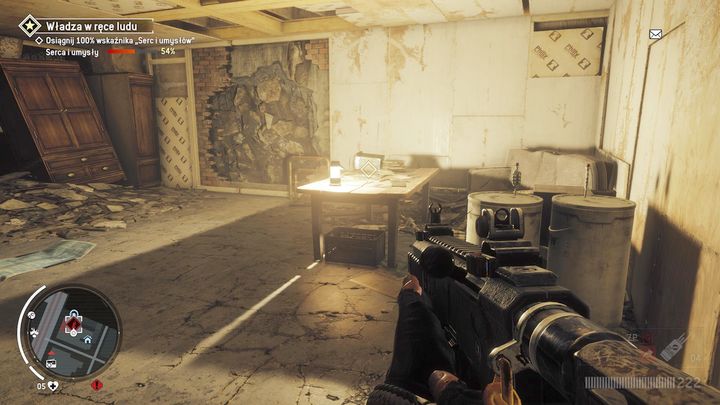
Once you enter inside, get to the basement. You'll find a radio there, which needs to be activated in order to gain access to the passage between Holloway and Ashgate zones. As a reward, you'll receive two KPA tech points.
- Homefront: The Revolution Game Guide & Walkthrough
- Homefront The Revolution: Game Guide
- Homefront The Revolution: Key Points
- Homefront The Revolution: Elmtree - Red zone Key Points
- Homefront The Revolution: Earlstone - Yellow zone Key Points
- Homefront The Revolution: Holloway - Red zone Key Points
- Homefront The Revolution: Ashgate - Yellow zone Key Points
- Homefront The Revolution: Lombard - Red zone Key Points
- Homefront The Revolution: Old Town - Red zone Key Points
- Homefront The Revolution: Forbidden Zone Key Points
- Homefront The Revolution: Key Points
- Homefront The Revolution: Game Guide
You are not permitted to copy any image, text or info from this page. This site is not associated with and/or endorsed by the developers and the publishers. All logos and images are copyrighted by their respective owners.
Copyright © 2000 - 2025 Webedia Polska SA for gamepressure.com, unofficial game guides, walkthroughs, secrets, game tips, maps & strategies for top games.
