Stage 1 (Greatest Kingdom in Middle-Earth): Smaug's attack
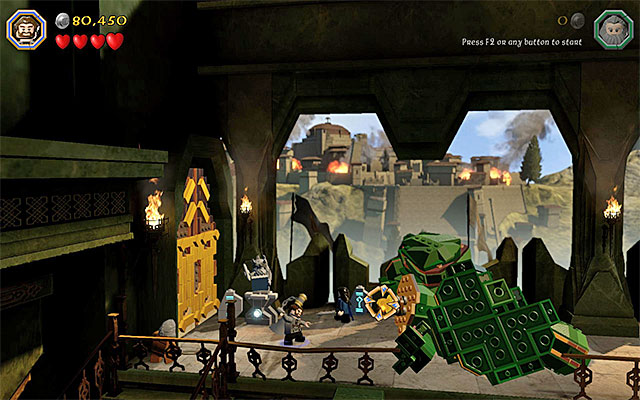
Right after you regain control over Thorin (Thorin (Young)) approach the statue that is closest to you (Save Statue), press the appropriate key and confirm that you want to save your current progress. Go right and, after you reach the fallen pillar, switch to Dori (Dori (Young)). Make sure that he has the Flail equipped (you change weapons with one of the keys, or by selecting that item from the inventory, in the drop-down menu), stop next to the barricade and press the key/button that the game suggests. You now need to press the same key, several times, thanks to which you will unlock the passage.
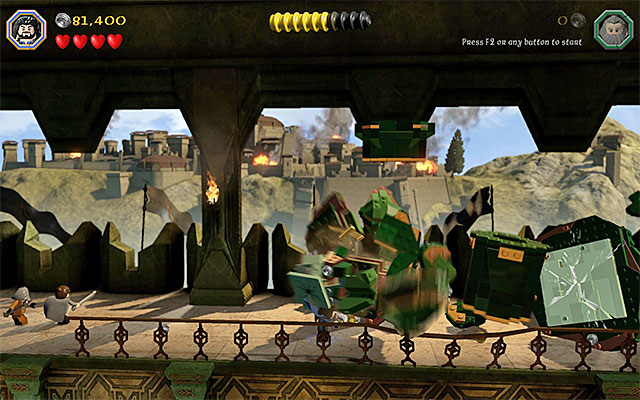
The next obstacle is the cracked slab. You need to remove it with the axe and this is where one of the weapons of Dori, Balin (Balin (Young)) or Thorin comes to your aid. Select the Dwarf Axe as the active item. You can now approach the elements on the ground and press the action key to get rid of them efficiently.
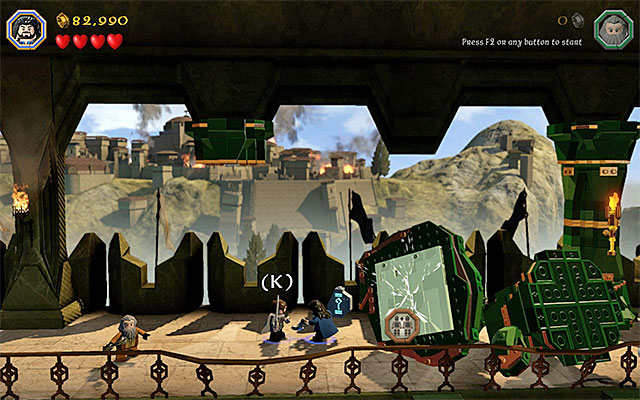
Collect the studs and approach the bigger heap of rubble. In here, it is the first time that the cooperation of the characters is required (Buddy-Up). Select any of the dwarves, approach one of the remaining playable characters (or get the both players closer to each other, if you are playing with another person) and press the key/button that you can see on the screen. After one of the dwarves jumps onto the other, stand on the fallen elements of the structure and press the action key. After that, go over to the right and watch a short cutscene.
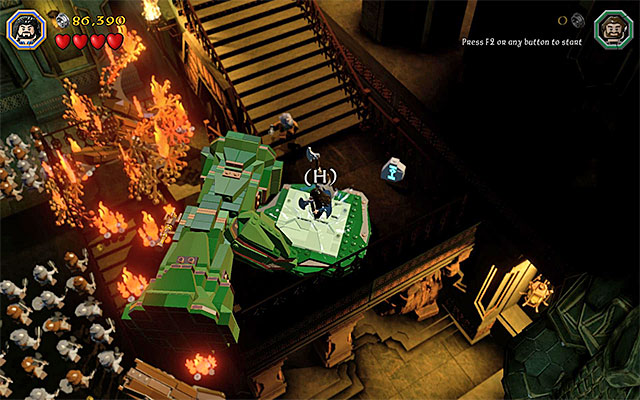
As usually, stop at the next barricade and select Dori (if he has taken part in the most recent Buddy-Up, he needs to detach from the other dwarf first). In the way that you have learned earlier, use the flail to clear the way. Climb down the stairs and "join" the two characters together again. As the dwarves, jump onto the cracked slab shown in the above screenshot and press the action key, thanks to which the cracked elements in the area will be destroyed. You can climb to the very bottom and approach the big gate, which will start another cutscene, featuring Smaug and King Thror.
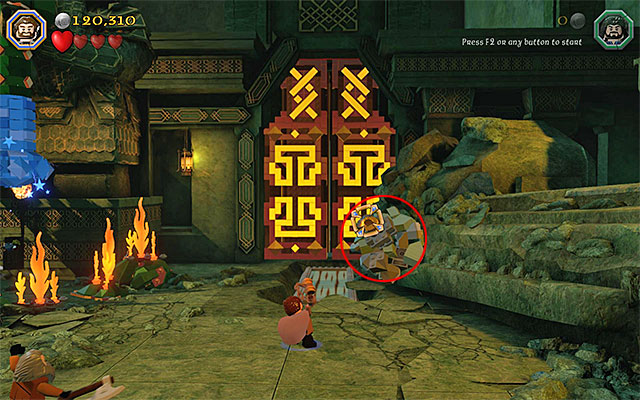
After you regain control over the allies, consider destroying the new elements in the area, but watch out for the flames, because you can lose the precious health hearts, as a result of coming into contact with them. While clearing the area, you need to perform several actions. Start by selecting Dori again and use his flail to target the catch on the right. Press the appropriate key, several times and, after a fragment of the structure comes off, start building a small clock (you need to hold down the key).
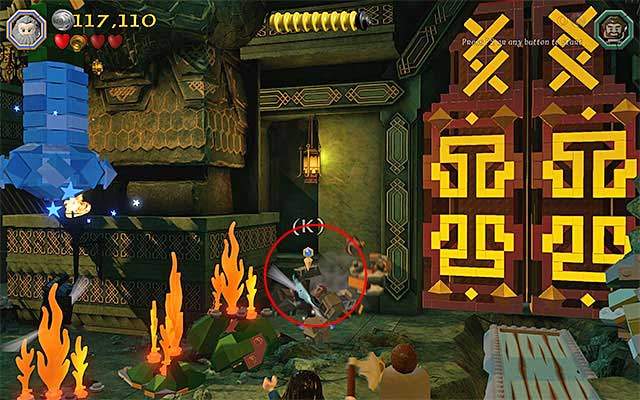
You can now send one of the characters to collect the Dwarven Warhammer, from the stand on the left, approach the block that you have recently erected and press the action button to give it a push. This action will unlock the door to the treasure.
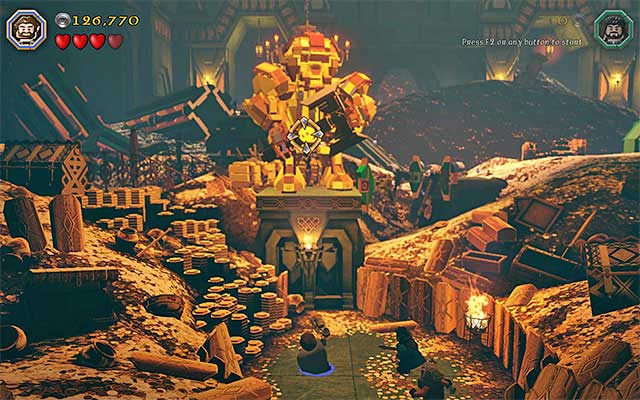
I recommend that you destroy all of the interactive elements of the surroundings, along your path across the treasure. The characters will find much more supplies here and these are going to come in handy, later throughout the game. Approach the big statue in the treasure and switch to Dori. Use the flail, in the way that you have already learned, target the catch ad bring the entire structure down. Walk over the fallen statue and, after you walk onto a small ledge, hold down the appropriate key to build a bridge.
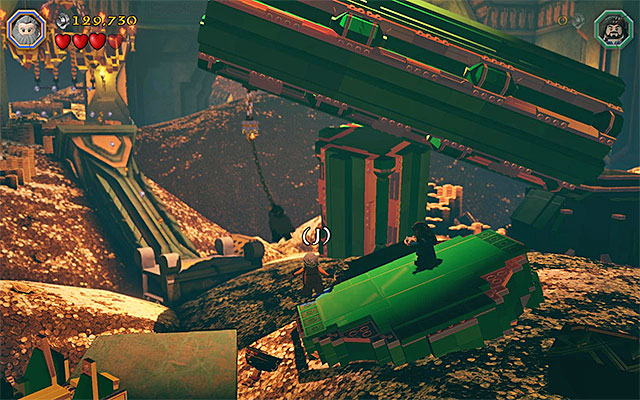
After you watch a short cutscene, walk over the bridge, to the right. Make sure that you are still controlling Dori and grab on to another catch. Dori will start to swing on the hook and you need to press the action key, at the appropriate moment to leap towards another ledge. Learn about another hint and grab onto the catch, which you have just used. Allow Dori to start swinging and switch to one of the remaining characters (Balin and Thorin). Stand next to the edge and wait for Dori to be close enough.. Then, press the jump key/button (the above screenshot) to leap towards him, thanks to which you will reach, safely, another ledge. repeat all of the above actions now, with the last one of the dwarves (leaping towards Dori on the rope and leap again towards the safe ledge).
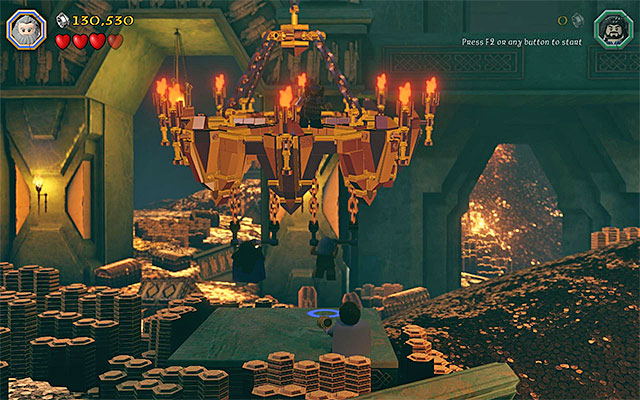
Walk over the fallen pillar to the ledge above. Select any of the characters here and leap towards one of the two grips, next to the gigantic chandelier. Leave that character in the hanging position and switch to any other dwarf. Now, jump towards the other of the grips. Wait for the chandelier to break loose and another cutscene starts.
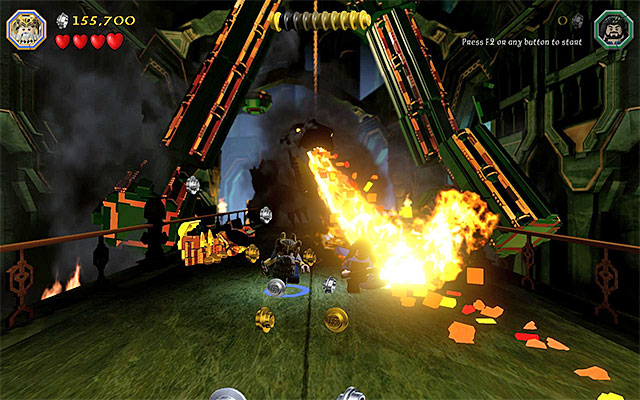
Towards the end of this stage, you can control either Thorin or King Thror. Go towards the background, thanks to which you will start a chase scene. During the escape from the dragon, remain in constant movement and strafe to the sides to avoid the fire attacks and collect the studs. At the very end, there also will appear an opportunity to collect a minikit but, do not worry if you miss that (it is best to clear this stage, of its secrets, in the free-exploration mode). Escaping the dragon will complete this stage and display statistics.
- LEGO The Hobbit Game Guide & Walkthrough
- LEGO The Hobbit: Walkthrough, Collectibles, Maps
- LEGO The Hobbit: Walkthrough
- Stage 1 (Greatest Kingdom in Middle-Earth): Inside the Lonely Mountain
- Stage 1 (Greatest Kingdom in Middle-Earth): Smaug's attack
- Middle-Earth: Reach the cottage of Bilbo Baggins
- Stage 2 (An Unexpected Party): The Party
- Middle-Earth: The journey to Bree
- Stage 3 (Azog the Defiler): The Camp
- Stage 3 (Azog the Defiler): The battle with the Orcs
- Stage 3 (Azog the Defiler): The battle with Azog the Defiler
- Middle-Earth: Reach Troll Dwellings
- Stage 4 (Roast Mutton): Free the horses
- Stage 4 (Roast Mutton): The battle with the Trolls
- Stage 4 (Roast Mutton): Rescue the allies
- Middle-Earth: Reach the troll cave
- Stage 5 (The Troll Hoard): Explore the cave
- Stage 5 (The Troll Hoard): Save the rabbits of Rhosgobel
- Stage 5 (The Troll Hoard): The orc encounter
- Middle-Earth: Meet Elrond in Rivendell
- Stage 6 (Over Hill and Under Hill): The way through the pass
- Stage 6 (Over Hill and Under Hill): Climb the stone giant
- Middle-Earth: Reach shelter
- Stage 7 (Goblin-town): Cooperation with a goblin
- Stage 7 (Goblin-town): Gollum's puzzles
- Stage 7 (Goblin-town): The first battle with Great Goblin
- Stage 7 (Goblin-town): Escape from the goblin city
- Stage 7 (Goblin-town): The second battle with Great Goblin
- Middle-Earth: The way through the pinewood forest
- Stage 8 (Out of the Frying Pan...): Escape the orcs
- Stage 8 (Out of the Frying Pan...): The battle with Azog the Defiler
- Middle-Earth: Descend from the Lonely Mountain
- Stage 9 (Queer Lodgings): The bear attack
- Stage 9 (Queer Lodgings): The cabin in the woods
- Middle-Earth: Reach the Dark Forest
- Stage 10 (Flies and Spiders): The Dark Forest
- Stage 10 (Flies and Spiders): The spider cave
- Stage 10 (Flies and Spiders): The battle with the spiders
- Middle-Earth: Crossing the elven kingdom
- Stage 11 (Barrels Out of Bond): The cellar
- Stage 11 (Barrels Out of Bond): Goblin attack
- Stage 11 (Barrels Out of Bond): Go down the river
- Middle-Earth: Make your way to Esgaroth
- Stage 12 (A Warm Welcome): The armory
- Stage 12 (A Warm Welcome): The docks
- Stage 12 (A Warm Welcome): The battle with Bolg
- Middle-Earth: Reach High Fells
- Stage 13 (Looking for Proof): The mountain path
- Stage 13 (Looking for Proof): Angmar's Tomb
- Middle-Earth: The journey to Dol Guldur Keep
- Stage 14 (The Necromancer): The keep's exterior
- Stage 14 (The Necromancer): The keep's interior
- Stage 14 (The Necromancer): The battle with Azog the Defiler
- Stage 14 (The Necromancer): The battle with Sauron
- Middle-Earth: The journey across Dale
- Stage 15 (On the Doorstep): The climb
- Middle-Earth: Reach the vault in the Lonely Mountain
- Stage 16 (Inside Information): The vault
- Stage 16 (Inside Information): Defeat Smaug
- LEGO The Hobbit: Walkthrough
- LEGO The Hobbit: Walkthrough, Collectibles, Maps
You are not permitted to copy any image, text or info from this page. This site is not associated with and/or endorsed by the developers and the publishers. All logos and images are copyrighted by their respective owners.
Copyright © 2000 - 2025 Webedia Polska SA for gamepressure.com, unofficial game guides, walkthroughs, secrets, game tips, maps & strategies for top games.
