Genshin Impact: Summertime Odyssey (event) - walkthrough
From our guide to Genshin Impact you will learn about the timed events appearing in the game. This time it is Summertime Odyssey, which has been divided into several chapters that will unlock after a certain amount of time.
This page of the guide to Genshin Impact contains useful information about an event called Summertime Odyssey, which appeared on July 7, 2022. You will learn what prizes you can get for taking part in the event, how to complete the individual challenges, and read other useful tips.
- General information
- How to begin?
- Surfpiercer challenges
- Misty Hills, Foggy Vales Challenge
- The Islands' Stirring Strings Challenge
- Immernachtreich Keep Challenge
- Temple of the Star Latitudes
- Main prize
General information
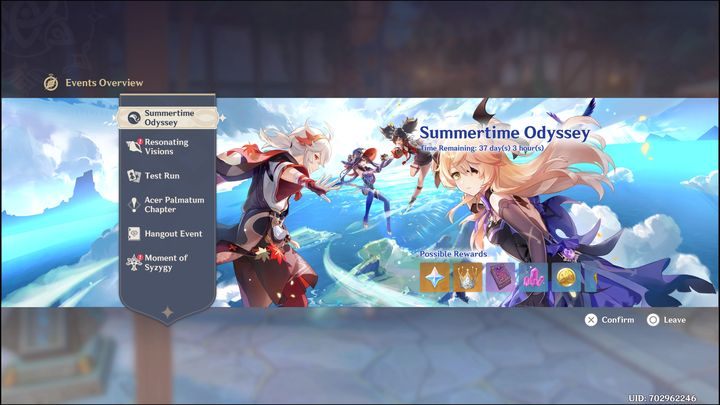
Summertime Odyssey is a summer event that will last about 40 days from day one. It has been divided into several chapters that will unlock after some time.
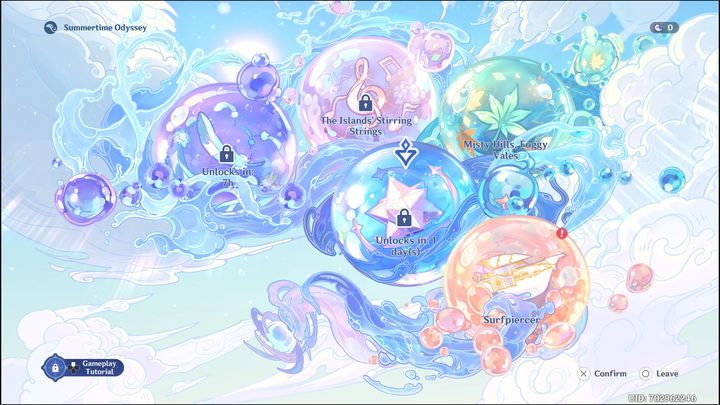
A padlock icon over a particular chapter means it has not yet been unlocked. The time underneath it will indicate when you can unlock it. The event itself is available to players who have at least 32 Adventure Rank and have completed Archon Quest Chapter II: Prologue "Autumn Winds, Scarlet Leaves" and Mona's Story Quest "Astrolabos Chapter: Act I-Beyond This World's Stars".
How to begin?
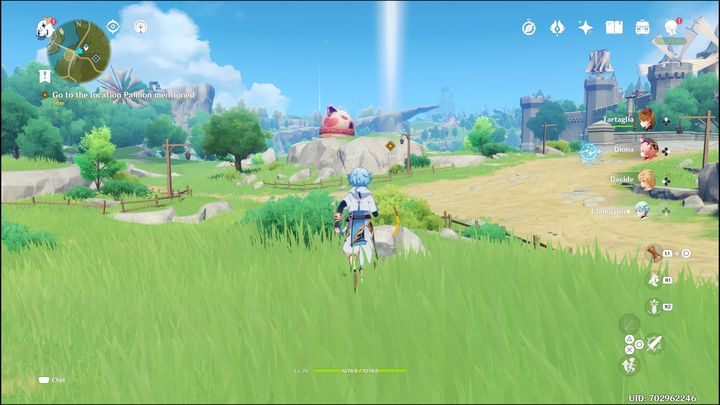
If you meet the requirements of the event, go to Mondstadt, more specifically to Katheryne. Talk to her, then go to the new marker. At the top of the city, you will find Mona and Fischl. After a short conversation, head to the inn where Kazuha, Venti and Xinyan will be staying. At the very end, go to the sculpture resembling Guoba (see photo above).

You will be transferred to an archipelago. Your next task will be reaching a specific point on the map. Use the boat that can be called near teleports. After you have gone to all points on the map and completed all conversations and cutscenes, you will unlock access to the first chapters.
Surfpiercer challenges
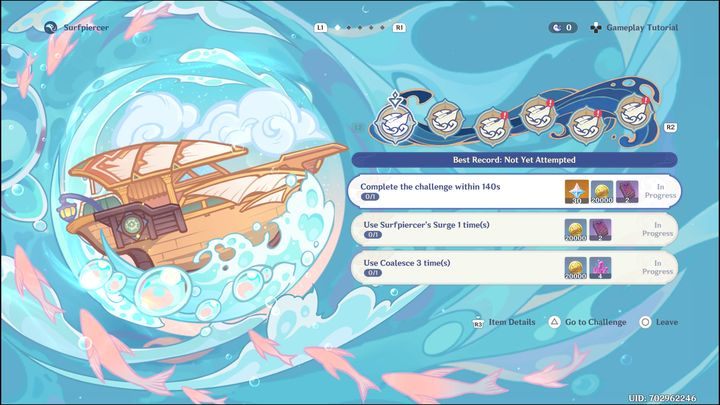
The first chapter of surfpiercer consists of performing individual challenges. The reward depends on how many tasks you can complete. Most often, you will need to fit in a time limit and destroy several obstacles, or use Piercer's Drive several times.
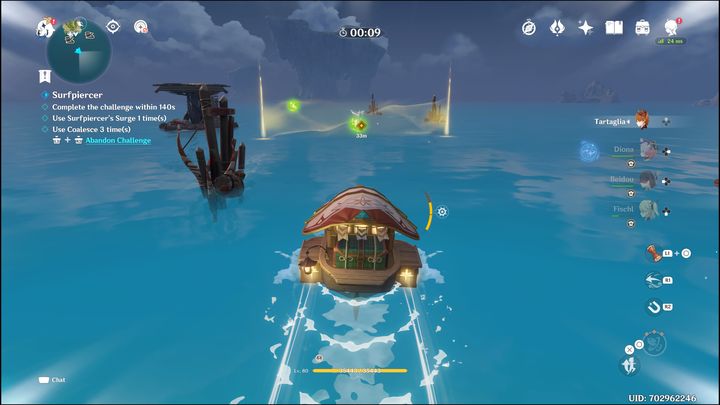
Your task in each of the challenges will be to swim through the golden gates, all the way to the finish line, while collecting green orbs, i.e. Surfpiercer's Drive. You do not have to touch the orbs to collect them – just use the Surfpiercer's Surge skill, which will pull all the balls in a small area towards you.
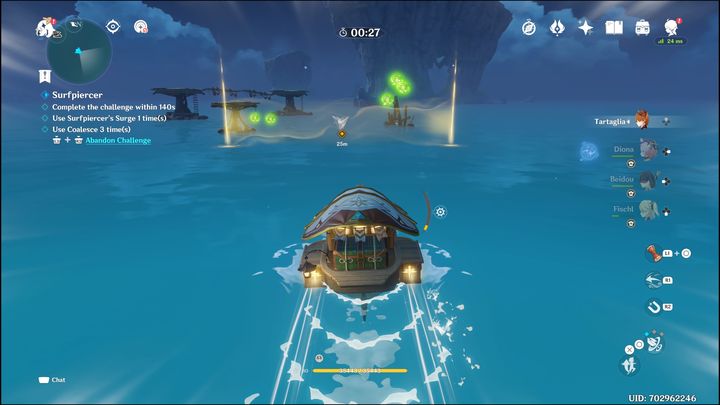
Once you get the right number of them, you will be able to take advantage of a powerful acceleration that can destroy many obstacles on your way. You can gather a maximum of 3 acceleration stacks.
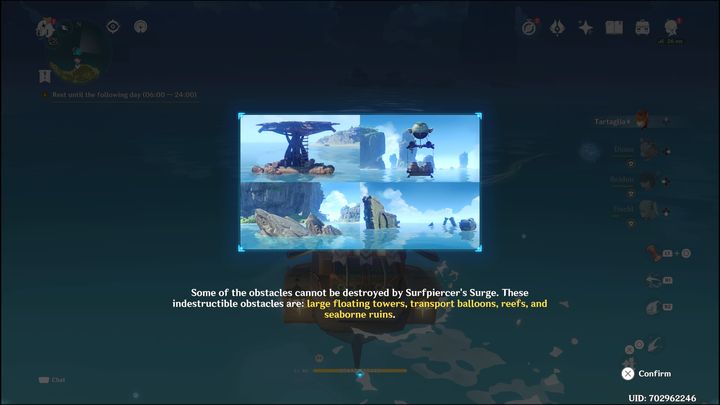
Note that some of the obstacles are impossible destroy; usually these are the larger structures, which stand out from their smaller counterparts.
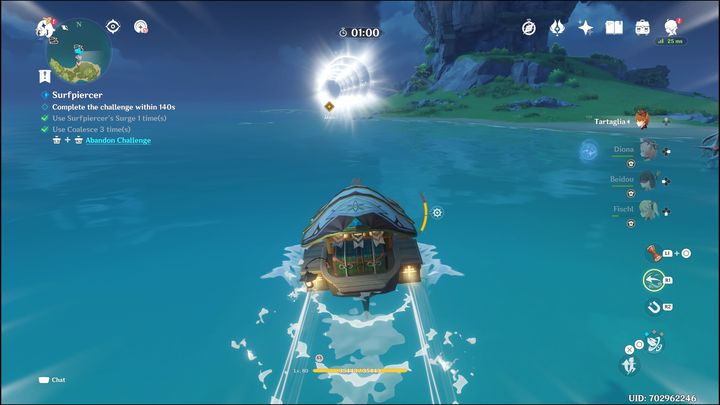
Obstacles will only be destroyed if you use the acceleration skill. These aren't the only obstacles; there will also be whirlpools. Sometimes, you will also have to get out of the boat to be able to transport faster to a given place using the air circles.
Upon entering each new challenge, in turn, you will be redirected to the map, specifically to the point where you need to go to start a new challenge and collect more prizes.
Misty Hills, Foggy Vales Challenge
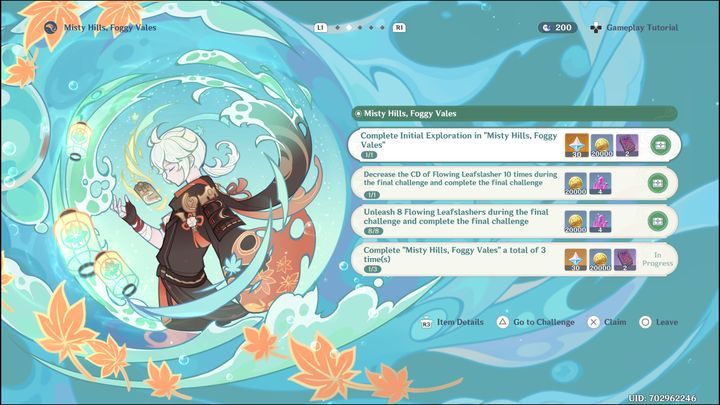
The next challenge begins in an unusual way, because after going to the new marker, you will be at the bonsai tree. After interacting with the plant, you will need to complete a task related to kazuha's history.
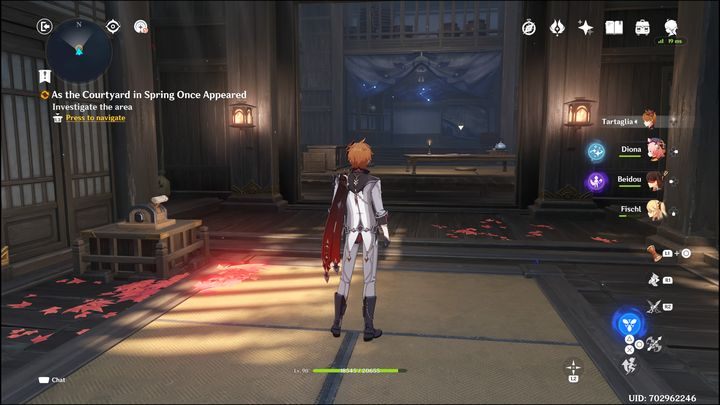
The tasks are a series of mini-mazes and puzzles. Very often you will have to use the lever to change the position of the room.
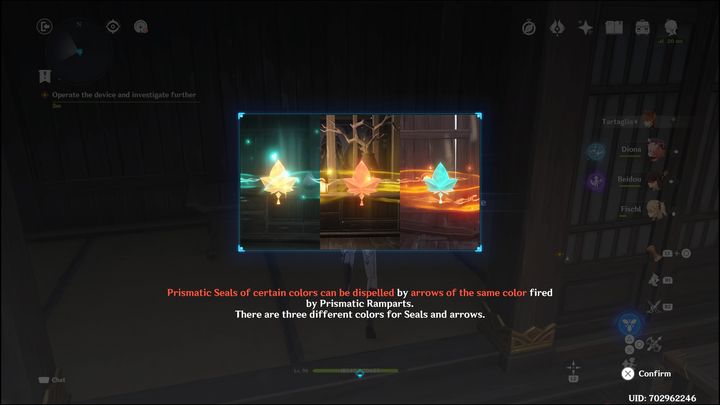
You will need to obtain a seal of certain colors. You can collect them when you shoot a projectile with a color that protects the seal (aura next to the leaf). This is not particularly difficult, because it's enough to set the appropriate trajectory of the monuments that indicate the path of the projectile.

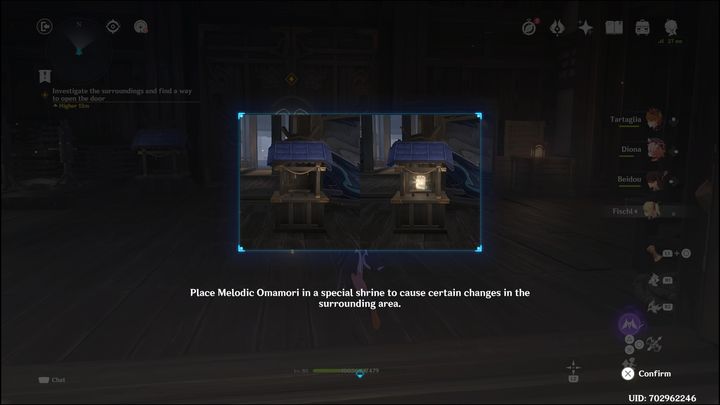
Later, it will also come to the omamori amulets, which, after the acquisition, you must place in the altars.
Once you have completed the tasks associated with this challenge, you will unlock access to the real tasks in this chapter.
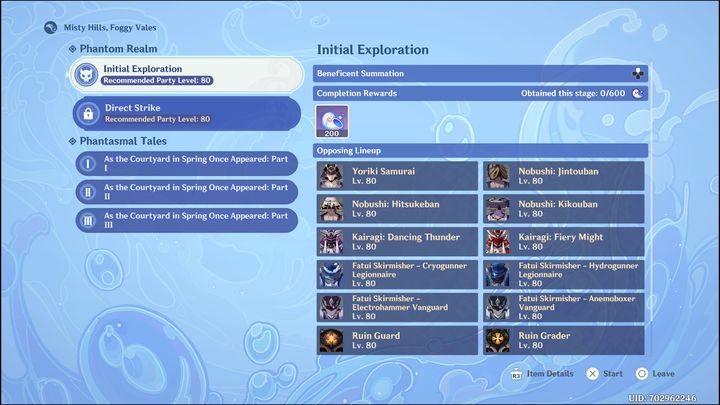
The challenges of this chapter consist mainly in defeating many opponents in a certain amount of time. The first task is about minor exploration and defeating several enemies on each section of the map.
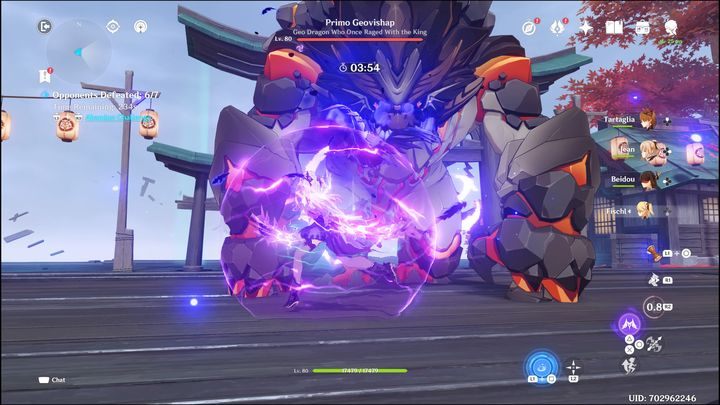
The second task is a direct clash with waves of opponents and then the final opponent.
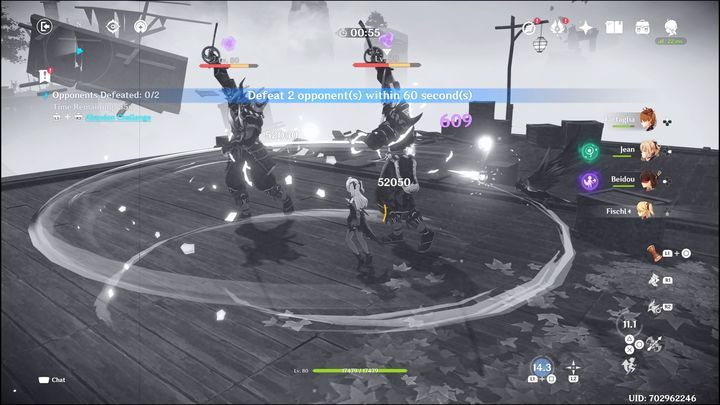
The fight should not be too hard, as you will have the opportunity to use a powerful area attack. The image will become black-and-white for a while, the cooldown of this skill is about 15 seconds.

In addition, three types of seals will appear, which, when raised, will give a different effect. Blue will allow you to jump higher and use jump attacks to reduce the renewal time of the Flowing Leafslasher by half a second.
The Red Seal increases the damage dealt by your character by 30%, while Yellow shortens the cooldown of Elemental Skill and Elemental Burst by 20%.
The Islands' Stirring Strings Challenge
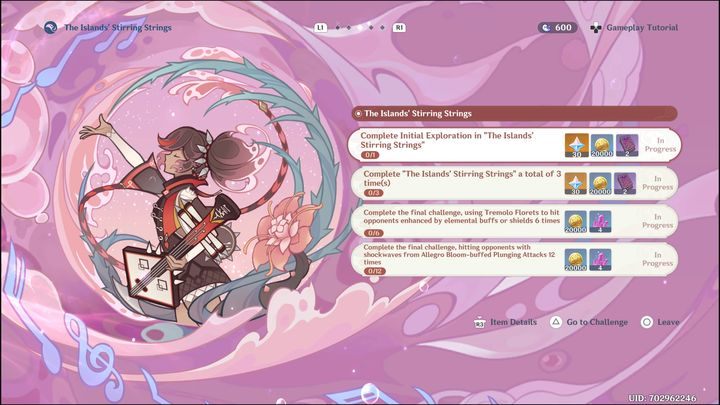
The challenges of this chapter are not much different from the last one. Both include defeating a wave of opponents in the arena or overcoming them by moving from point A to point B.
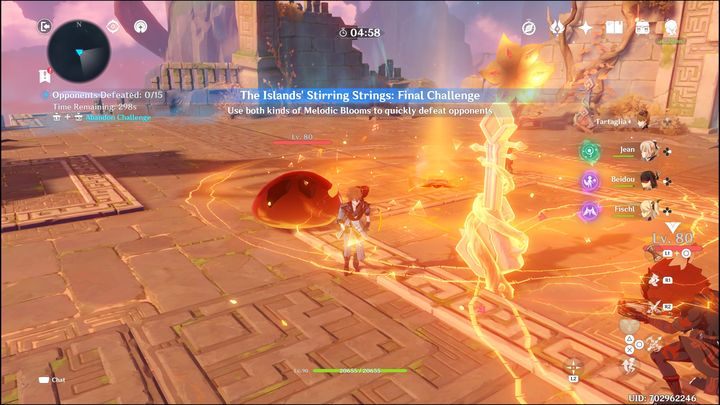
The differences are in the available buffs that will help defeat enemy units. In this chapter, you can use Allegro Blooms and Tremolo Florets.
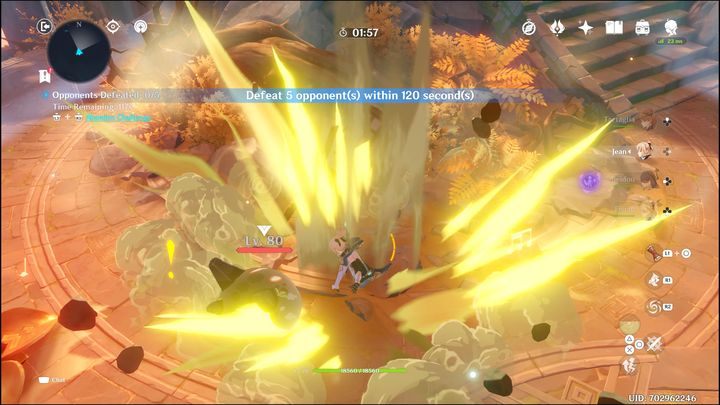
Allegro Blooms are monuments located in the middle of the area. When activated, they increase air movement so you can glide up and perform plunge attacks. Moreover, when you use such an attack, you will create a shock wave at the moment of landing, which deals significant damage in a middle range.
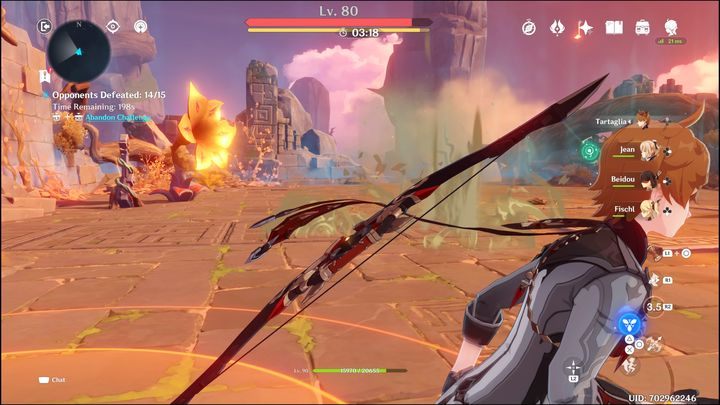
On the other hand, the large Tremolo Florets, which are located in the corners of the arena, inflict considerable physical damage when you touch them. Thanks to this, you can easily and quickly get rid of the yellow enemies' bar, representing the shield, and physical attacks are the fastest way to remove it. Lure the enemy to the flower and then use its skills and see how quickly the opponent's guard is destroyed.
Immernachtreich Keep Challenge
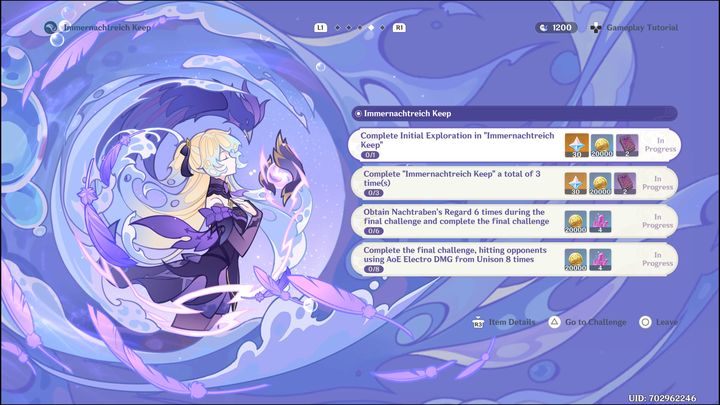
This challenge tells the story of Fischl. To be able to take part in it, you must first complete the Fischl's mission, which will make you travel around the castle, interacting with fairy tales.
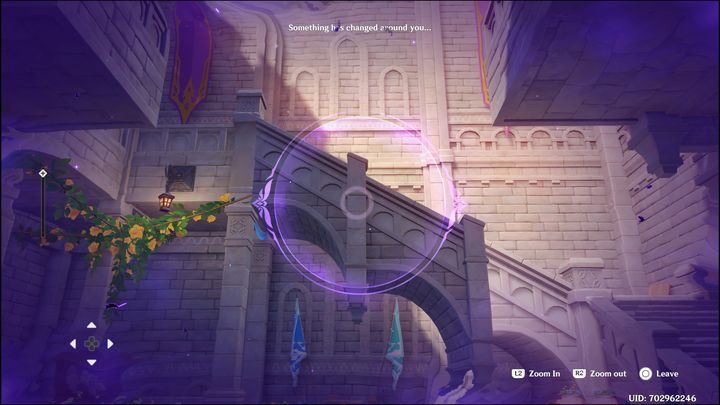
To move on to the other parts of the castle, you have to use mechanisms that work like a camera. Then you need to zoom out or zoom in so that objects connect with each other. Thanks to this, after exiting the mechanism, these objects will stay connected, and you will be able to use them or go through them.
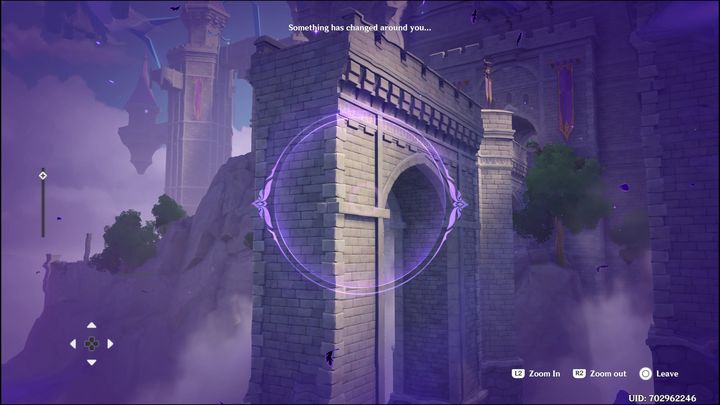
You will find that the object is positioned correctly when the screen turns purple. A purple circle in the middle of the larger one will indicate that you are close to the proper position of the camera.
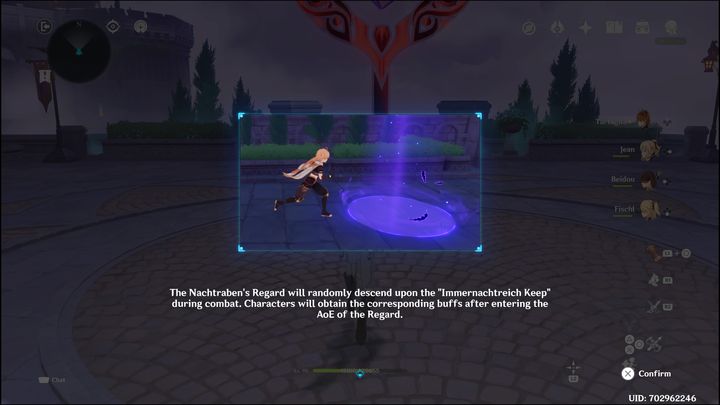
After completing this mission, you will unlock access to the next challenges. As before, you will have to defeat a wave of enemies. Buffs are also different. Now, every now and then circles of different shades of purple will appear on the arena.
To get all the rewards, you need to activate these buffs several times and complete the challenge.
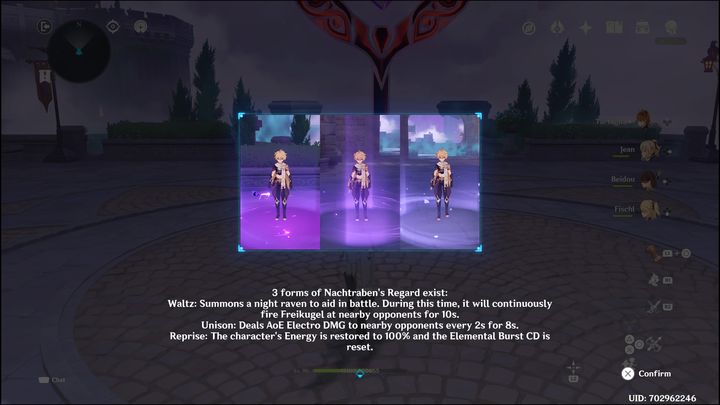
The darkest purple circle will call Oz for help, who will attack other enemies. The toned circle visible in the middle will apply AoE Electro DMG every 2 seconds for 8 seconds, and the brightest circle will regenerate 100% of energy and reset the Elemental Burst.
Temple of the Star Latitudes

Starting the last chapter of the event, you will get to a new place in the temple's dome.
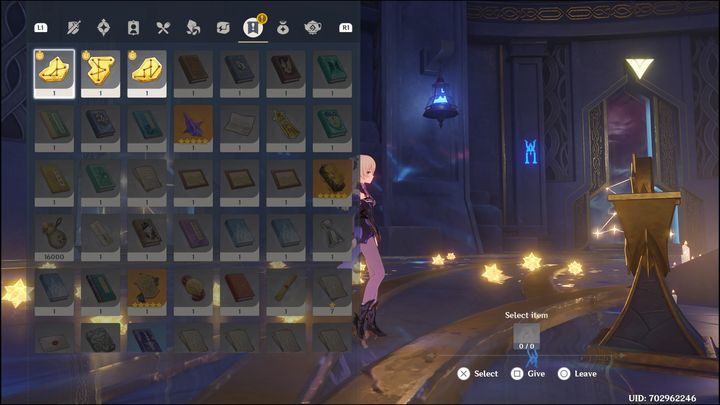
Pick up all the items that glow gold. Then, on the walls, you will notice different star constellations. You need to arrange them so that the constellations on the ceiling correspond to the ones on the wall. This will open the passage.
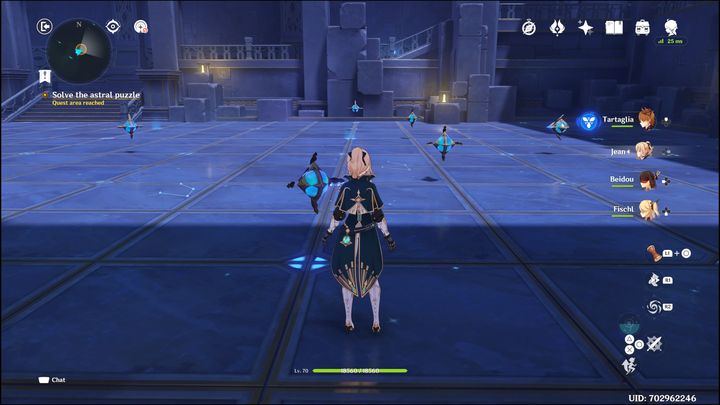
When you go inside, you will see several mechanisms that you can rotate. When you hit them, you will create a laser and a link to other mechanisms.
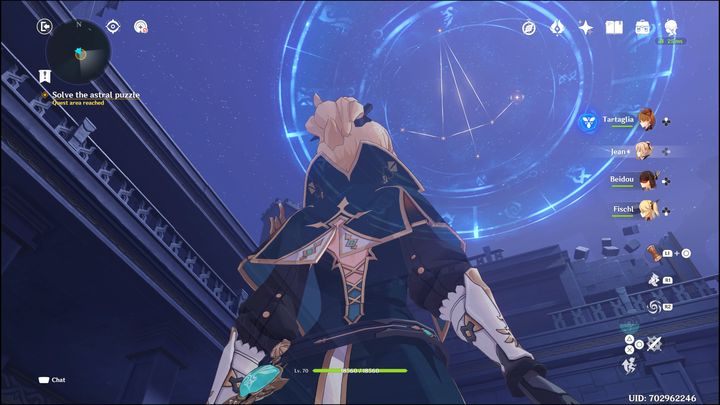
You will see another constellation in the sky, which you have to recreate using the mechanisms. At the beginning, approach he first mechanism on the right.
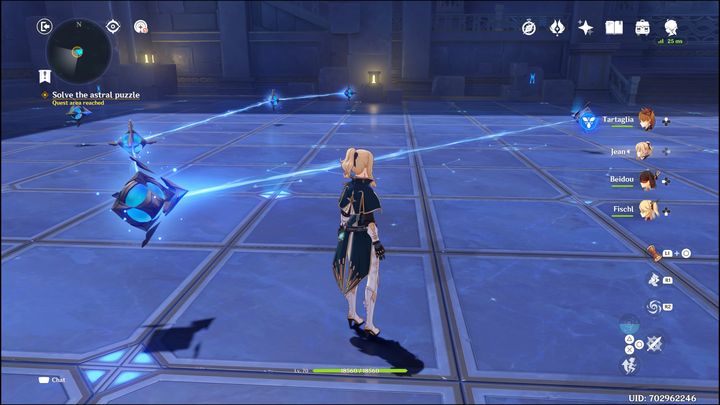
Once you have linked the mechanisms with the laser horizontally, go up near the center.

Then connect another mechanism with a laser pointing straight ahead. Now you just need to turn the mechanisms in the middle on the left and right to the center and up.
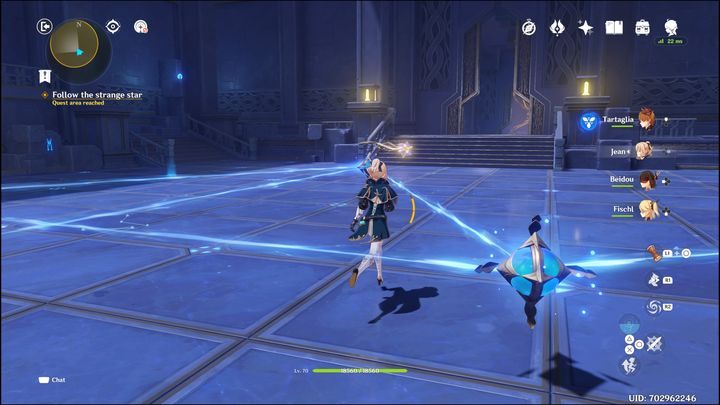
Then approach the star and follow it. This way you will move forward in the storyline.

After entering the water portal, your task will be to avoid the stars using Mona. You can't get more than 30 hits for a minute.
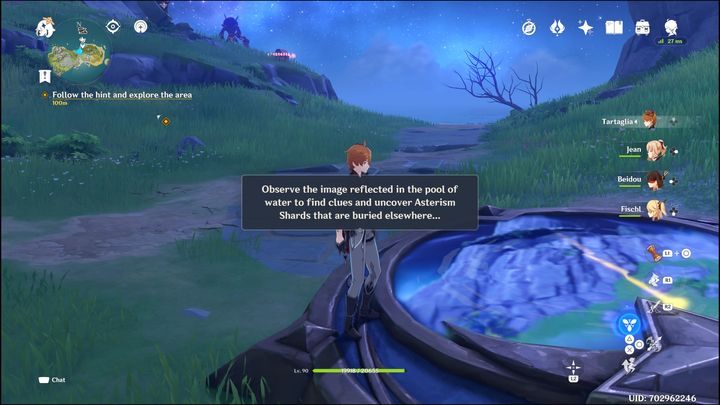
When you complete a series of tasks related to the story, you will unlock real challenges, which again involve defeating waves of opponents. During battles, you can activate three different mechanisms that will grant you random buffs.
The first of them, Subduing Star, will trap opponents for 8 seconds. In addition, the damage they receive will be increased by 35%. The second, Collapsing Star, causes your character to kill an opponent immediately if you collide with them. This effect lasts 6 seconds. The last one, Tidal star, imposes Hydro on all characters and opponents currently in the area. Additionally, frozen opponents will receive 50% more damage for 8 seconds.
Main prize
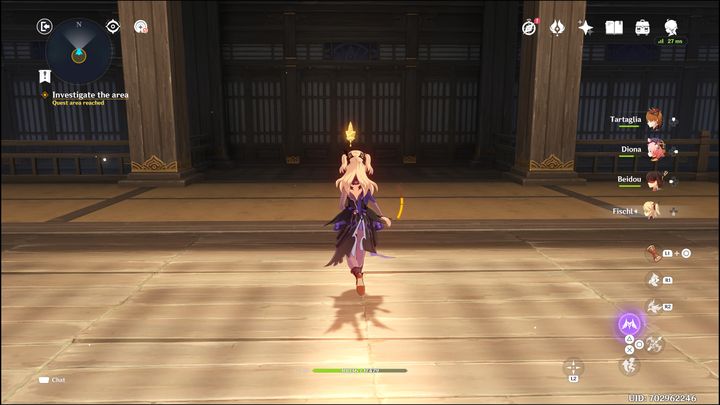
In addition to getting a specific amount of Primogems, EXP books, and materials for each challenge, you will unlock a shop where, among other things, you will be able to buy a crown that is needed to upgrade a given talent to the maximum. What's more, there are also materials and EXP books to buy. But most importantly, you can invite Fischl to your team. If you already have this character, you'll get her constellation level.
You are not permitted to copy any image, text or info from this page. This site is not associated with and/or endorsed by the developers and the publishers. All logos and images are copyrighted by their respective owners.
Copyright © 2000 - 2026 Webedia Polska SA for gamepressure.com, unofficial game guides, walkthroughs, secrets, game tips, maps & strategies for top games.
