Dead Space: Search and rescue Part 2
Fix the Array
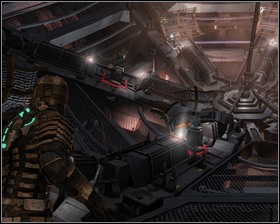 | 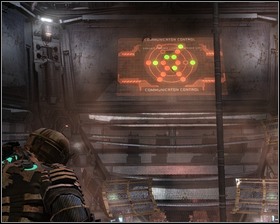 |
You will need to replace three damaged dishes from the inner part of the array (marked red) with three from the outer array (marked light blue. The schematics on the wall should provide you with assistance. No gravity in the room should help you move about more swiftly. Stay alert as there will be some necromorphs interrupting the repairs.
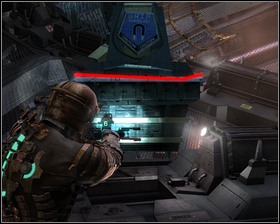 | 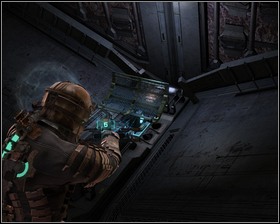 |
You will need to move three red dishes from the inner part of the array and replace them with the three blue from the outer array. The schematics will update as your work progresses.
Contact the military ship(2)
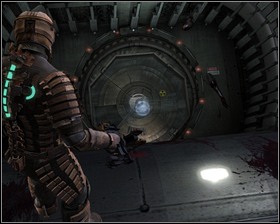 | 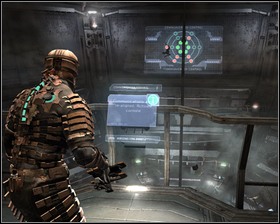 |
Return to the communication room and activate the console.
Use the ADS cannon to clear the blast doors
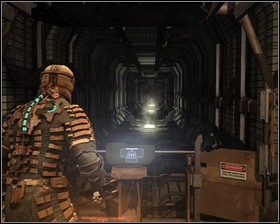 | 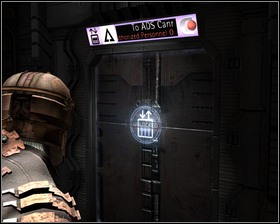 |
Take the lift to the lower level. In the room behind the large door you will find a Save station and an Upgrade Bench. Right behind the door there's also an elevator. In the room with the cannon entrance you will find a crate and two containers. Enter the cannon through the round hatch.
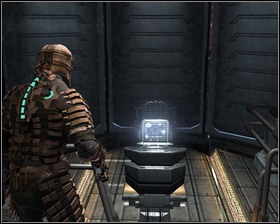 | 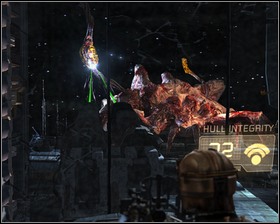 |
There's a Save station here, as well as a locker with a Power node inside. Sit comfortably behind the gun controls and try to take down the monster by attacking the yellow bumps on its body and destroying the exploding objects it hurls our way. The hull integrity can be seen on the right hand side of the cannon and we cannot allow it to drop to 0. After dealing with the monster, a cut-scene will begin.
Go to the cargo deck
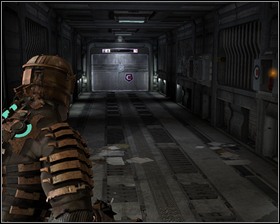 | 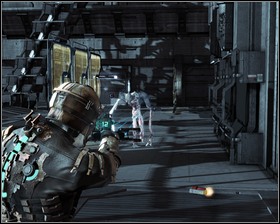 |
Return to the Atrium and from there to the tram. The road back shouldn't be much of a challenge except for the thin necromorph in the atrium. You can deal with it or just slow it down and ignore it - it doesn't drop anything of value. The tram will take you to the next chapter.
- Dead Space Game Guide & Walkthrough
- Dead Space: Game Guide
- Dead Space: Walkthrough
- Dead Space: Chapter 01 New Arrivals
- Dead Space: New Arrivals Part 1
- Dead Space: New Arrivals Part 2
- Dead Space: New Arrivals Part 3
- Dead Space: New Arrivals Part 4
- Dead Space: Chapter 02 Intensive Care
- Dead Space: Intensive Care Part 1
- Dead Space: Intensive Care Part 2
- Dead Space: Chapter 03 Course Correction
- Dead Space: Course Correction Part 1
- Dead Space: Course Correction Part 2
- Dead Space: Chapter 04 Obliteration Imminent
- Dead Space: Obliteration Imminent Part 1
- Dead Space: Obliteration Imminent Part 2
- Dead Space: Chapter 05 Lethal Devotion
- Dead Space: Lethal Devotion Part 1
- Dead Space: Lethal Devotion Part 2
- Dead Space: Chapter 06 Environmental Hazard
- Dead Space: Environmental Hazard Part 1
- Dead Space: Environmental Hazard Part 2
- Dead Space: Environmental Hazard Part 3
- Dead Space: Environmental Hazard Part 4
- Dead Space: Environmental Hazard Part 5
- Dead Space: Chapter 07 Into the Void
- Dead Space: Into the Void Part 1
- Dead Space: Into the Void Part 2
- Dead Space: Into the Void Part 3
- Dead Space: Chapter 08 Search and rescue
- Dead Space: Search and rescue Part 1
- Dead Space: Search and rescue Part 2
- Dead Space: Chapter 09 Dead on arrival
- Dead Space: Dead on arrival Part 1
- Dead Space: Dead on arrival Part 2
- Dead Space: Chapter 10 End of days
- Dead Space: End of days Part 1
- Dead Space: End of days Part 2
- Dead Space: End of days Part 3
- Dead Space: Chapter 11 Alternate solutions
- Dead Space: Alternate solutions Part 1
- Dead Space: Alternate solutions Part 2
- Dead Space: Chapter 12 Dead Space
- Dead Space: Dead Space Part 1
- Dead Space: Dead Space Part 2
- Dead Space: Walkthrough
- Dead Space: Game Guide
You are not permitted to copy any image, text or info from this page. This site is not associated with and/or endorsed by the developers and the publishers. All logos and images are copyrighted by their respective owners.
Copyright © 2000 - 2025 Webedia Polska SA for gamepressure.com, unofficial game guides, walkthroughs, secrets, game tips, maps & strategies for top games.
