Dead Space: Search and rescue Part 1
Contact the military ship (1)
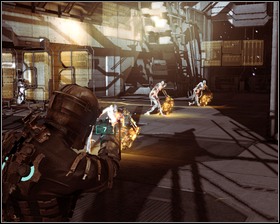 | 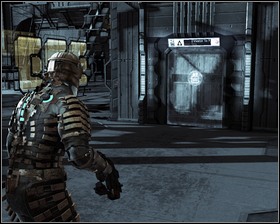 |
Get out of the tram and into the Atrium. A large group of enemies awaits you here - after you deal with them, the quarantine will be lifted and you will be able to take the elevator to level 03.
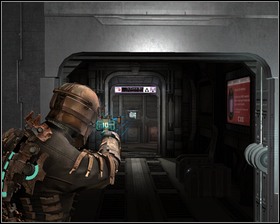 | 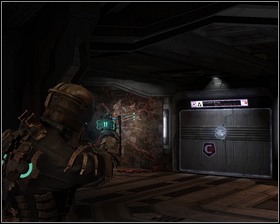 |
When you'll reach the room with the Save station don't rush to save the game, but take down the necromorphs attached to the walls first. After you deal with them, search the nearby lockers save the game and get through the door.
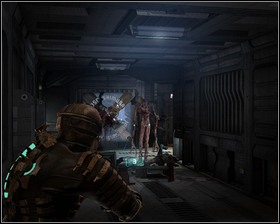 | 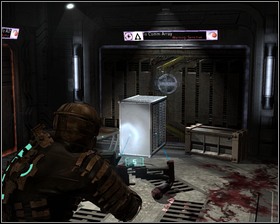 |
A thin necromorph will appear, and when you deal with him more little necromorphs will crawl out of his body and try to reanimate the corpses. A line gun alternative fire should dispatch them quickly. Make your way through the corridor using kinesis, until you reach the door.
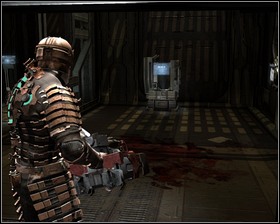 | 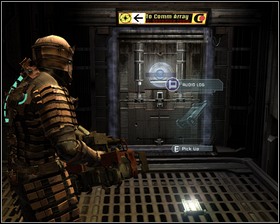 |
There's an Upgrade bench, in the middle of the room, a Save station, to the left and an elevator to the right - that's our way forward. In front of the door on the upper level you will find an Audio log. Behind the door you will find a locker with a Power node. Enter the wagon and activate it.
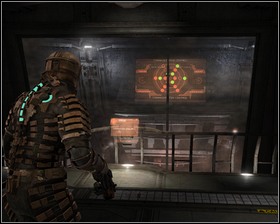 | 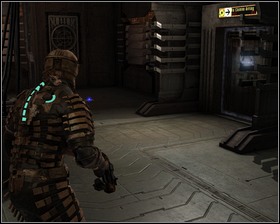 |
You'll receive a new objective the moment you enter the room. Search it thoroughly - there's a Save station on the left side of the control panel, and the a Stasis recharger on it's right side. In the back of the room you will find a Medium air can schematic and a container. Leave through the door leading to comms array. You'll find a Power node locker there, a crate along with some other open lockers. Leave through the round hatch.
- Dead Space Game Guide & Walkthrough
- Dead Space: Game Guide
- Dead Space: Walkthrough
- Dead Space: Chapter 01 New Arrivals
- Dead Space: New Arrivals Part 1
- Dead Space: New Arrivals Part 2
- Dead Space: New Arrivals Part 3
- Dead Space: New Arrivals Part 4
- Dead Space: Chapter 02 Intensive Care
- Dead Space: Intensive Care Part 1
- Dead Space: Intensive Care Part 2
- Dead Space: Chapter 03 Course Correction
- Dead Space: Course Correction Part 1
- Dead Space: Course Correction Part 2
- Dead Space: Chapter 04 Obliteration Imminent
- Dead Space: Obliteration Imminent Part 1
- Dead Space: Obliteration Imminent Part 2
- Dead Space: Chapter 05 Lethal Devotion
- Dead Space: Lethal Devotion Part 1
- Dead Space: Lethal Devotion Part 2
- Dead Space: Chapter 06 Environmental Hazard
- Dead Space: Environmental Hazard Part 1
- Dead Space: Environmental Hazard Part 2
- Dead Space: Environmental Hazard Part 3
- Dead Space: Environmental Hazard Part 4
- Dead Space: Environmental Hazard Part 5
- Dead Space: Chapter 07 Into the Void
- Dead Space: Into the Void Part 1
- Dead Space: Into the Void Part 2
- Dead Space: Into the Void Part 3
- Dead Space: Chapter 08 Search and rescue
- Dead Space: Search and rescue Part 1
- Dead Space: Search and rescue Part 2
- Dead Space: Chapter 09 Dead on arrival
- Dead Space: Dead on arrival Part 1
- Dead Space: Dead on arrival Part 2
- Dead Space: Chapter 10 End of days
- Dead Space: End of days Part 1
- Dead Space: End of days Part 2
- Dead Space: End of days Part 3
- Dead Space: Chapter 11 Alternate solutions
- Dead Space: Alternate solutions Part 1
- Dead Space: Alternate solutions Part 2
- Dead Space: Chapter 12 Dead Space
- Dead Space: Dead Space Part 1
- Dead Space: Dead Space Part 2
- Dead Space: Walkthrough
- Dead Space: Game Guide
You are not permitted to copy any image, text or info from this page. This site is not associated with and/or endorsed by the developers and the publishers. All logos and images are copyrighted by their respective owners.
Copyright © 2000 - 2025 Webedia Polska SA for gamepressure.com, unofficial game guides, walkthroughs, secrets, game tips, maps & strategies for top games.
