Dead Space: Into the Void Part 3
Destroy the gravity tethers 3/4
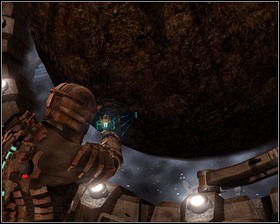 | 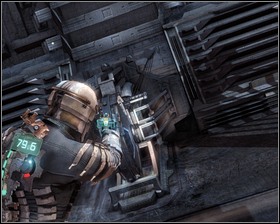 |
Now's when the fun begins. Make sure you have an extra Air can and Stasis module. In order to use them, press Tab, browse through the inventory with arrows and press E. Pay attention to how the metal arms rotate around the asteroid before jumping. Try to reach the spot seen on the screen. And run into space to get out of the metal arms' reach. Before destroying the third tether you will have to deal with some enemies.
Destroy the gravity tethers 4/4
 |  |
Locating and destroying the last tether is a sheer formality, but in the meantime you will probably need to refill your oxygen and stasis.
Plant the beacon(2)
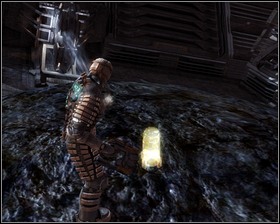 | 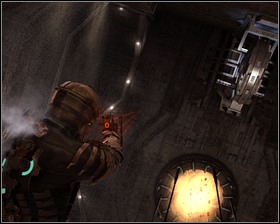 |
Time to get back to our main objective - planting the beacon. It's really simple, you just need to press E while standing on the chunk of rock. You can even do it before destroying the tethers. Now jump back to the mining bay.
Launch the asteroid
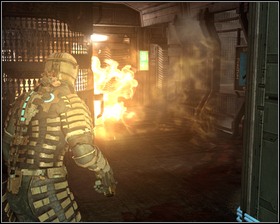 | 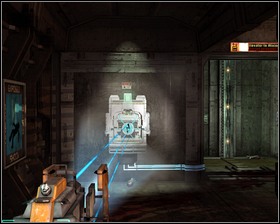 |
You need to get back to the room where you picked up the energy coil and take it back to the first elevator. Flames may seem like a problem, but they burst in a set order, so you'll just need to run past them as they disappear. Pick up the coil from a safe distance.
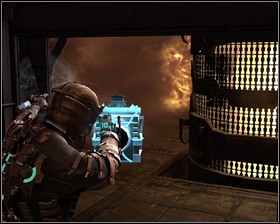 | 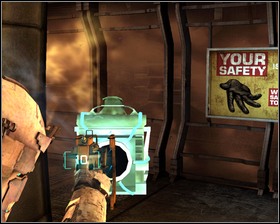 |
Avoid the flames by turning left, right and left again near the poster.
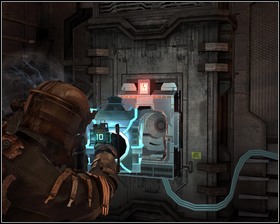 | 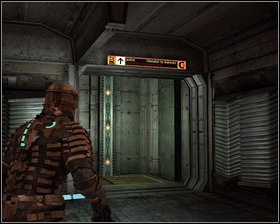 |
Get to the other side of the room, place the coil in the slot and take the elevator to the upper level.
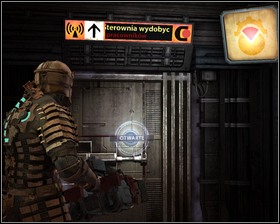 | 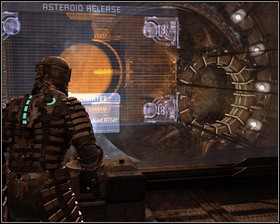 |
Get to the mining control and use the key (E). Before releasing the asteroid search through the room - there's a Power node in a wall locker here and two crates. Approach the console and press E.
Go to the bridge
 |  |
Now you need to get back to the tram. Before you leave the area however, a quarantine will be placed and you will need to dispatch some monsters. Get to the large elevator, get to the RIG room, resupply and go back to the tram station.
- Dead Space Game Guide & Walkthrough
- Dead Space: Game Guide
- Dead Space: Walkthrough
- Dead Space: Chapter 01 New Arrivals
- Dead Space: New Arrivals Part 1
- Dead Space: New Arrivals Part 2
- Dead Space: New Arrivals Part 3
- Dead Space: New Arrivals Part 4
- Dead Space: Chapter 02 Intensive Care
- Dead Space: Intensive Care Part 1
- Dead Space: Intensive Care Part 2
- Dead Space: Chapter 03 Course Correction
- Dead Space: Course Correction Part 1
- Dead Space: Course Correction Part 2
- Dead Space: Chapter 04 Obliteration Imminent
- Dead Space: Obliteration Imminent Part 1
- Dead Space: Obliteration Imminent Part 2
- Dead Space: Chapter 05 Lethal Devotion
- Dead Space: Lethal Devotion Part 1
- Dead Space: Lethal Devotion Part 2
- Dead Space: Chapter 06 Environmental Hazard
- Dead Space: Environmental Hazard Part 1
- Dead Space: Environmental Hazard Part 2
- Dead Space: Environmental Hazard Part 3
- Dead Space: Environmental Hazard Part 4
- Dead Space: Environmental Hazard Part 5
- Dead Space: Chapter 07 Into the Void
- Dead Space: Into the Void Part 1
- Dead Space: Into the Void Part 2
- Dead Space: Into the Void Part 3
- Dead Space: Chapter 08 Search and rescue
- Dead Space: Search and rescue Part 1
- Dead Space: Search and rescue Part 2
- Dead Space: Chapter 09 Dead on arrival
- Dead Space: Dead on arrival Part 1
- Dead Space: Dead on arrival Part 2
- Dead Space: Chapter 10 End of days
- Dead Space: End of days Part 1
- Dead Space: End of days Part 2
- Dead Space: End of days Part 3
- Dead Space: Chapter 11 Alternate solutions
- Dead Space: Alternate solutions Part 1
- Dead Space: Alternate solutions Part 2
- Dead Space: Chapter 12 Dead Space
- Dead Space: Dead Space Part 1
- Dead Space: Dead Space Part 2
- Dead Space: Walkthrough
- Dead Space: Game Guide
You are not permitted to copy any image, text or info from this page. This site is not associated with and/or endorsed by the developers and the publishers. All logos and images are copyrighted by their respective owners.
Copyright © 2000 - 2025 Webedia Polska SA for gamepressure.com, unofficial game guides, walkthroughs, secrets, game tips, maps & strategies for top games.
