Dead Space: End of days Part 2
Find the navigational cards 2/3
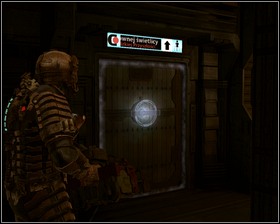 | 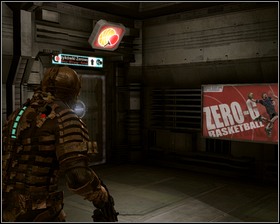 |
You will now need to return to the area near the tram station. Take the elevator and go past the mess hall, Upgrade bench and the Save station ant take the small elevator. Resupply at the Store and go for the door marked Sleep block C. From there go to the basketball court.
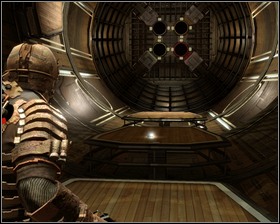 | 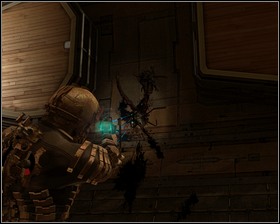 |
There is a locker and a Text log describing the zero g basketball out front of the court, but before you start the mini-game try to complete the objective. Jump to the second platform of the court and kill the necrobabies. After they're gone pick up the second Nav card. Now you can try to play some basketball.
Find the navigational cards 3/3
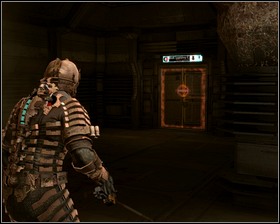 | 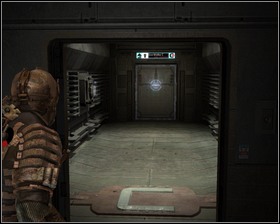 |
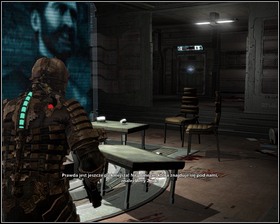
The last card can be found in the Sleep block C commons, that you can reach by turning right after leaving the locker rooms. You might want to resupply in the main area. Prepare for the attack of the mantis that animates the dead bodies. You should focus on it before taking care of the rest of the enemies. Get back to your mission. Get to the sleep block C and open the door with the crew key. After leaving the elevator save the game.
 | 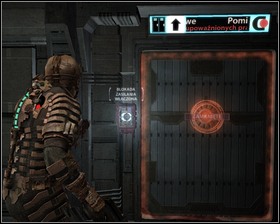 |
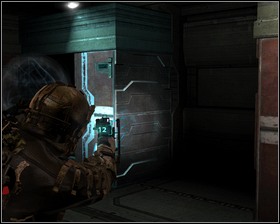
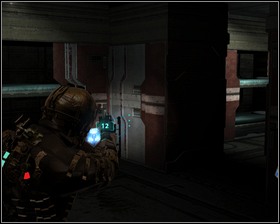
Get to the bunks area - there's a storage to the righ, but you will need to expend a Power node in order to get past the door. It's worth doing since you there is a lot of various ammunition there, as well as a Large med pack which pretty much covers the expense.
 |  |
Move the bunks using kinesis in order to open up the way forward. In one of the openings there is a Ruby semiconductor.
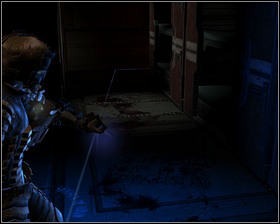 | 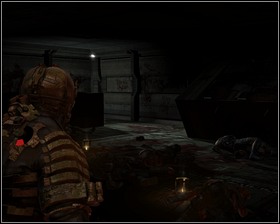 |
The bloody trail leads to the scene of massacre. One of the corpses is of a woman that shot herself in the head - look behind the crate next to her to find the Nav card and a Medium med pack. Before you pick them up prepare for a fight - charge your stasis, reload, heal yourself. Then pick the card up.
- Dead Space Game Guide & Walkthrough
- Dead Space: Game Guide
- Dead Space: Walkthrough
- Dead Space: Chapter 01 New Arrivals
- Dead Space: New Arrivals Part 1
- Dead Space: New Arrivals Part 2
- Dead Space: New Arrivals Part 3
- Dead Space: New Arrivals Part 4
- Dead Space: Chapter 02 Intensive Care
- Dead Space: Intensive Care Part 1
- Dead Space: Intensive Care Part 2
- Dead Space: Chapter 03 Course Correction
- Dead Space: Course Correction Part 1
- Dead Space: Course Correction Part 2
- Dead Space: Chapter 04 Obliteration Imminent
- Dead Space: Obliteration Imminent Part 1
- Dead Space: Obliteration Imminent Part 2
- Dead Space: Chapter 05 Lethal Devotion
- Dead Space: Lethal Devotion Part 1
- Dead Space: Lethal Devotion Part 2
- Dead Space: Chapter 06 Environmental Hazard
- Dead Space: Environmental Hazard Part 1
- Dead Space: Environmental Hazard Part 2
- Dead Space: Environmental Hazard Part 3
- Dead Space: Environmental Hazard Part 4
- Dead Space: Environmental Hazard Part 5
- Dead Space: Chapter 07 Into the Void
- Dead Space: Into the Void Part 1
- Dead Space: Into the Void Part 2
- Dead Space: Into the Void Part 3
- Dead Space: Chapter 08 Search and rescue
- Dead Space: Search and rescue Part 1
- Dead Space: Search and rescue Part 2
- Dead Space: Chapter 09 Dead on arrival
- Dead Space: Dead on arrival Part 1
- Dead Space: Dead on arrival Part 2
- Dead Space: Chapter 10 End of days
- Dead Space: End of days Part 1
- Dead Space: End of days Part 2
- Dead Space: End of days Part 3
- Dead Space: Chapter 11 Alternate solutions
- Dead Space: Alternate solutions Part 1
- Dead Space: Alternate solutions Part 2
- Dead Space: Chapter 12 Dead Space
- Dead Space: Dead Space Part 1
- Dead Space: Dead Space Part 2
- Dead Space: Walkthrough
- Dead Space: Game Guide
You are not permitted to copy any image, text or info from this page. This site is not associated with and/or endorsed by the developers and the publishers. All logos and images are copyrighted by their respective owners.
Copyright © 2000 - 2025 Webedia Polska SA for gamepressure.com, unofficial game guides, walkthroughs, secrets, game tips, maps & strategies for top games.
