Dead Space: Dead on arrival Part 1
Enter the military ship
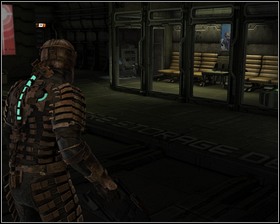 | 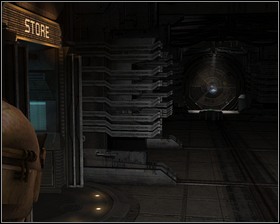 |
The tram station offers access to the Upgrade bench as well as a container and a crate. Further on your way you will find another crate, a container and the Store. Get through the round hatch. On the other side you will find a locker with a Medium air can and another hatch.
Clear radioactive material (6/6)
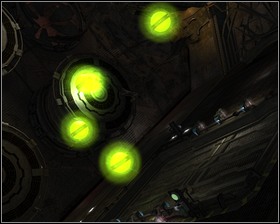 | 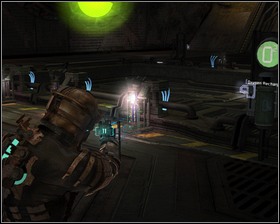 |
The door leading to the ship is locked, because the sensors detected some radioactive materials. You will need to remove the six glowing spheres floating about the room, by tossing them into space. In order to do that you will need to stomp on each of the six fuses around the door in the center of the room, but don't do that until you place the spheres near the door - opening it will suck out all the air and put quite a pressure on you. When you destroy the last of the six fuses try to position yourself around one of the two Oxygen rechargers in the room.
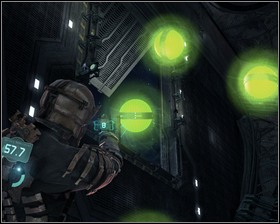 | 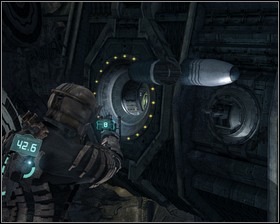 |
Toss all the spheres out into the space and fight the appearing necromorphs. Use the Oxygen recharger when it's necessary. When you deal with the radiation jump through the round hatch and into the ship.
Find the singularity core
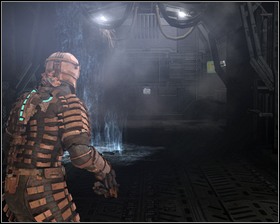 | 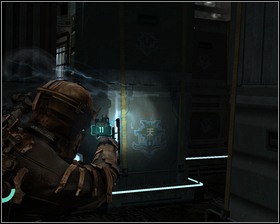 |
There's a container, right to your left, but pay close attention to the energy coming out from the floor. Use the Save station and enter the cargo area. Two more crates to smash here. Make your way through the room by moving the glowing containers along the rails - nothing very refined here.
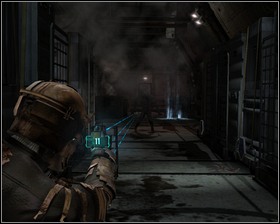 | 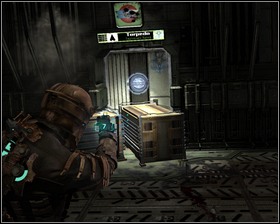 |
Your way is blocked by mutated, ultrafast soldiers, they are not as tough as they may seem however. After dealing with the first wave, proceed deeper into the room. Use the kinesis to open the way to the torpedo room.
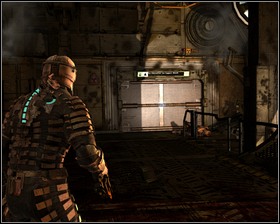 | 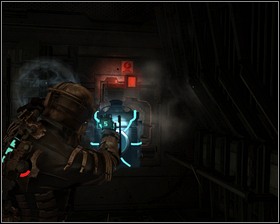 |
There are some containers and crates here. Get through the wide elevator door and take note of the crate to your right. Use the Save station. Calling the elevator will result in a malfunction and trigger an attack. The attempt to use the coil from the other side of the room proves futile - only after shooting the mechanism with stasis will you be able to plug the coil in. When everything's working, get into the elevator.
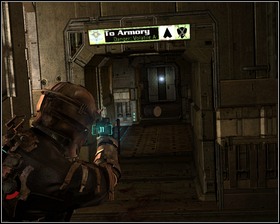 | 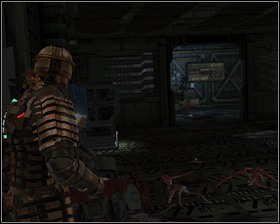 |
Head to the armoury and search the room after you deal with all the enemies. There's a crate here, as well as a Power node locker.
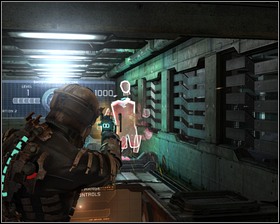 | 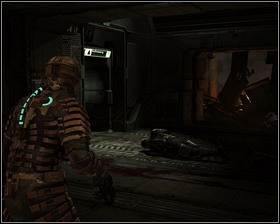 |
You can test your aim at the shooting range - you'll also find an Audio log there. Get into the infirmary, use the Stasis recharger, and enter the next room.
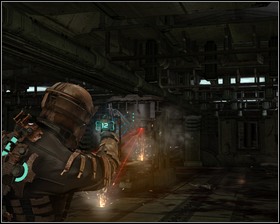 | 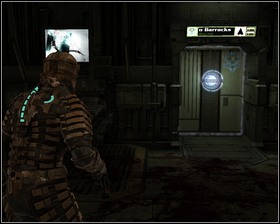 |
The lasers here ought to kill you unless you hit their source with stasis. When you do, run over to the other side of the room and deal with the attacking necromorphs. There are some crates here that you might want to check out after you slow the lasers down again. Then head to the barracks.
- Dead Space Game Guide & Walkthrough
- Dead Space: Game Guide
- Dead Space: Walkthrough
- Dead Space: Chapter 01 New Arrivals
- Dead Space: New Arrivals Part 1
- Dead Space: New Arrivals Part 2
- Dead Space: New Arrivals Part 3
- Dead Space: New Arrivals Part 4
- Dead Space: Chapter 02 Intensive Care
- Dead Space: Intensive Care Part 1
- Dead Space: Intensive Care Part 2
- Dead Space: Chapter 03 Course Correction
- Dead Space: Course Correction Part 1
- Dead Space: Course Correction Part 2
- Dead Space: Chapter 04 Obliteration Imminent
- Dead Space: Obliteration Imminent Part 1
- Dead Space: Obliteration Imminent Part 2
- Dead Space: Chapter 05 Lethal Devotion
- Dead Space: Lethal Devotion Part 1
- Dead Space: Lethal Devotion Part 2
- Dead Space: Chapter 06 Environmental Hazard
- Dead Space: Environmental Hazard Part 1
- Dead Space: Environmental Hazard Part 2
- Dead Space: Environmental Hazard Part 3
- Dead Space: Environmental Hazard Part 4
- Dead Space: Environmental Hazard Part 5
- Dead Space: Chapter 07 Into the Void
- Dead Space: Into the Void Part 1
- Dead Space: Into the Void Part 2
- Dead Space: Into the Void Part 3
- Dead Space: Chapter 08 Search and rescue
- Dead Space: Search and rescue Part 1
- Dead Space: Search and rescue Part 2
- Dead Space: Chapter 09 Dead on arrival
- Dead Space: Dead on arrival Part 1
- Dead Space: Dead on arrival Part 2
- Dead Space: Chapter 10 End of days
- Dead Space: End of days Part 1
- Dead Space: End of days Part 2
- Dead Space: End of days Part 3
- Dead Space: Chapter 11 Alternate solutions
- Dead Space: Alternate solutions Part 1
- Dead Space: Alternate solutions Part 2
- Dead Space: Chapter 12 Dead Space
- Dead Space: Dead Space Part 1
- Dead Space: Dead Space Part 2
- Dead Space: Walkthrough
- Dead Space: Game Guide
You are not permitted to copy any image, text or info from this page. This site is not associated with and/or endorsed by the developers and the publishers. All logos and images are copyrighted by their respective owners.
Copyright © 2000 - 2025 Webedia Polska SA for gamepressure.com, unofficial game guides, walkthroughs, secrets, game tips, maps & strategies for top games.
