Dead Space: New Arrivals Part 2
Replace the damaged tram
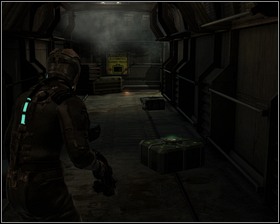 | 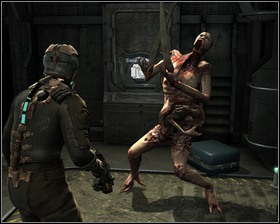 |
Leave the room going to the cargo hallway and turn left when you reach the wide corridor (remember to check the container). I am aware that the objective tells us to go the opposite way, but it's worth to spend a few minutes collecting items and saving the game. A necromorph blocks the way to the Save station, be sure to pick up what he drops. A Medium med pack can be found in the area, also there's an Audio Log lying at the very end of the corridor.
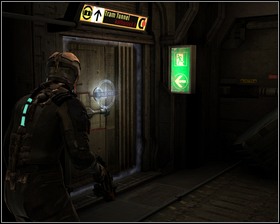 | 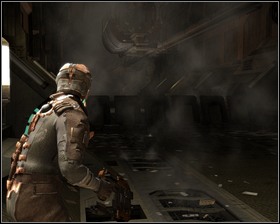 |
In order to get to the objective you need to pass through the door leading to the tram tunnel. Continue until you reach a large room - search it to find some useful items.
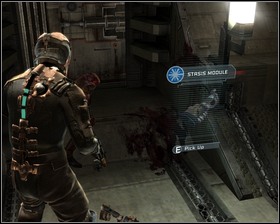 | 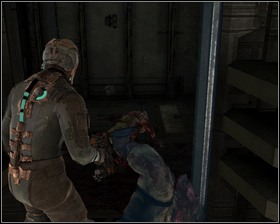 |
The locking mechanism on the door is broken, and trying to go through it may only result in being shred to pieces. Our main interest is not what lies on the other side, however, but right in front of the door - the Stasis module. Install it and get to the Stasis recharger to charge it. With this gadget we will be able to slow down enemies and mechanisms, and the first opportunity to do so is right now. Target the door (LMB) and fire, by pressing C. The nearby body should also get hit, but our main interest are the door, which now can be safely crossed.
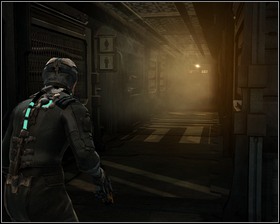 | 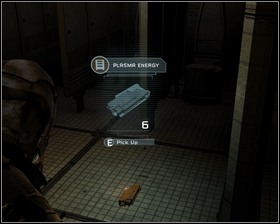 |
When you reach a wide corridor look to your right to find some credits. Be sure to check the toilet for items.
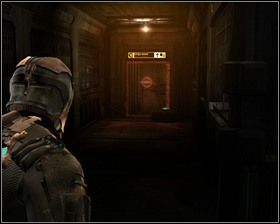 | 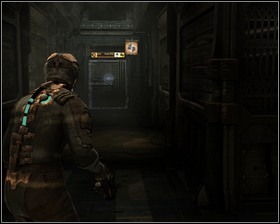 |
Going right you'll find Save station, and if you check the dead end you'll see a container just waiting to be smashed. Behind the open door is the tram repair room.
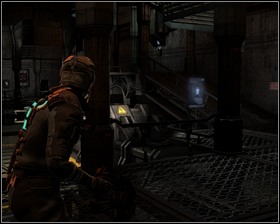 | 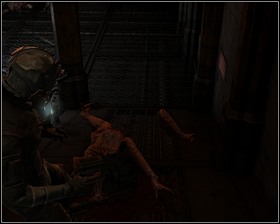 |
Power Node is waiting for you in the locker on the right wall. Searching through the room you will find an Audio log.
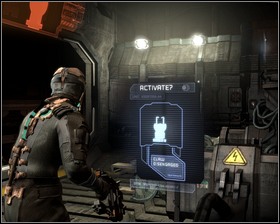 | 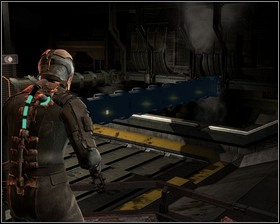 |
It's time to take care of the broken tram. The problem is, that while first claw works just fine, the second one grapples the tram and then immediately detaches from it. The solution is shooting it with stasis just as it latches onto the tram. In case you run out of stasis there's a Stasis recharger nearby.
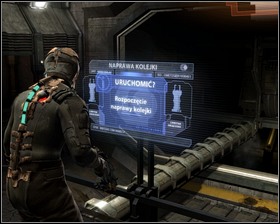 | 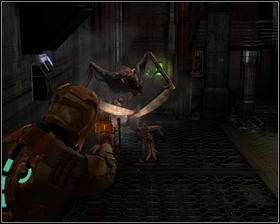 |
Once you managed to activate the second claw approach the large console in the middle and initiate the repairs. After you'll receive a new objective you will be attacked.
- Dead Space Game Guide & Walkthrough
- Dead Space: Game Guide
- Dead Space: Walkthrough
- Dead Space: Chapter 01 New Arrivals
- Dead Space: New Arrivals Part 1
- Dead Space: New Arrivals Part 2
- Dead Space: New Arrivals Part 3
- Dead Space: New Arrivals Part 4
- Dead Space: Chapter 02 Intensive Care
- Dead Space: Intensive Care Part 1
- Dead Space: Intensive Care Part 2
- Dead Space: Chapter 03 Course Correction
- Dead Space: Course Correction Part 1
- Dead Space: Course Correction Part 2
- Dead Space: Chapter 04 Obliteration Imminent
- Dead Space: Obliteration Imminent Part 1
- Dead Space: Obliteration Imminent Part 2
- Dead Space: Chapter 05 Lethal Devotion
- Dead Space: Lethal Devotion Part 1
- Dead Space: Lethal Devotion Part 2
- Dead Space: Chapter 06 Environmental Hazard
- Dead Space: Environmental Hazard Part 1
- Dead Space: Environmental Hazard Part 2
- Dead Space: Environmental Hazard Part 3
- Dead Space: Environmental Hazard Part 4
- Dead Space: Environmental Hazard Part 5
- Dead Space: Chapter 07 Into the Void
- Dead Space: Into the Void Part 1
- Dead Space: Into the Void Part 2
- Dead Space: Into the Void Part 3
- Dead Space: Chapter 08 Search and rescue
- Dead Space: Search and rescue Part 1
- Dead Space: Search and rescue Part 2
- Dead Space: Chapter 09 Dead on arrival
- Dead Space: Dead on arrival Part 1
- Dead Space: Dead on arrival Part 2
- Dead Space: Chapter 10 End of days
- Dead Space: End of days Part 1
- Dead Space: End of days Part 2
- Dead Space: End of days Part 3
- Dead Space: Chapter 11 Alternate solutions
- Dead Space: Alternate solutions Part 1
- Dead Space: Alternate solutions Part 2
- Dead Space: Chapter 12 Dead Space
- Dead Space: Dead Space Part 1
- Dead Space: Dead Space Part 2
- Dead Space: Walkthrough
- Dead Space: Game Guide
You are not permitted to copy any image, text or info from this page. This site is not associated with and/or endorsed by the developers and the publishers. All logos and images are copyrighted by their respective owners.
Copyright © 2000 - 2025 Webedia Polska SA for gamepressure.com, unofficial game guides, walkthroughs, secrets, game tips, maps & strategies for top games.
