Dead Space: Dead on arrival Part 2
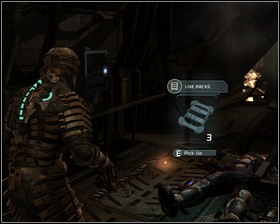 | 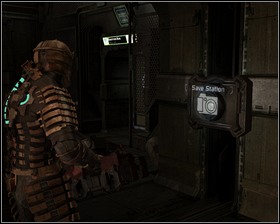 |
There's a locker with a Power node in the dead end, along with some items around the soldier's body. Go right and you'll reach the Save station - use it before proceeding. There are also two crates in the area.
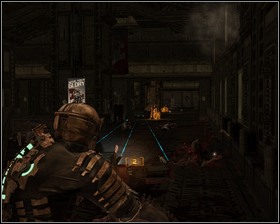 | 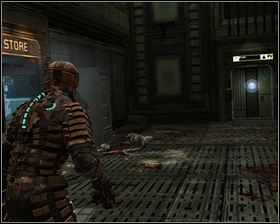 |
There's a horde of enemies awaiting you in the barracks. When you'll deal with them search through the open lockers in the room. There's also a Store here, and next to it - the exit.
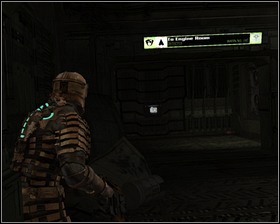 | 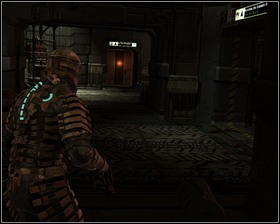 |
On your way to the engineering you will pass by another Save station. Search the larger room for supplies and enter the engineering through the large door. Take the elevator up.
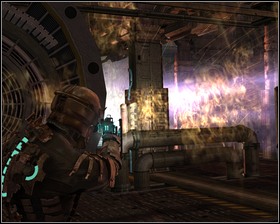 | 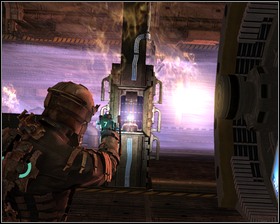 |
Now's the time to test your patience, precision and timing. You will need to turn off the engines to proceed. In order to do that you will need to destroy six fuses on the both sides of the room. You cannot however, just stand and shoot the fuses, since the ignition sequence will fry you. You are only safe when standing behind the metal cylinders. Use the kinesis to move one of them towards the metal column, shoot the fuse. You cannot take care of the fuses on the one side, and then those on the other - you'll need to do it symmetrically - one to the left, one to the right etc.
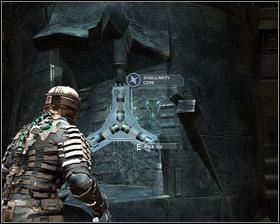 | 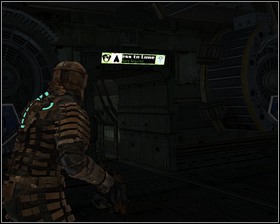 |
Singularity core lies in the back of the room. Pick it up and run through the door to your right.
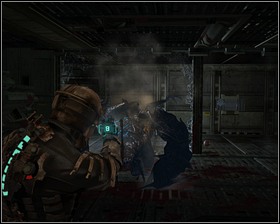 | 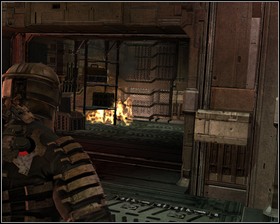 |
Run until you meet up with Hammond. After a brief cut-scene you will have to deal with a familiar, but even stronger than before foe. Slow it down and shoot it in it's groins or it's back if you manage to get behind him Pick up the Diamond semiconductor (worth 25000 credits) and follow the signs to the lower level.
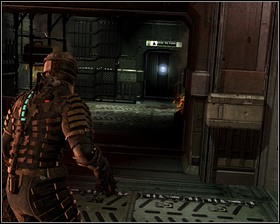
Go to the crew deck
 | 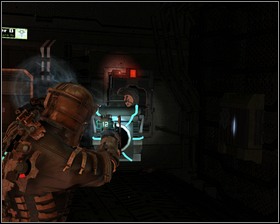 |
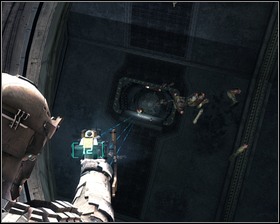
The power coil fell out of it's slot - you will need to place it back with kinesis to activate the elevator.
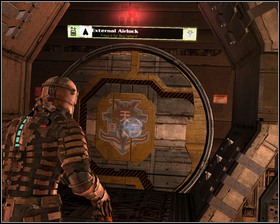 |  |
When you leave the elevator head left until you reach a large hatch. Behind it lies a more familiar landscape - the way back to Ishimura. Jump back to your ship and head for the tram station to proceed to the next chapter.
- Dead Space Game Guide & Walkthrough
- Dead Space: Game Guide
- Dead Space: Walkthrough
- Dead Space: Chapter 01 New Arrivals
- Dead Space: New Arrivals Part 1
- Dead Space: New Arrivals Part 2
- Dead Space: New Arrivals Part 3
- Dead Space: New Arrivals Part 4
- Dead Space: Chapter 02 Intensive Care
- Dead Space: Intensive Care Part 1
- Dead Space: Intensive Care Part 2
- Dead Space: Chapter 03 Course Correction
- Dead Space: Course Correction Part 1
- Dead Space: Course Correction Part 2
- Dead Space: Chapter 04 Obliteration Imminent
- Dead Space: Obliteration Imminent Part 1
- Dead Space: Obliteration Imminent Part 2
- Dead Space: Chapter 05 Lethal Devotion
- Dead Space: Lethal Devotion Part 1
- Dead Space: Lethal Devotion Part 2
- Dead Space: Chapter 06 Environmental Hazard
- Dead Space: Environmental Hazard Part 1
- Dead Space: Environmental Hazard Part 2
- Dead Space: Environmental Hazard Part 3
- Dead Space: Environmental Hazard Part 4
- Dead Space: Environmental Hazard Part 5
- Dead Space: Chapter 07 Into the Void
- Dead Space: Into the Void Part 1
- Dead Space: Into the Void Part 2
- Dead Space: Into the Void Part 3
- Dead Space: Chapter 08 Search and rescue
- Dead Space: Search and rescue Part 1
- Dead Space: Search and rescue Part 2
- Dead Space: Chapter 09 Dead on arrival
- Dead Space: Dead on arrival Part 1
- Dead Space: Dead on arrival Part 2
- Dead Space: Chapter 10 End of days
- Dead Space: End of days Part 1
- Dead Space: End of days Part 2
- Dead Space: End of days Part 3
- Dead Space: Chapter 11 Alternate solutions
- Dead Space: Alternate solutions Part 1
- Dead Space: Alternate solutions Part 2
- Dead Space: Chapter 12 Dead Space
- Dead Space: Dead Space Part 1
- Dead Space: Dead Space Part 2
- Dead Space: Walkthrough
- Dead Space: Game Guide
You are not permitted to copy any image, text or info from this page. This site is not associated with and/or endorsed by the developers and the publishers. All logos and images are copyrighted by their respective owners.
Copyright © 2000 - 2025 Webedia Polska SA for gamepressure.com, unofficial game guides, walkthroughs, secrets, game tips, maps & strategies for top games.
