Narwik Map - Conquest
Last update:
Key points of Battlefield V - Narvik Conquest
Useful and helpful places
German respawn
British respawn
Point of replenish ammo
Objective A – The flag is located between two houses, there are also stationary MGs nearby. Near the flag, there are crates with ammunition and medic packs. Use buildings or terrain to get cover.
Objective B – The flag is located at the beginning of the railway bridge. A lot of cover.
Objective C – The flag is located between buildings. Sometimes it is hard to take control over this place. Use buildings and even destroyed buildings to get cover.
Objective D – The flag is located at the end of the railway bridge (between wreckages). If the B flag is on your possession, you can find cover on the top of bridge.
Objective E – It's like C flag - the difference is, that stationary MGs are located nearby (on the top of hill).
Objective F – The flag is located nearby railway depot. There is a lot of cover. Be careful of the landfills near the flag - players always use it as a cover.
This chapter focuses on Narvik map in the Conquest mode available in Battlefield V. Here, you can find the overall description of the map, its legend and descriptions of the flags with the emphasize on available covers.
Description of Narvik map
Narvik is a hilly terrain covered in snow and with access to sea. The town has fortifications in form of bunkers (near the point A) and stationary machine guns (points A and E). A railway infrastructure (a depot, industrial spurs, railroad switches - they go from F through D to B) and a few small fisher buildings can be found near the town
Battles on this map are a mix of fights in the town and in the open field. The key here is to be able to use the terrain, ruins and wrecks to your advantage. This map is great for attacks from a distance. You can also find a lot of places where you can hide and fight at a close range. The terrain itself allows players to flank their enemies (especially in the north and near points F and A). The map is created in a such way that no one can feel safe wherever they are - it is great for attacking enemies from a longer distance.
Areas around flags C, E and F are full of covers. Point F has an embankment and an industrial spur. In C and E, you can shoot enemies from inside of the buildings. Point A puts emphasize on using topographic of the terrain - here, you can find a lot of small hills. Points B and D aren't enclosed spaces, even though they are on a railroad bridge - point B can be accessed in a few ways (from the direction of the point D, by using a ladder, by approaching the point B from south). Despite great number of covers, the destroyed railroad bridge is especially vulnerable to attacks from the directions of points F and A. Players often forget that they can shoot at the bridge when they are near the flag A.
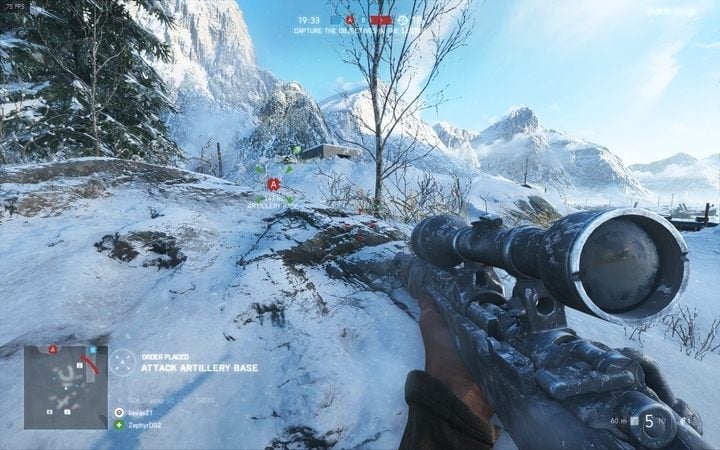
There are a few good sniper positions - the buildings near the flag A, the bunkers near the flag A and the north part of the point A. This point also gives you a good view at points B and D (a silo with a stationary machine gun can be found near the point A - you can see it if you look towards the point D). A conveyor belt is near the point F and the embankment - you can use it. Remember to control both points E and F - otherwise, you will risk your life. A building's remains are near the point D - this is another good spot for attacking this point. Points C and E aren't sniper-friendly - those points have a lot of buildings and the fights usually happen at a close or medium distance.
Point E can be often attacked from the north-west. There, you can find stationary machine guns that are frequently used by the players.

You are not permitted to copy any image, text or info from this page. This site is not associated with and/or endorsed by the Electronic Arts Inc. or EA DICE / Digital Illusions CE. All logos and images are copyrighted by their respective owners.
Copyright © 2000 - 2025 Webedia Polska SA for gamepressure.com, unofficial game guides, walkthroughs, secrets, game tips, maps & strategies for top games.
