Uncharted 3: Chapter 14 - Cruisin for a Bruisin walkthrough
On this page of our guide you can find the walkthrough of chapter 14 of Uncharted 3 Drake's Deception. This chapter is titled Cruisin' for a Bruisin' and during it we will be exploring more areas of a large pirate ship. The main goal in this area is to find the location of Sully's prison and during the march towards it you have to take part in many encounters with the pirates. Everything will be more difficult due to large waves hitting the ship.
![The chapter begins by climbing the ladder to get on board of the pirate ship [1] - Uncharted 3: Chapter 14 - Cruisin for a Bruisin walkthrough - Walkthrough - Uncharted 3 Drakes Deception Guide](/uncharted-3-drakes-deception/gfx/word/114194140.jpg)
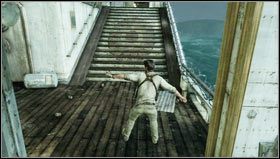
The chapter begins by climbing the ladder to get on board of the pirate ship [1].
 | ![Once on board, go right and up the stairs with the star symbol [1] - Uncharted 3: Chapter 14 - Cruisin for a Bruisin walkthrough - Walkthrough - Uncharted 3 Drakes Deception Guide](/uncharted-3-drakes-deception/gfx/word/114194171.jpg) |
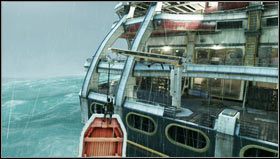
Once on board, go right and up the stairs with the star symbol [1]. Moving on, we will go under a hanging boat and reach the stern of the ship with a lifeboat [2].
 | ![We jump into the lifeboat and, once it breaks off, we climb onto the crane from which it hangs [1] - Uncharted 3: Chapter 14 - Cruisin for a Bruisin walkthrough - Walkthrough - Uncharted 3 Drakes Deception Guide](/uncharted-3-drakes-deception/gfx/word/114194203.jpg) |
We jump into the lifeboat and, once it breaks off, we climb onto the crane from which it hangs [1]. We jump onto the upper deck and exit by a ladder [2].
 | ![We use the ropes to go left and onto the deck and eliminate the first enemy [1] - Uncharted 3: Chapter 14 - Cruisin for a Bruisin walkthrough - Walkthrough - Uncharted 3 Drakes Deception Guide](/uncharted-3-drakes-deception/gfx/word/114194234.jpg) |
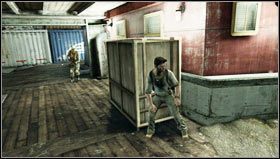
We use the ropes to go left and onto the deck and eliminate the first enemy [1]. We approach the containers, climb them up and take out another enemy [2].
 | ![We turn around the corner and go through the container [1] - Uncharted 3: Chapter 14 - Cruisin for a Bruisin walkthrough - Walkthrough - Uncharted 3 Drakes Deception Guide](/uncharted-3-drakes-deception/gfx/word/114194265.jpg) |
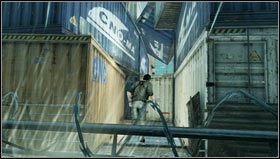
We turn around the corner and go through the container [1]. We resupply our weapons by the box on the left side [2] and head straight ahead.
![After falling from the scaffolding, a longer encounter on the spacious deck awaits us [1] - Uncharted 3: Chapter 14 - Cruisin for a Bruisin walkthrough - Walkthrough - Uncharted 3 Drakes Deception Guide](/uncharted-3-drakes-deception/gfx/word/114194281.jpg)
After falling from the scaffolding, a longer encounter on the spacious deck awaits us [1]. The swaying of the ship will hinder - or help - us during the entire encounter.
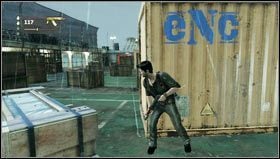 | ![The first bigger (sea) wave will cause containers to fall onto the deck and form solid covers [1] - Uncharted 3: Chapter 14 - Cruisin for a Bruisin walkthrough - Walkthrough - Uncharted 3 Drakes Deception Guide](/uncharted-3-drakes-deception/gfx/word/114194312.jpg) |
The first bigger (sea) wave will cause containers to fall onto the deck and form solid covers [1]. Once the first wave of enemies is dealt with, another one will appear. It will be led by a heavily-armored enemy, equipped with an assault rifle [2]. He is extremely dangerous and we will not be able to take him out with melee combat. In addition, the enemy will be accompanied by standard foes and a particularly annoying pirate equipped with a grenade launcher and stationed on the higher deck.
We hide behind containers, taking out the regular foes while simultaneously fleeing from the heavy-armored enemy. Once only two enemies remain, we use a grenade launcher to quickly take out the armored foe and carefully eliminate the pirate with the grenade launcher. If we do not have grenades, it is better to get rid of the pirate on the upper deck and use his weapon to deal with the armored target.
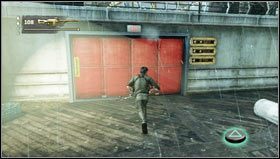 | ![As soon as we finish the main encounter, we get rid of the wave of standard enemies and go through the red gate [1] - Uncharted 3: Chapter 14 - Cruisin for a Bruisin walkthrough - Walkthrough - Uncharted 3 Drakes Deception Guide](/uncharted-3-drakes-deception/gfx/word/114194343.jpg) |
As soon as we finish the main encounter, we get rid of the wave of standard enemies and go through the red gate [1]. Unfortunately, we cannot cross it while carrying the assault rifle left by the armored foe, which is why we need to replace it with a different weapon. After passing through the door, we will stand on board with a swimming pool [2].
![We go through the pool to the end of the deck and through the rotating doors to end up in a large room with a stage and numerous enemies [1] - Uncharted 3: Chapter 14 - Cruisin for a Bruisin walkthrough - Walkthrough - Uncharted 3 Drakes Deception Guide](/uncharted-3-drakes-deception/gfx/word/114194359.jpg)
We go through the pool to the end of the deck and through the rotating doors to end up in a large room with a stage and numerous enemies [1].

Staying near the entrance, defeat the first group of enemies with grenades and wait for the armored enemies to show up. Once we have dealt with the first group, we quickly run to the other side of the room, avoiding laser sights from the enemy snipers located on the balconies and we hide behind cover [1]. From here we can see that there is also a pirate carrying a grenade launcher near the snipers (the one without a laser sight). We take down the enemy with the grenade launcher and then quickly eliminate the snipers, before the pirates on the lower deck can get to us.
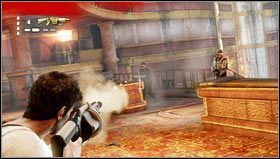 | 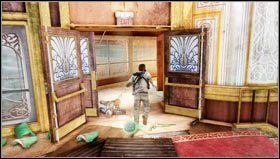 |
As soon as the pirates on the balcony are out, we run towards the door to grab the grenade launcher left by the recently killed enemy. It will come in handy while eliminating the heavily-armored foes from the lower deck [1]. At the end of the encounter, several enemies will swarm us from the side doors. We deal with them and leave the hall through the doors opened by the last group of enemies [2].
 | ![While going across the deck, we will find a pirate standing in the corridor [1] - Uncharted 3: Chapter 14 - Cruisin for a Bruisin walkthrough - Walkthrough - Uncharted 3 Drakes Deception Guide](/uncharted-3-drakes-deception/gfx/word/114194437.jpg) |
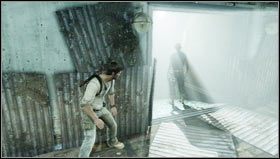
While going across the deck, we will find a pirate standing in the corridor [1]. We take him out quietly and continue the march. After coming to the illuminated room, we jump out at another pirate, taking him out by using our fists [2].
 | ![Going further, we will see a corridor, from which a bright light shines [1] - Uncharted 3: Chapter 14 - Cruisin for a Bruisin walkthrough - Walkthrough - Uncharted 3 Drakes Deception Guide](/uncharted-3-drakes-deception/gfx/word/114194468.jpg) |
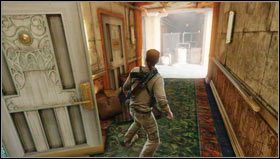
Going further, we will see a corridor, from which a bright light shines [1]. We approach it, sticking to the wall on the right side, and take out the enemy silently. Continuing the March, we descend into the depths of the ship through a metal staircase [2].
![Passing through the red corridor, we will get to the cargo Bay, where we will see Sullivan held captive [1] - Uncharted 3: Chapter 14 - Cruisin for a Bruisin walkthrough - Walkthrough - Uncharted 3 Drakes Deception Guide](/uncharted-3-drakes-deception/gfx/word/114194484.jpg)
Passing through the red corridor, we will get to the cargo Bay, where we will see Sullivan held captive [1]. We jump to the pole in front of us and descend to the ground to discover that it is a trap.
- Uncharted 3 Drake's Deception Guide
- Uncharted 3: Game Guide
- Uncharted 3: Walkthrough
- Uncharted 3: Chapter 1 - Prologue walkthrough
- Uncharted 3: Chapter 2 - Greatness from Small Beginnings walkthrough
- Uncharted 3: Chapter 3 - Second-Story Work walkthrough
- Uncharted 3: Chapter 4 - Run to Ground walkthrough
- Uncharted 3: Chapter 5 - London Underground walkthrough
- Uncharted 3: Chapter 6 - The Chateau part 1 walkthrough
- Uncharted 3: Chapter 6 - The Chateau part 2 walkthrough
- Uncharted 3: Chapter 7 - Stay in the Light walkthrough
- Uncharted 3: Chapter 8 - The Citadel part 1 walkthrough
- Uncharted 3: Chapter 8 - The Citadel part 2 walkthrough
- Uncharted 3: Chapter 9 - The Middle Way walkthrough
- Uncharted 3: Chapter 10 - Historical Research walkthrough
- Uncharted 3: Chapter 11 - As Above, So Below part 1 walkthrough
- Uncharted 3: Chapter 11 - As Above, So Below part 2 walkthrough
- Uncharted 3: Chapter 12 - Abducted part 1 walkthrough
- Uncharted 3: Chapter 12 - Abducted part 2 walkthrough
- Uncharted 3: Chapter 13 - Rough Seas walkthrough
- Uncharted 3: Chapter 14 - Cruisin for a Bruisin walkthrough
- Uncharted 3: Chapter 15 - Sink or Swim walkthrough
- Uncharted 3: Chapter 16 - One Shot at This walkthrough
- Uncharted 3: Chapter 17 - Stowaway walkthrough
- Uncharted 3: Chapter 18 - The Rub al Khali walkthrough
- Uncharted 3: Chapter 19 - The Settlement walkthrough
- Uncharted 3: Chapter 20 - Caravan walkthrough
- Uncharted 3: Chapter 21 - The Atlantis of the Sands walkthrough
- Uncharted 3: Chapter 22 - The Dreamers of the Day walkthrough, Talbot boss fight
- Uncharted 3: Walkthrough
- Uncharted 3: Game Guide
You are not permitted to copy any image, text or info from this page. This site is not associated with and/or endorsed by the developers and the publishers. All logos and images are copyrighted by their respective owners.
Copyright © 2000 - 2026 Webedia Polska SA for gamepressure.com, unofficial game guides, walkthroughs, secrets, game tips, maps & strategies for top games.
