Tomb Raider Legend: Peru Return to Paraiso part 2
You must be VERY careful! Head on to the LEFT lane. Huge crates will start falling from the nearest truck (#1). You can't hit any of them. Get in front of the first truck. Now you have to use the right lane (you will end up between two trucks), because the enemies will use the exact same trick. Once they're done with that, get closer and start shooting at them (#2). Don't worry. This is a final part of the chase, so even if you lose some health it won't affect the outcome.
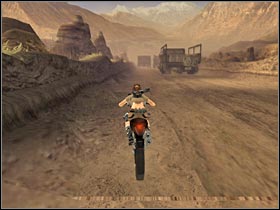 | 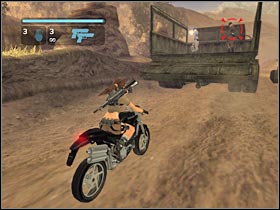 |
Once you've dealt with all enemy soldiers, head on to the back of the truck (#1). You shouldn't have any problems with that, especially since no one's attacking Lara at the moment. A new cut-scene should appear on your screen (#2). Lara will team up with Anaya, ending the whole chase simultaneously.
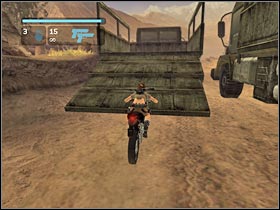 |  |
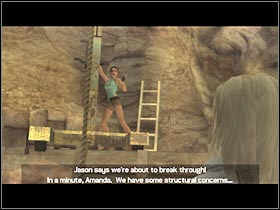
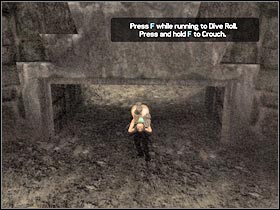
The game will begin loading a new map. Lara will finally reach the main temple area. A new cut-scene should appear on the screen. You will have an opportunity to discover some facts involving Lara's past (including a mysterious death of her friend Amanda). Furthermore, you will take a full control of her actions in the following few minutes (#1). Start off by making a very easy Dive Roll. You will have to press the F key in order to do that (#2).
 |  |
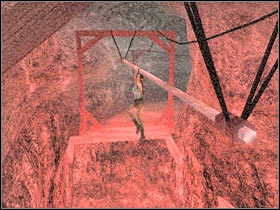
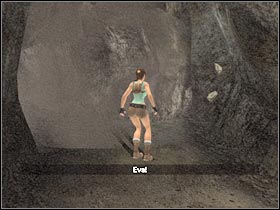
You will find yourself inside a very dark cavern. Thankfully, you will be able to use flares along the way by pressing the K key. You have an unlimited supply of these objects, so don't hesitate to use them. Start moving forward. Use the pole in order to reach the opposite end of the big hole (#1). Keep moving forward. Once you've reached a junction, choose the left path. Lara will start running towards one of her friends. Sadly, the roof is going to collapse (#2). You must get back to the main junction.
 |  |
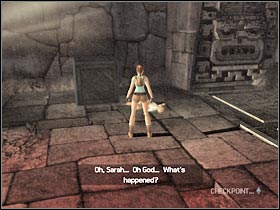
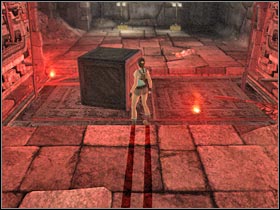
Head on to the previously unexplored path. Be sure to use a lot of flares along the way, so you won't miss anything important. You should be able to reach a much larger room in just a few seconds (#1). The dead woman is Sarah. She was one of Lara's friends. Turn right. You will have to find a metal crate. Start pushing it towards the huge button located on the floor. Be careful, though. This will automatically trigger one of the traps. The crate must be placed under a metal pole (#2).
 |  |
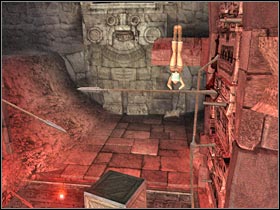
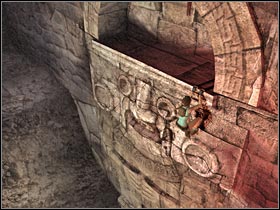
Now you will have to stand on a crate. From here, you shouldn't have any problems reaching a metal pole. Make sure Lara's at a correct spot, so she'll be able to reach a new platform (#1). You shouldn't have any problems making a correct jump. There's a stone figure on your left. You will have to reach it (#2). Start moving towards the left side of the screen. Jump again in order to reach a higher platform safely. Start running towards a new corridor.
 |  |
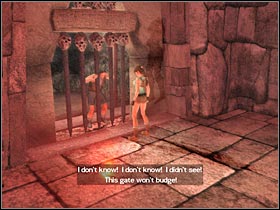
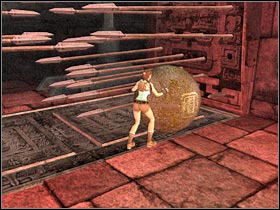
You will reach a second large room in just a few seconds. There's a similar trap over here. Thankfully, you won't have to avoid it at this particular moment. Head on to the right passage. There's one of Lara's friends here (#1). Listen to what he has to say. You will have to find a way to reach him. First of all, you must deactivate a nearby trap. In order to do that, start pulling the large sphere (#2). The objective is to release both tiles that are located on the floor. Now you will have to jump to the other side.
 |  |
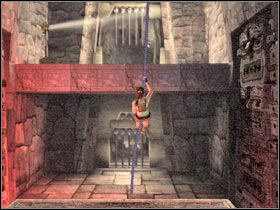
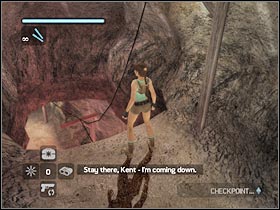
Climb up to one of the new platforms. You've probably noticed a large rope here. You couldn't reach it before (because of the trap)... now's your chance. Make a jump towards the rope. Start swinging (#1). You will have to reach an upper platform. It would be wise to climb up a little before you decide to make a jump. Once you're there, start running forward. You should be able to reach the opposite end of this platform very soon (#2). Get down to the new corridor.
 |  |
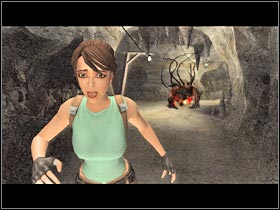
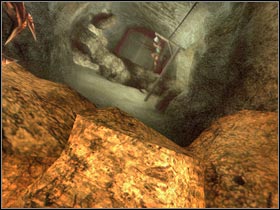
An interesting cut-scene will appear on your screen shortly (#1). Lara will finally team up with Kent. Sadly, their conversation is going to be interrupted by a strange creature. Lara will start running in order to avoid the monster. Get ready! You will be given a full control of her actions in just a moment. Start off by avoiding some of the nearby rocks (#2). You might want to consider making a jump towards a swinging rope, however this is not necessary. Lara will find herself on a lower platform. Thanks to that, this short chase will come to an end.
 |  |
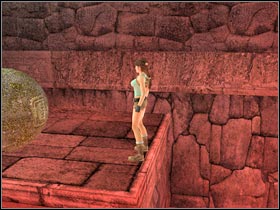
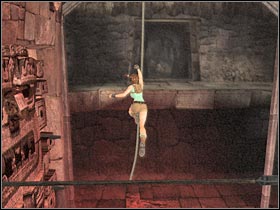
Use the flares in order to give some light to this new room. There's a new ball here (#1). You will have to push it, so it falls down to the lower level. Get down there. Start pushing the ball towards the huge button on the floor. You will activate a new trap. Don't worry... it's part of the plan (#2). :-) You may go back to the upper floor. Use one of the poles in order to reach a new rope (#2). Start swinging. You will have to reach a new platform. Head on to the main corridor.
 |  |
You are not permitted to copy any image, text or info from this page. This site is not associated with and/or endorsed by the developers and the publishers. All logos and images are copyrighted by their respective owners.
Copyright © 2000 - 2026 Webedia Polska SA for gamepressure.com, unofficial game guides, walkthroughs, secrets, game tips, maps & strategies for top games.
