Tomb Raider Legend: England King Arthur's Tomb part 1
Additional information: Once again you will have to make a lot of very difficult jumps. Some of them will require you to act fast. Otherwise Lara will end up dead. I would recommend having the flashlight turned on all the time. A lot of rooms are fairly dark and I guess you wouldn't want to miss anything interesting. There are some puzzles here, although you will only have some problems with the main one (it's not too obvious...). There's also a boss fight, however it won't be too challenging. You should be able to get rid of the monster without losing any health.
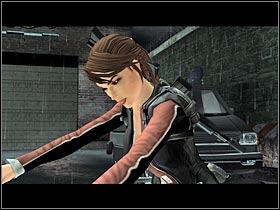
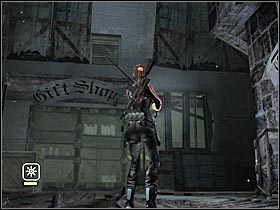
Start off by watching an interesting cut-scene (#1). Lara will decide to visit a place that may lead her to an undiscovered King Arthur's Tomb. You'll regain a full control over Lara's movements in just a second. As I've mentioned before, you should be using the flashlight all the time. Turn right and use the grapple to pull the ventilation grate towards Lara (#2).
 |  |
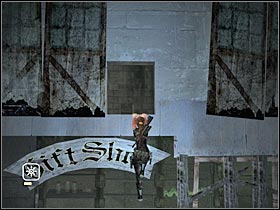
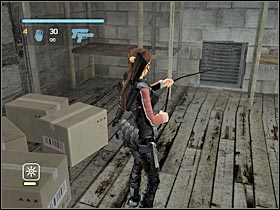
Head on to the small room. You'll find a wooden crate here. Start pulling it towards the larger room. The crate must be placed under the big sign. Climb up and use it to get into the ventilation shaft (#1). Once again, you will have to use the grapple in order to get rid of the ventilation grate (#2). Make a dive roll in order to reach the new corridor.
 |  |
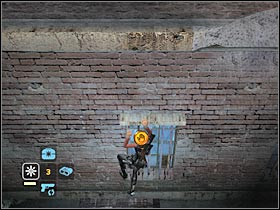
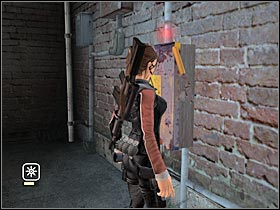
Head on to the left corridor. Stand by one of the windows and make a jump. You will have to reach the upper ledge (#1). Now start moving towards the left side of the screen. Make sure you're at the end before you decide to press the F key. There's a switch here. You will have to use it (#2). Thanks to that, you'll restore power to this part of the complex.
 |  |
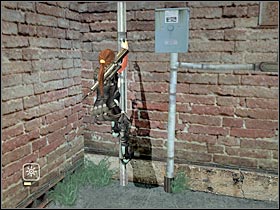
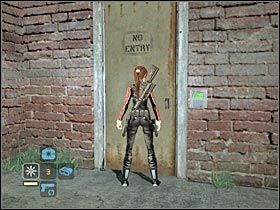
There's a small pipe on your left. You will have to use it to get back to the upper ledge (#1). This time you will be moving right. You have to get back to the other end of this corridor. As you've probably noticed, there's a lot electricity here. You can't even think about touching the water. Once you've reached the last ledge, you should be able to make a jump towards a safe spot. After that, head on to the nearest door (#2).
 |  |
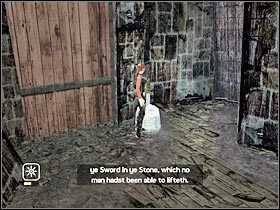
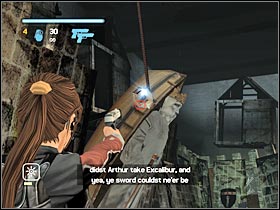
You might want to consider activating some of the nearby mechanisms. As a result, you will be presented with short stories. You will find out more about King Arthur and the famous Excalibur. In order to open the gate, pull the sword that's located on your right (#1). Head on to the new room. Turn right. There are some horizontal poles here (#1). You will have to use them now.
 | 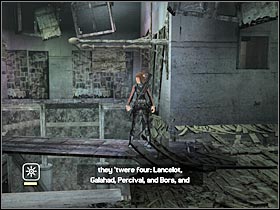 |
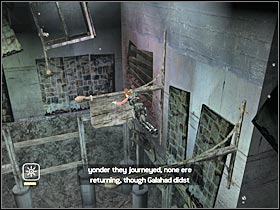
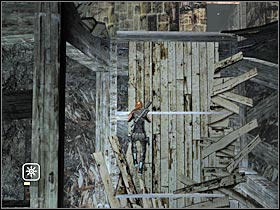
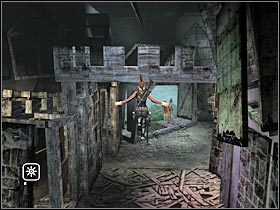
One of the poles will automatically turn the moment you reach it (#1). You will have to be quick about it, because it'll return to its original position very shortly. Make a jump towards the new pole. Now you will have to reach the big construction (#2). DON'T wait for the bridge to position itself. Instead, go back to the previous pole. Once again, you must be very quick.
 |  |
Turn around and make a jump towards the lowered bridge. You should do it quickly, because the bridge will return to its original position very soon. As a result, you will reach a new platform (#1). Start moving forward. Enter the Accurate aim mode and start shooting at the highlighted object (#2). Thanks to that, you'll unlock part of the construction. You may proceed to the opposite ledge.
 |  |
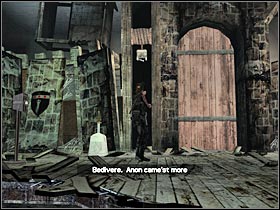
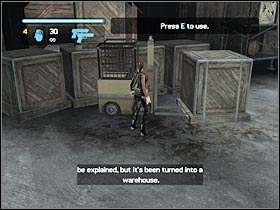
Head on to the next gate. Pull the sword. Sadly, it won't open the gate. Use the grapple. You will have to aim at the highlighted object (#1). Start pulling the rope towards Lara. Now you will have to make a quick dive roll towards the gate. You have a few seconds to do that. Lara will find herself inside a big warehouse. Head on to the fork lift truck. You will be able to use it by pressing the E key (#2).
 |  |
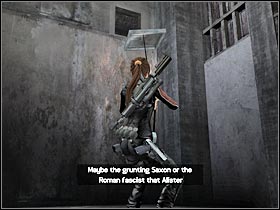
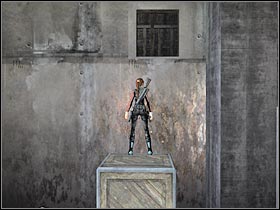
You've got two options. You can either proceed to the next section of the map by using the nearby stairs or try getting into one of the offices. If you choose the second option, you will have to start off by pulling the ventilation grate towards Lara (#1). Now you will have to use the fork lift in order to build a small "tower". You will need three different boxes to do that. Once the tower is finished, leave the fork lift and climb up to the ventilation shaft (#2). Enter the new room and listen to the short dialog. You may go back to the warehouse.
 |  |
You are not permitted to copy any image, text or info from this page. This site is not associated with and/or endorsed by the developers and the publishers. All logos and images are copyrighted by their respective owners.
Copyright © 2000 - 2026 Webedia Polska SA for gamepressure.com, unofficial game guides, walkthroughs, secrets, game tips, maps & strategies for top games.
