Tomb Raider Legend: All secrests in England - King Arthur's Tomb
1/9 - Bronze
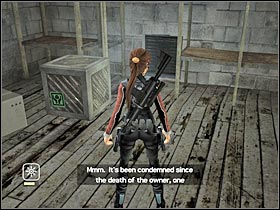
You will find the first cross near the start. Your reward is located in the upper room. You got there by pulling out a ventilation grate.
 |
2/9 - Bronze
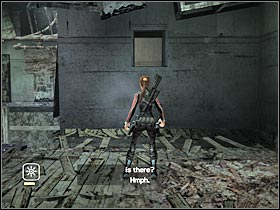
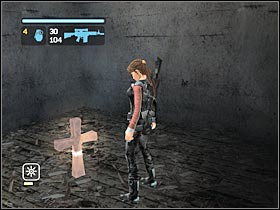
Once you've reached the first room with a destroyed floor, turn right. You should be able to locate a small entrance (#1). Make a jump towards it. Climb up and enter the new room. Pick up the bronze cross (#2). Be careful! You will have to make a single jump while leaving this room in order to avoid hitting the ground.
 |  |
3/9 - Bronze
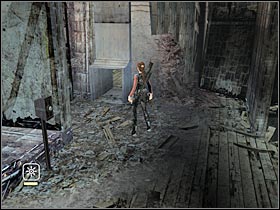
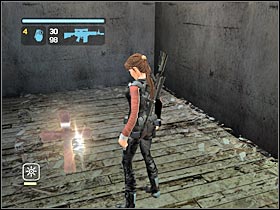
The third cross is in the next room. Use the boat to get to the other side. There's a similiar entrance on your right (#1). I would recommend using the dive roll move to enter this room quickly. Pick up your reward (#2) and return to the main area.
 |  |
1/5 - Silver
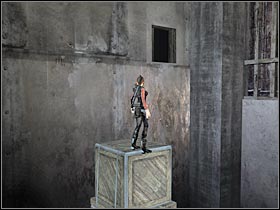
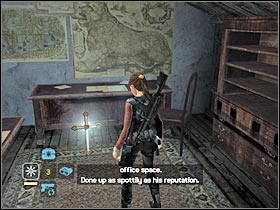
Once you've reached a large warehouse, use the grapple in order to get rid of a ventilation grate. Use the fork lift truck. You will have to build a tower that leads to a small entrance. Three crates is enough. Stand on top of the tower (#1) and make a jump towards the opening. There's a silver cross in this room (#2). Pick it up and get back to the fork lift.
 |  |
2/5 - Silver
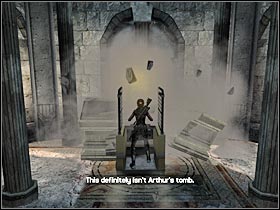
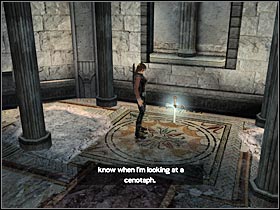
Use the stairs and keep moving forward. You will have to hit one of the central tombs (#1). Exit the fork lift truck and pick up a second silver cross (#2).
 |  |
4/9 - Bronze
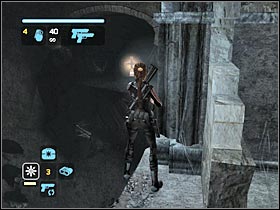
Once you've reached a large hall, turn right and use the grapple to get the next cross.
 |
5/9 - Bronze
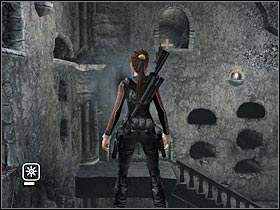
Step up closer to the destroyed staircase. I would recommend that you enter the Accurate Aim mode. Thanks to that, you will be able to use the grapple correctly. Pick up your reward.
 |
6/9 - Bronze
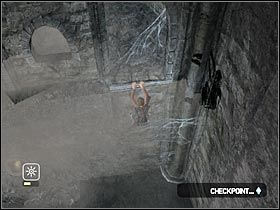
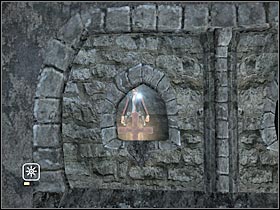
You will have some problems with the next cross. Look for an opening on the left wall. You will be able to climb up here (#1). Start moving towards the left edge of the screen. Stand by the small window and pick up a cross (#2).
I have to warn you. If you decide to save your progress here, you won't be able to pick up the reward once you've reloaded the level. It would be best to make a save earlier. Thanks to that, if you die here, you'll be able to pick up the reward again.
 |  |
3/5 - Silver
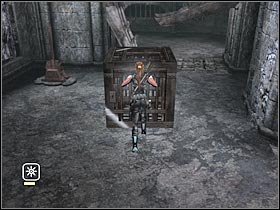
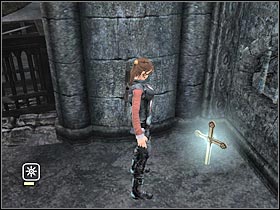
You will have to reach a corridor with the blades. First of all, you must acquire a nearby crate. Head on to the opposite room (#1). Enter it and pick up a silver reward. It's located on your left (#2).
 |  |
1/1 - Gold - part one
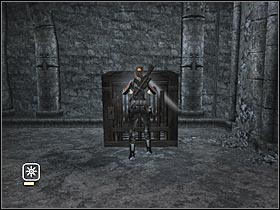
You can proceed with the first part of this riddle right now. You'll finish it in the near future. First of all, you must have two crates at your disposal. One of them is in the fiery corridor. Use the lever to get to it. Now you will have to transport both crates to the large room. Place them by the nearby platforms (#1, #2).
 | 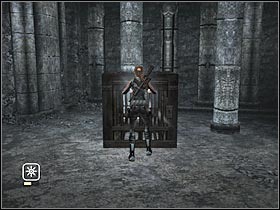 |
Start off by using the left crate. Climb up to the new platform. You will have to push a nearby wall (#1). After that, make your way down and head on to the right crate. There's a second "button" here. Start pushing it (#2). That's it for now. Like I've said before, we'll finish up with this task in the near future.
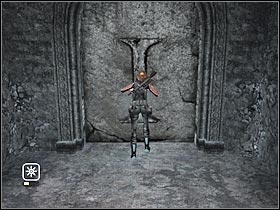 | 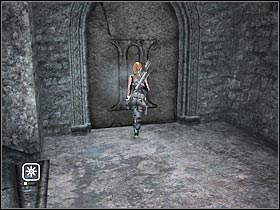 |
7/9 - Bronze
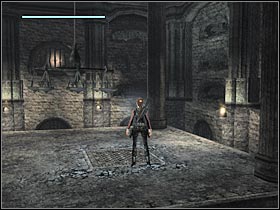
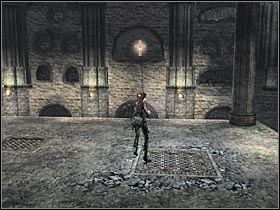
You must enter the room with a coffin. There's a second chandelier here (#1). Use the grapple. The chandelier will destroy a small grate. Pick up the bronze cross (#2).
 |  |
8/9 - Bronze
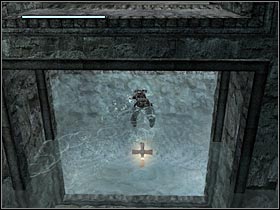
Once you've jumped into the water, turn around and start swimming forward. There's a small area here with a bronze cross.
 |
4/5 - Silver
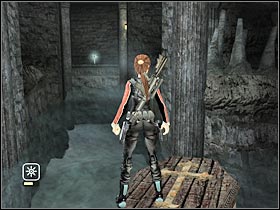
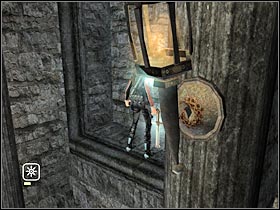
The fourth silver reward is located in the next part of this complex. You'll come across a small passageway. You will have to use the grapple (#1). Start pulling the coffin towards the reward. Once you're there, make a single jump and pick it up (#2). Go back the same way (you must use the grapple once again...).
 |  |
5/5 - Silver
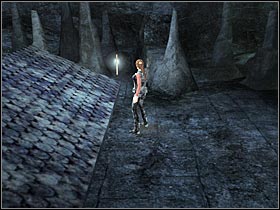
The last silver reward is located on the roof of the main temple. Don't use the rope just yet. Instead, keep moving forward. You'll notice the cross on your right.
 |
9/9 - Bronze
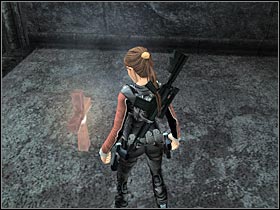
Once you've dealt with the second creature, destroy the anchor and use the rope. Instead of swinging on it, climb down. There's a last bronze cross here. Pick it up and get back to the rope.
 |
1/1 - Gold - part two
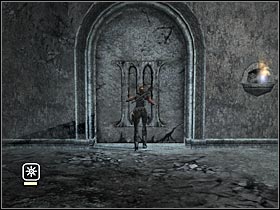
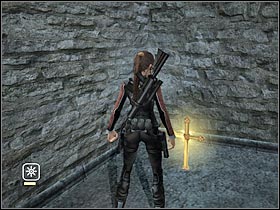
You will have to reach the main hall once again. There's an elevator here. Ignore it for now and turn left. You will have to find the last movable element (#1). If you have pressed it correctly (along with the previous ones), you'll unlock a small passage. Go there now and pick up the last cross of this mission (#2).
 |  |
- Tomb Raider: Legend Game Guide & Walkthrough
- Tomb Raider Legend: Game Guide
- Tomb Raider Legend: Secrets
- Tomb Raider Legend: All secrests in Bolivia - Tiwanaku
- Tomb Raider Legend: All secrests in Peru - Return to Paraiso
- Tomb Raider Legend: All secrests in Japan - Meeting with Takamoto
- Tomb Raider Legend: All secrests in Ghana - Pursuing James Rutland
- Tomb Raider Legend: All secrests in Kazakhstan - Project Carbonek
- Tomb Raider Legend: All secrests in England - King Arthur's Tomb
- Tomb Raider Legend: All secrests in Nepal - The Ghalali Key
- Tomb Raider Legend: Bonus - Croft Manor
- Tomb Raider Legend: Secrets
- Tomb Raider Legend: Game Guide
You are not permitted to copy any image, text or info from this page. This site is not associated with and/or endorsed by the developers and the publishers. All logos and images are copyrighted by their respective owners.
Copyright © 2000 - 2026 Webedia Polska SA for gamepressure.com, unofficial game guides, walkthroughs, secrets, game tips, maps & strategies for top games.
