Tomb Raider Legend: Bolivia Tiwanaku part 4
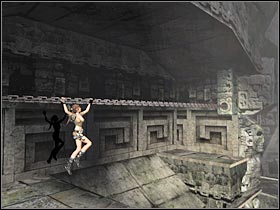
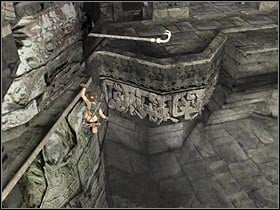
There's a second chain over here. It's located above Lara. Use it to get to the opposite platform (#1). Press the F key. Thanks to that, you will be released safely. Get down to the lower platform. Start moving towards the right edge of the screen. Now you will have to use a nearby pole (#2). After that, head on to the next platform. You should finally reach the exit. Head on to the new corridor.
 |  |
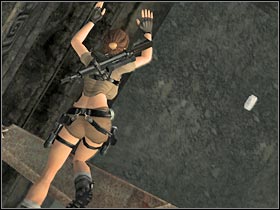
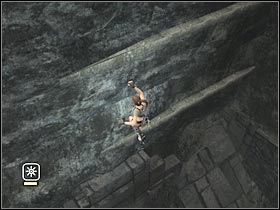
A very unusual cut-scene will activate in just a few seconds. You won't be able to control all types of movements, however you will be required to avoid certain traps. In order to do that, you will be pressing movement keys. You have to be quick about it, because the arrows will be visible only for a short period of time. A successful move will be rewarded by a short cut-scene (#1). Once you've dealt with this problem, head on to the new corridor. Turn around and start pressing the F key in order to get to the lower platforms (#2). Be careful, though. You will have to measure some of these moves. Lara will finally find herself on the lowest floor.
 |  |
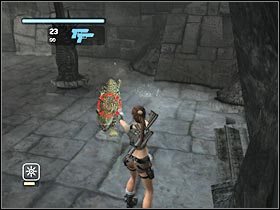
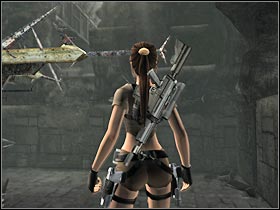
BE CAREFUL! There's a jaguar over here (#1). You will have to kill this animal quickly. Just as before, I would recommend jumping a lot. Thanks to that, you should be able to avoid most of its attacks. You may proceed to the next section. Head on to a small pedestal. There's an unusual construction over here (#2). Make a single jump. Lara will have to reach a metal pole. The whole construction will make a turn. Thanks to that, you should be able to reach the next pole. You will have to repeat these actions a few more times.
 |  |
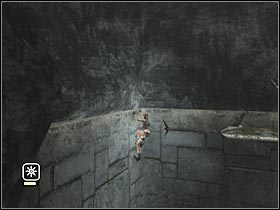
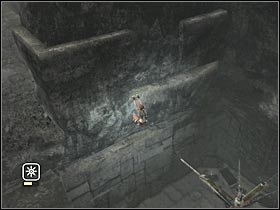
The last jump will lead you to a small ledge (#1). Start moving towards the right edge of the screen. You will have to make a small jump at some point. Don't worry, it's very simple, so you shouldn't have any problems with it. Once you've reached a wall, start using the SPACE key in order to reach higher ledges (#2). You will have to move a lot while doing that. Now you will have to start moving left. There's a single jump along the way.
 |  |
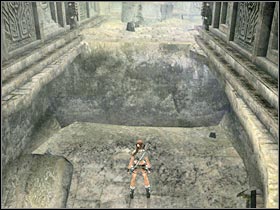
Once you've reached your destination, press the F key in order to jump down to the main platform. Start moving towards the next corridor (#1). There aren't any traps nearby. Head on to the upper platform. Keep moving forward. I would recommend that you save your progress here. You should be able to reach the final section of this map in just a few seconds. A new cut-scene will appear on your screen (#2). You will find out some interesting things from Lara's past.
 | 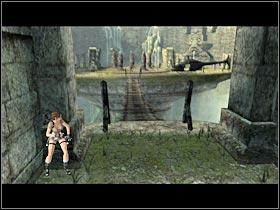 |
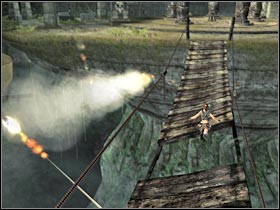
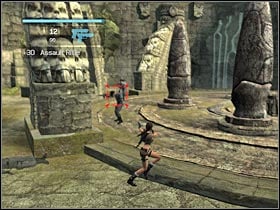
Once the cut-scene has ended, start running towards the opposite side of the bridge. It's VERY IMPORTANT to keep moving. Lara will be attacked by an enemy helicopter. Furthermore, some parts of the bridge are going to be destroyed very soon (#1). You will have to avoid these spots at all costs. Once you're there, use your guns. Start shooting at the visible enemy soldiers (#2).
 |  |
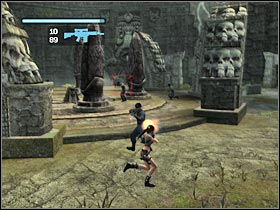
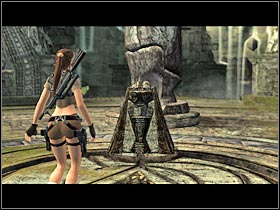
I would recommend that you use your machine gun instead of weak pistols. Bear in mind that the enemy soldiers are heavily equipped (#1). You will have to kill all of them. Just as before, I would recommend jumping a lot. You mustn't forget about the possibility of using medkits. Once you're done with this problem, a new cut-scene will appear on the screen (#2). After that, you will be transported to the Croft manor. Listen to what the other guys have to say. You will find out more about Lara's current plans. Get ready for the next mission! This time we're going to Peru.
 |  |
You are not permitted to copy any image, text or info from this page. This site is not associated with and/or endorsed by the developers and the publishers. All logos and images are copyrighted by their respective owners.
Copyright © 2000 - 2026 Webedia Polska SA for gamepressure.com, unofficial game guides, walkthroughs, secrets, game tips, maps & strategies for top games.
