Tomb Raider Legend: Bonus - Croft Manor
Here's where you'll find a detailed walkthrough of the Croft Manor. I think it's rather obvious that you can spend a lot of time there. You can also explore new rooms in a different order, however some of them aren't accessible at this moment. In that case, you will probably have to unlock some sort of mechanism. I've concentrated all of my efforts on obtaining the remaining secrets. It's mainly because you shouldn't have any problems with making jumps or other dangerous moves at this point of the game.
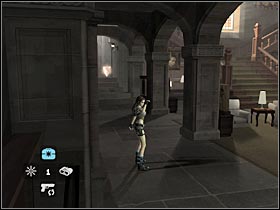
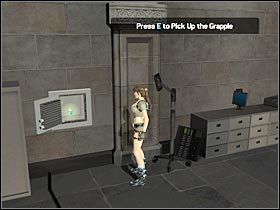
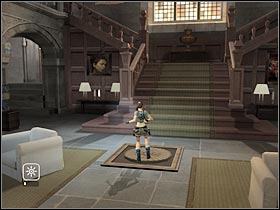
Start off by turning left. There's a first bronze reward here (Bronze - 1; #1). Pick it up and head on to the office that's surrounded by a lot of glass. Use a nearby laptop (it's on the ground). Thanks to that, a safe will open. Pick up the grapple (#2) and return to the main room. Turn right and open a new door.
 |  |
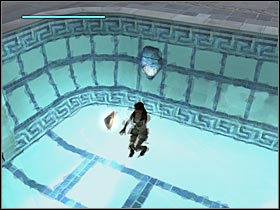
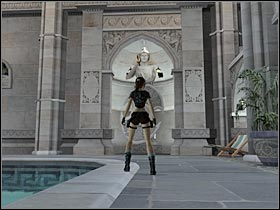
Start running forward. Once you've reached an area with a pool, jump into the water. There's a second reward here (Bronze - 2; #1). You must also pull a small lever. This will unlock a part of a bigger mechanism. Exit the water. There are two big statues here. Use the grapple to pull one of the spears (#2). The other one will do this automatically.
 |  |
Now you will have to find a small movable element. It shouldn't be much of a problem, especially since there are some trails on the ground (#1). Start pulling this object towards Lara. Pick up the artifact (Bronze - 3) and return this part of the construction towards its original position. The fourth reward is by the deckchairs (Bronze 4; #2).
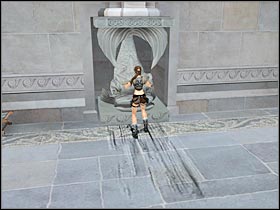 | 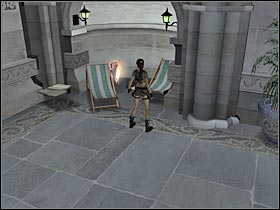 |
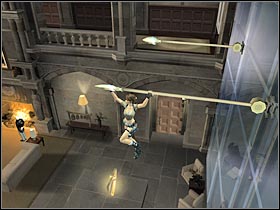
Head on to the opposite side of the pool. There are two movable objects here. You will have to pull them both. Climb up to the smaller statue. You should be able to reach a horizontal pole from here (#1). Keep moving forward. You will have to reach a larger pedestal. Head on to the second pole. You will find yourself on an upper balcony. Pick up the fifth artifact. It's located on a nearby springboard (Bronze - 5; #2).
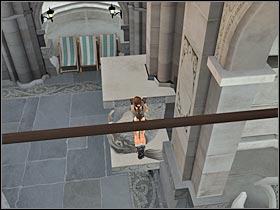 | 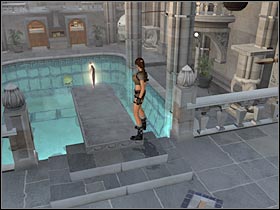 |
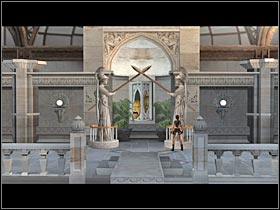
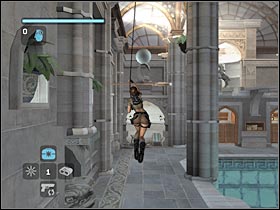
There are two big statues on your left. You will have to place them correctly. The objective is to create an X with the spears. Check out the first screen (#1) for help. If you've placed the statues correctly, a short cut-scene will appear on the screen. Use the tongue (it's a lever). Don't leave the balcony area just yet. Instead, move to the left side of it. You will have to make a double jump in order to use the grapple (#2). You will have to reach an opposite balcony.
 |  |
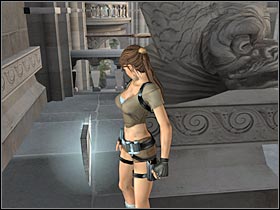
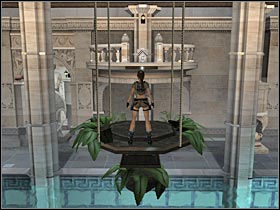
Pick up the binoculars. Use the grapple and start pulling the large ball towards a button. You will have to place it there. Before you proceed any further, head on to the right statue. You'll find a silver reward here (Silver - 1; #1). Get back to the horizontal poles. Once you've used the grapple, turn left and start swinging towards a small platform (#2). You will have to reach it now. Use the grapple once again. This time you will have to pull the platform towards a new balcony. Make a single jump and pick up a second silver reward (Silver - 2).
 |  |
You may proceed to the water. An underwater tunnel is fully accessible. Use it. You will have an opportunity to pick up a third silver reward along the way (Silver - 3; #1). You'll reach the gym. There are A LOT of fairly easy jumps here. I'll concentrate most of my efforts on explaining where can the secrets be found. You shouldn't have any problems reaching them.
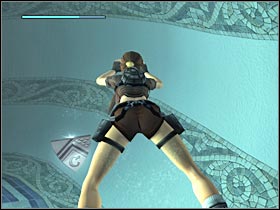
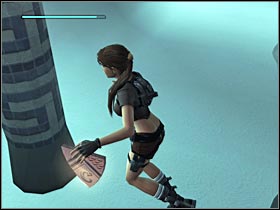
Bronze - 6 - #2 - The bronze reward is in the pool, near the tunnel (the one you've used).
 |  |
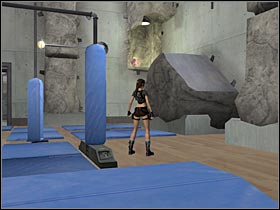
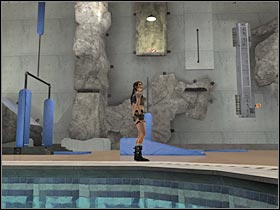
Bronze - 7 - #1 - The shield is located near the small passageway. You will have to start off near the blue sandbags in order to reach it. You'll also use a lot of narrow ledges along the way.
Bronze - 8 - #2 - First of all, you will have to use the grapple in order to switch a movable pole. There are some stairs along the way. Once you've picked up the reward, REMAIN here!!
 |  |
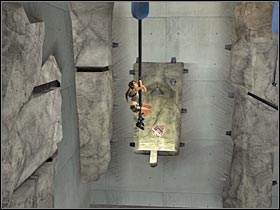
Bronze - 9 - #1 - You will only have to get back to a nearby ladder. Start moving towards the right edge of the screen. You shouldn't have any problems with reaching this reward.
Bronze - 10 - #1 - The next bronze reward is one of the corners of the gym. You will have to move a pole that's attached to a semi-circle before moving on.
 | 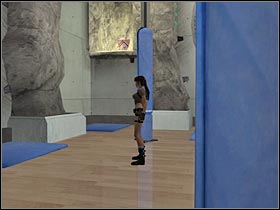 |
Bronze - 11 - #1 - Once again, I would recommend that you use the grapple. You will have to switch a pole that's attached to a semi-circle. Lara will have to reach a green stone ladder. Keep moving towards the right side of the screen in order to reach this reward.
Silver - 4 - #4 - Once you've taken the bronze reward, REMAIN here. Get back to one of the previous ledges. You will have to start climbing down. The fourth silver reward is located by the water, on a very small platform.
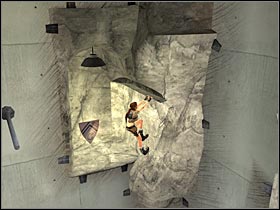 | 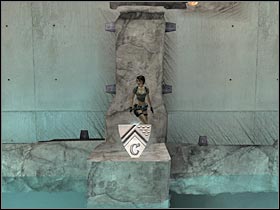 |
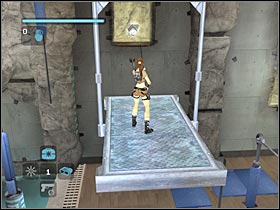
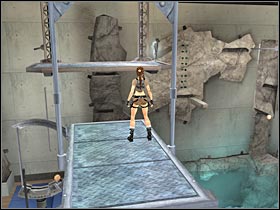
Silver - 5 - #1 - You will have to switch a semi-circle construction. The objective is to move a pole to a horizontal position. Furthermore, you will have to use the grapple on a piece of wall. Start moving right. Your current objective is a small metal platform. Use the grapple once again. This time you'll have to target a nearby platform. Make a jump towards it and pick up the silver reward.
Silver - 6 - #2 - Start off by using the grapple. You will have to move a small ladder. The pole with the semi-circle must be in a vertical position. Keep moving left. You will have to reach the top metal platform. Pick up the silver reward and make your way to the ground CAREFULLY.
 |  |
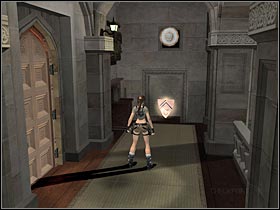
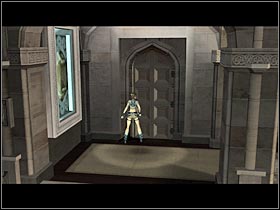
You can exit the gym. Head on to a small corridor. It'll lead you to a fountain. You will have to get back to the main room of the manor. Once you're there, use the nearby stairs. Start off by moving left. Make a few steps forward and turn around. You will have to aim the grapple at the small button. Thanks to that, you'll be able to pick up a new artifact (Bronze - 12; #1). Turn around once again. Head on to the end of this corridor. Open the right door (#2).
 |  |
You should be able to reach Lara's bedroom in just a few seconds. Once you're there, turn left. There are two swords here. Pull them both. Thanks to that, you will unlock a small locker. Pick up the pistols (#1). Head on to the main bed. You'll find a new bronze reward behind it (Bronze - 13; #2). Pick it up and get back to the main hall.
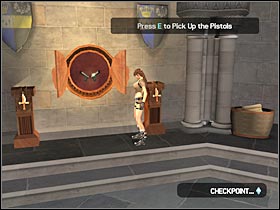 | 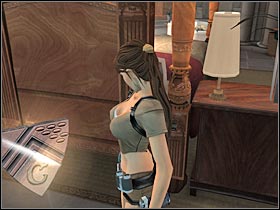 |
Start off by heading towards an opposite balcony. Just as before, you will have to make a few steps forward. Turn around. Don't use the grapple. Instead, start shooting at the small button (#1). Thanks to that, you'll push it a little. Pick up the silver reward (Silver - 7). Go back to the previous balcony (you will have to use the nearby stairs). Head on to the first door on your right. There's a long corridor here. Keep moving forward. Open the second door (#2). You'll find yourself in a study.
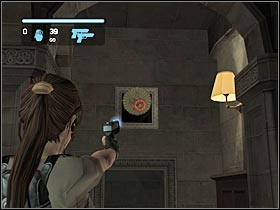 | 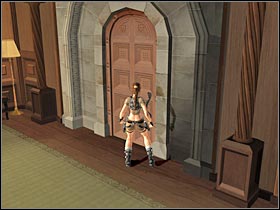 |
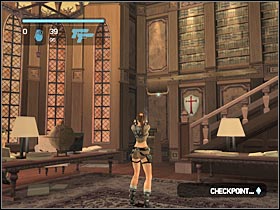
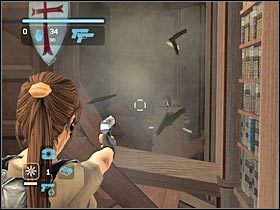
Start off by picking up a flashlight from a nearby table. Turn right and start shooting at the small bookcase (#1). You'll get back to it later. Go back to the entrance. This time you will have to turn left. Use your guns once again. Start shooting at the wooden wall (#2). It'll be gone in a few seconds. Enter a small room and pick up a silver reward (Silver - 8).
 |  |
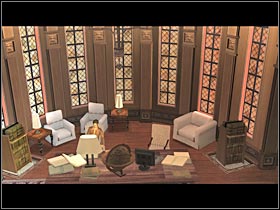
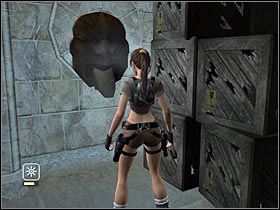
You'll find a second bookcase here. Start pulling it towards the main table. Both bookcases must be placed on the small buttons (#1). It's very important that you place them correctly. Otherwise nothing would have happened. Head on to the dark corridor. Keep moving forward. There's a silver reward here (Silver - 9). Look for a tongue button. It's going to be located on your right, near a large group of wooden crates (#2).
 |  |
You'll find a first part of the riddle here. Read it (#1). Thanks to that, you'll be able to proceed to the second riddle. The main objective will be to collect a main (gold) reward. Keep moving forward. There's a bronze reward on your right (Bronze - 14; #2). Pick it up. Use the tongue lever to open up a door. You'll find yourself inside Lara's bedroom. Get back to the area with a large pool. You shouldn't have any problems with that.
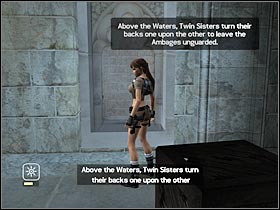 | 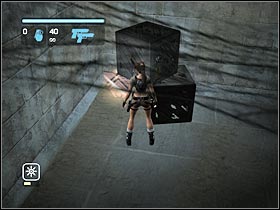 |
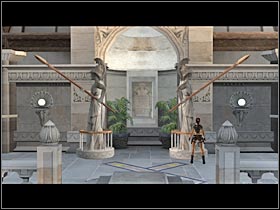
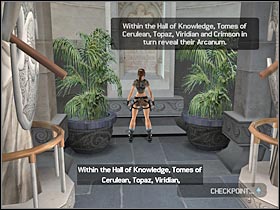
You will have to use horizontal poles and pedestals to reach the upper balcony. Head on to the two big statues. This time their backs must be facing each other (#1). You shouldn't have any problems with that. A second riddle will reveal itself (#2). Read it and get back to the study.
 |  |
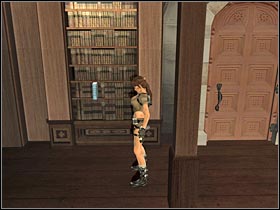
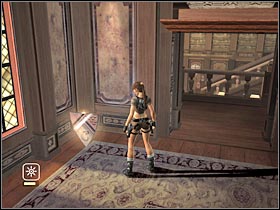
The next puzzle will require you to push some of the nearby books in a required order. Start off with the blue book. It's located near the entrance (#1). Head on to the small stairs. They will lead you to an upper balcony. Enter the small room. Pick up a bronze reward (Bronze - 15; #2). After that, push the yellow book.
 |  |
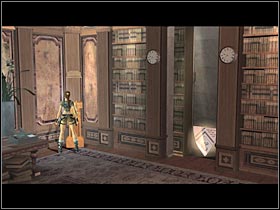
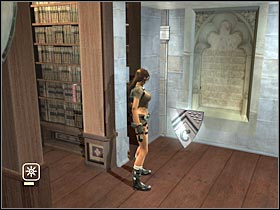
There's only one bronze reward to collect. You will have to pull a sword that's located in one of the corners of this room. It'll reveal your reward (Bronze - 16; #1). Pick it up. Stay here. Now you will have to find a green book. The last one (red) is on the lower level. Push it. Thanks to that, you'll reveal a small room. Pick up the last silver reward (Silver - 10; #2) and read the third part of the riddle.
 |  |
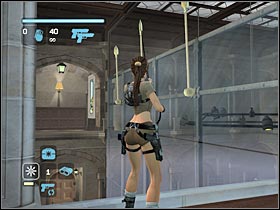
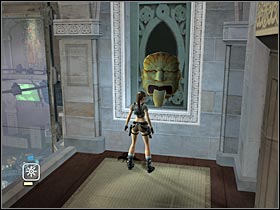
Get back to the main hall area. First of all, you will have to use the grapple. Aim at the highlighted poles (#1). They are located near the glass room. The objective is to lower them (they must remain in a horizontal position). There's a tongue switch nearby (#2). Push it. Now you will have to use these horizontal poles to reach the opposite balcony. You must be quick about it. Use the second tongue lever.
 |  |
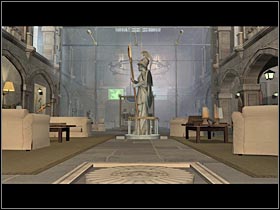
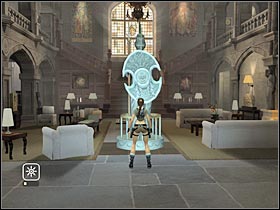
Lara will automatically read the last part of the riddle. Furthermore, Athena's statue will appear by the fireplace (#1). Go there now. You will have to turn the statue so it faces a nearby window (#2). You shouldn't have any problems with that.
 |  |
There's only one more thing you will have to do right now. Stand on a small button (#1). The game will reveal a final artifact. Now you will have to pick it up. Go back to one of the balconies. You will have to reach a second horizontal pole. Climb down to the small platform and pick up your reward (Gold - 1; #2).
Congratulations! You've collected all secret objects. As a result, you've unlocked most of the hidden prizes. The only remaining challenges are the time trials. Good luck!
 |  |
- Tomb Raider: Legend Game Guide & Walkthrough
- Tomb Raider Legend: Game Guide
- Tomb Raider Legend: Secrets
- Tomb Raider Legend: All secrests in Bolivia - Tiwanaku
- Tomb Raider Legend: All secrests in Peru - Return to Paraiso
- Tomb Raider Legend: All secrests in Japan - Meeting with Takamoto
- Tomb Raider Legend: All secrests in Ghana - Pursuing James Rutland
- Tomb Raider Legend: All secrests in Kazakhstan - Project Carbonek
- Tomb Raider Legend: All secrests in England - King Arthur's Tomb
- Tomb Raider Legend: All secrests in Nepal - The Ghalali Key
- Tomb Raider Legend: Bonus - Croft Manor
- Tomb Raider Legend: Secrets
- Tomb Raider Legend: Game Guide
You are not permitted to copy any image, text or info from this page. This site is not associated with and/or endorsed by the developers and the publishers. All logos and images are copyrighted by their respective owners.
Copyright © 2000 - 2026 Webedia Polska SA for gamepressure.com, unofficial game guides, walkthroughs, secrets, game tips, maps & strategies for top games.
