Tomb Raider Legend: Bolivia Tiwanaku part 1
Additional information: This level should be treated as a more complex tutorial sections. The game will present A LOT of useful hints to you. I would recommend that you read all of them, so you won't have any problems later in the game. Hints will appear mostly when you are doing something for the first time ever, however you will be on your own later in this level. Nevertheless, there's nothing to be worried about. It would be wise to spend the rest of the time on practicing new moves. You won't be allowed to make any mistakes in the next levels of the campaign.
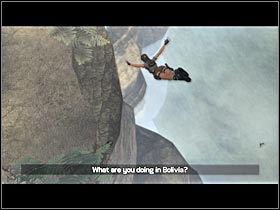
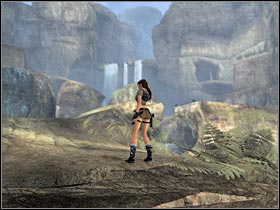
Start off by watching a very interesting cut-scene (#1). You will meet a 'new' Lara. You should also be able to hear some of her assistants. They are currently residing in the Croft manor. Sadly, they can't be turned off. As for now... sit back and enjoy the views. :-) You will be given a full control in just a few seconds. You start off near a huge gap (#2). I guess I don't have to remind you to be very careful. One bad move can lead Lara to her death, so you have to watch your steps all the time. I would recommend that you take your time and familiarize yourself with some of the new or old moves. You might want to consider picking up hidden objects along the way. The first statuette was hidden behind the nearby rocks. Taking these objects will allow you to unlock some of the bonus features, however in this walkthrough I've concentrated all of my efforts on explaining how to reach the next sections of the level. You can try and search for these items on your own, however in my personal opinion it would just be a waste of your time. :-)
 |  |
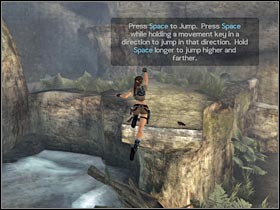
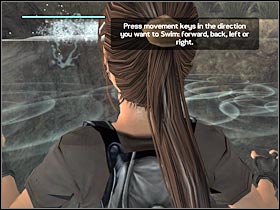
You might want to consider taking a closer look at your PDA, however it is not necessary. This item will be explained later in the game. Start off by moving towards the nearby rocks. You will have to make a single jump (#1). Don't worry, it's going to be very simple. Just make sure you're running fast enough. :-) In order to make a successful jump you will have to press the SPACE key. If you make a jump too early, Lara will grab the ledge. In this case, you will have to pull up in order to proceed to the next section. You can also kick some of the smaller rocks (the E key), although this is not necessary. Keep moving straight. Head on to the water and start swimming towards the opposite edge (#2). Once you've reached that spot, Lara will automatically pull herself up.
 |  |
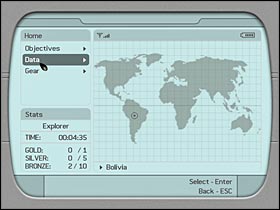
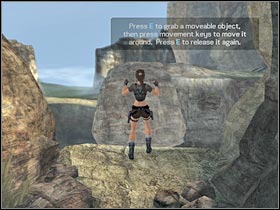
You will have to use the SPACE key again in order to climb on to a nearest platform. The game will suggest that you take a closer look at your PDA (#1). In order to activate it, press and hold the TAB key. Thanks to the PDA, you can view your current objectives, read some additional data or familiarize yourself with the carried equipment. Now you will have to push a large boulder that's blocking your way. In order to do that, hold the E key (you must be standing next to the boulder) and then start moving forward (#2). You shouldn't have any problems with that.
 |  |
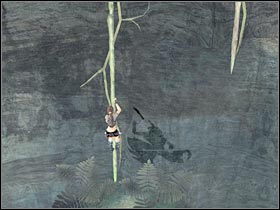
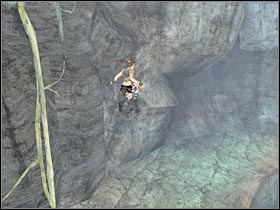
There's a second jump ahead of you. Thankfully, the next platform isn't that far away. You've probably noticed a small rope over here. Stand next to the rope. Lara should automatically hold on to it (#1). Start moving upwards. Once you're there, turn right and press the SPACE key in order to jump off to the second rope. You should be able to reach a new passageway in just a few seconds (#2).
 |  |
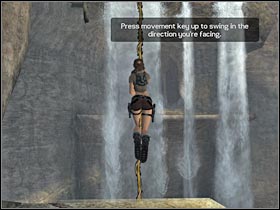
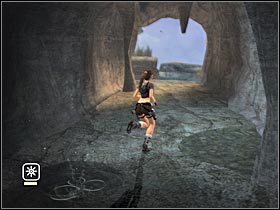
Now you will have to use a new rope in order to reach a nearby waterfall. Don't forget that you must be running in order to safely reach the rope! You should also save your progress frequently, so you won't have to repeat these actions once you've exitted the application. Now you will have to start swinging (#1). In order to do that, use the movement keys. Once you're closer to the waterfall, press the SPACE key in order to make a successful jump. You should find yourself on a small ledge. Start moving forward. There's a dark cavern nearby. Use the flashlight (#2) in order to pass through it safely.
 |  |
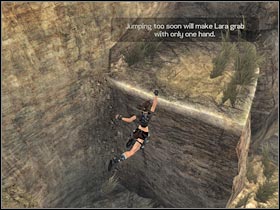
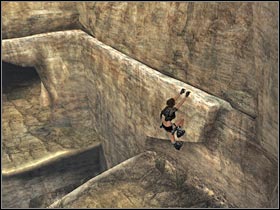
Once again you will have to make a precise jump (#1). You must be very careful. If you jump too early, Lara will use only one hand. As a result, her life will be in an immediate danger (you should start tapping the SPACE key). Just try and avoid these kind of situations. A short cut-scene will appear on your screen very shortly. You should know exactly what has to be done. Stand by the wall and make a jump in order to grab the ledge (#2). Start moving towards the left entrance. Don't worry, once you've reached one of the corners Lara will proceed to the adjacent ledge.
 |  |
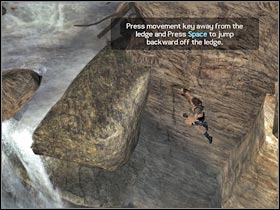
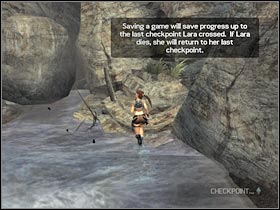
You should be getting closer to a large waterfall (the one from the cut-scene). Now you will have to jump to the opposite ledge (#1). Climb up. The game will suggest that you save your progress right now. I would strongly recommend that you do that. Keep moving forward. A large boulder will start coming your way (#2). You must QUICKLY stand by the small rocks (on the right) in order to avoid getting hit by the boulder. You will only have a few seconds to do that.
 |  |
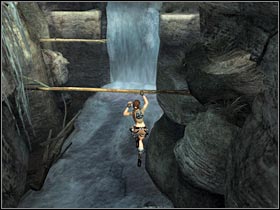
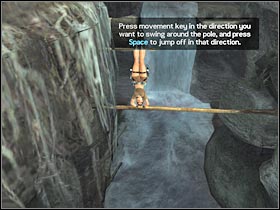
You can proceed to the next section of the map. There are some fairly simple jumps ahead of you. Start off by jumping to a small branch (#1). Now you will have to move to your left. Start swinging (use the movement keys) in order to make a successful jump to a second branch (#2). The game will suggest that Lara should make at least one full spin before each of the jumps. Like I've said before, you will have to use movement keys in order for her to start swinging at a desired direction.
 |  |
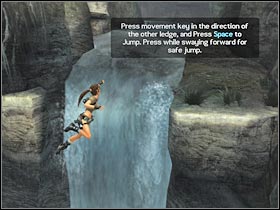
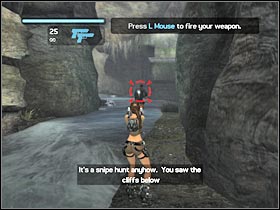
You should stick close to the left ledge. Get closer to a small waterfall. Try jumping to the opposite (right) ledge (#1). You shouldn't have any problems with that. Just make sure you've pressed a correct movement key, followed by the SPACE button. A short cut-scene should appear on your screen. Press the G key in order to use your guns (two pistols with unlimited ammo supply). Start shooting at the single enemy soldier (#2). It would be wise to have auto-aim feature turned on. Thanks to that, you will be able to move and shoot at the same time.
 |  |
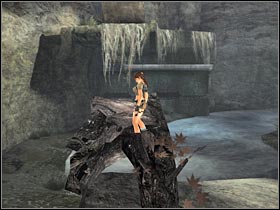
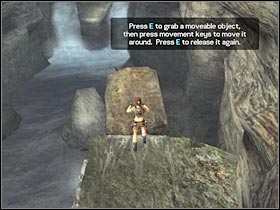
The game will display a new hint in just a few seconds. It will explain how to use your binoculars. I would recommend that you skip this feature. You won't need it at the moment. Start off by jumping to an unstable platform (#1). You will have to make a second jump to a nearby ledge. It's kind of tricky, because the platform will lower itself under the weight of Lara. As a result, you will have to do this quickly. Climb up. Now you must push the huge boulder to the lower platform (#2). Thanks to that, you will be able to proceed to the next section of the map.
 |  |
You are not permitted to copy any image, text or info from this page. This site is not associated with and/or endorsed by the developers and the publishers. All logos and images are copyrighted by their respective owners.
Copyright © 2000 - 2026 Webedia Polska SA for gamepressure.com, unofficial game guides, walkthroughs, secrets, game tips, maps & strategies for top games.
