Oblivion: The Shrine of the Crusader
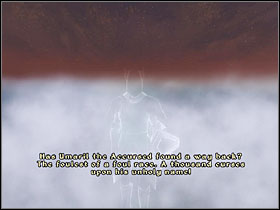 | 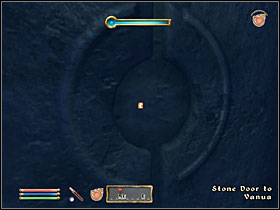 |
After visiting the last shrine, you'll hear a voice of Pelinal Whitestrake who'll teleport you to a different dimension for a brief talk. After a short scene you'll be back to Cyrodiil, and on your map you'll see a new shrine. It'll turn out that it's actually underwater. Dive in the indicated spot and use the door leading to Vanua.
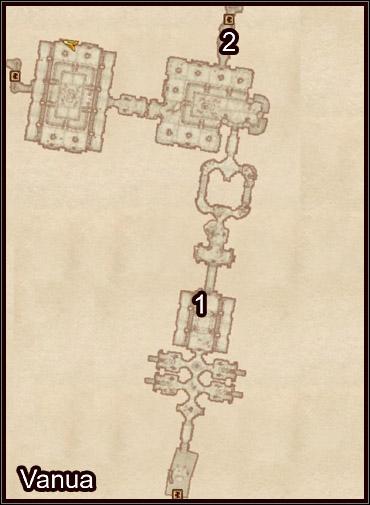
A quite usual Ayleyd ruin before you. At (1) use the button on the wall to open up the passage. Go forth until you reach a way down to The Shrine of the Crusader (2).
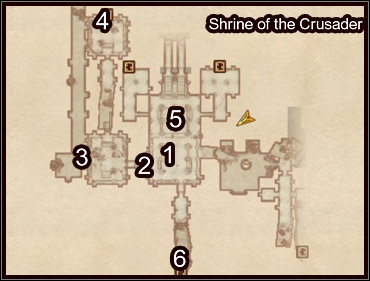
In here you'll find Sir Amiel's body (1) by which you'll see a journal and some trademark Knights of the Nine equipment. That will trigger another quest - Priory of the Nine. Grab the journal, a ring and a key.
Use the key to open the door to the west (2). Go through a crack in the wall (3) and reach the passage to The Lost Catacombs (4). In there, go through the corridor and another crack to find another door back to The Shrine of the Crusader. Now you can grab the helmet (5). Leave this place using the passage to Vanua (6), then hurry back outside using the path you already know.
You are not permitted to copy any image, text or info from this page. This site is not associated with and/or endorsed by the developers and the publishers. All logos and images are copyrighted by their respective owners.
Copyright © 2000 - 2026 Webedia Polska SA for gamepressure.com, unofficial game guides, walkthroughs, secrets, game tips, maps & strategies for top games.
