The Legend of Zelda Link's Awakening: Eagle's Tower Walkthrough
In this chapter of the guide to The Legend of Zelda: Link's Awakening, you will learn how to reach the Eagle's Tower with a little help from the Rooster. We will lead you through all floors of the tower and show you the location of the Organ of Evening Calm.


Level main goals:
- Resurrecting the Rooster
- Finding a way to the Eagle's Tower
- Exploring the Eagle's Tower in searching for the Organ of Evening Calm
Resurrecting the Rooster

After conquering the Coral Triangle the Owl will tell you to go to the mountains for the next instrument. Play the Manbo's Mambo on you Ocarina and teleport near Mabe Village. In the village, visit the Trendy Game first and win the toy shaped like a bomb with a bow. It's a CiaoCiao figure. Go to Madame Meow Meow's house and put the toy on the table. Leave the house.
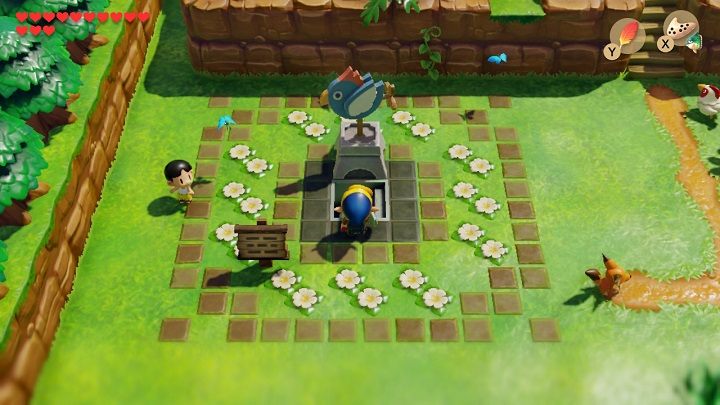
Go to the square where you met the singing Marin before. Move the Rooster Statue up and go down the stairs. Get near the remains and play the Frog's song of soul. The Rooster will come to life and follow you from now on. Leave the village through its east exit and follow the path to the Kanalet Castle.
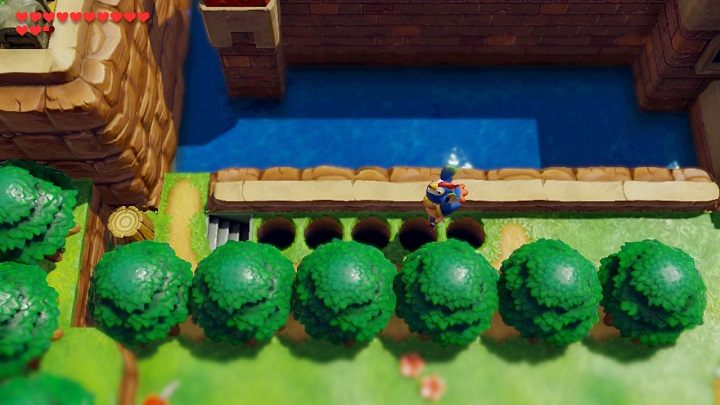
Turn left at the castle gate. Lift the rooster to fly over the holes. Go down the stairs and take a Secret Seashell from the chest. Return to the surface and fly over the holes again with the help of the rooster.
Finding a way to the Eagle's Tower

Teleport yourself to Manbo's Pond. Go left and then turn up. If you encounter any rocks along your path, remove them. Go past the swamps and turn right. You will find a Secret Seashell under a rock next to the board. Remove the rock blocking the entrance to the hill and go right. Continue to the right until you find a ladder near an apple tree. Climb the hill. An Owl will fly by and tell you to head east.
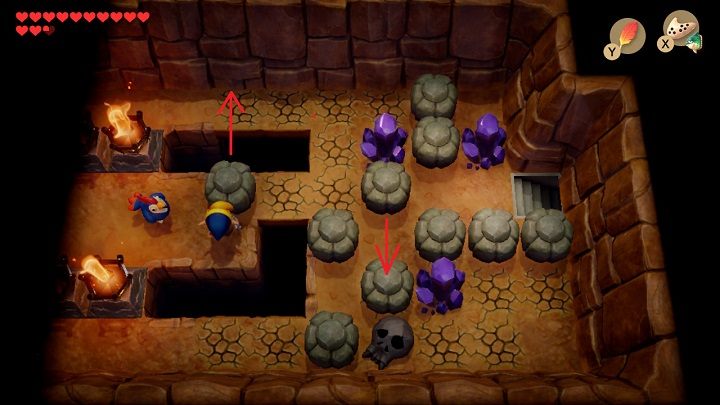
Remove on of the stones blocking the entrance to the cave and go inside. Go right. Move the stone up, destroy the crystal and move the next stone down to get to the stairs. Go through the next chamber and go up the stairs. Fly with a rooster over the abyss to get to the chest with 50 rupees. Fly over the abyss again and go to the right side of the room. Get out of the cave.
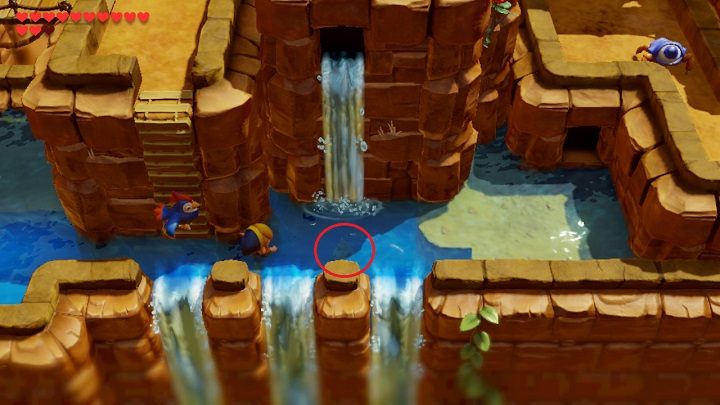
Go down the stairs to the water and go right until you reach a ladder. Dive under the waterfall to pick up a Secret Seashell. Climb the ladder and cross the bridge to the left. Enter the nearby cave.
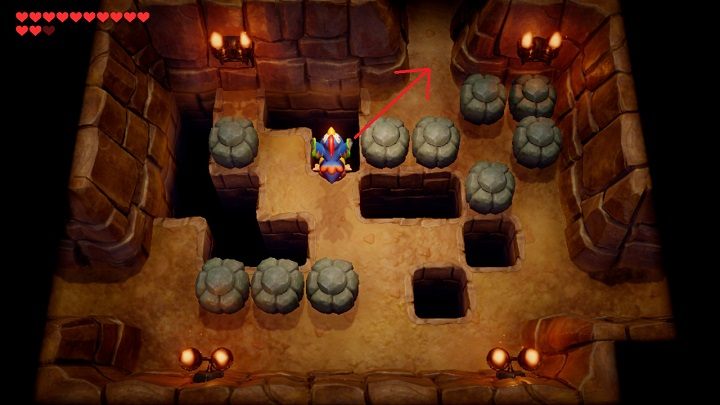
Go to the next room and move the stones to be able to fly over the abyss. Go up. Fly over the abyss and go left. Take the Bird Key. Come back the same way and leave the cave. Climb the hill on which the house is located and fly over the broken bridge to the left. A bit behind the bridge you will find stairs under a single plant.
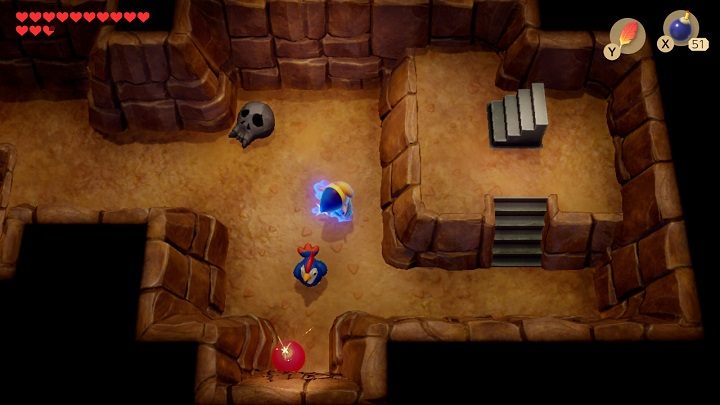
Go down the stairs and place a bomb near the cracked wall at the bottom of the room. Go through the newly created hole and move right. Take a Piece of Heart and return the same way to leave the cave.
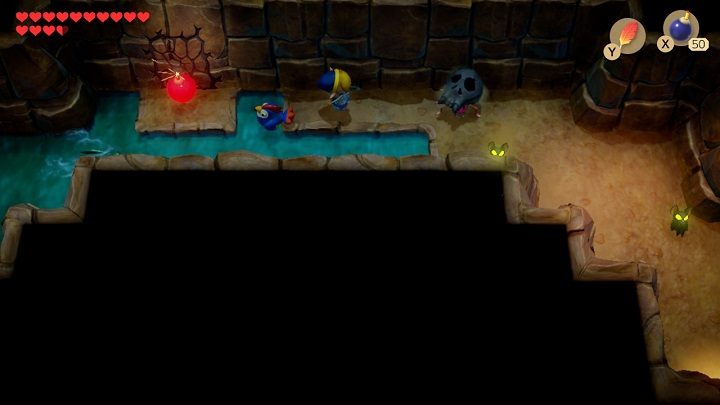
Flyback over the broken bridge and go down the stairs. Go right and go down the ladder to the water. Go right and enter the cave. Plant a bomb next to a cracked piece of wall and move up. Watch out for sharks passing through the water and climb the stairs. Go down and move the stones blocking your way to the exit. There will be monsters in all of the chests. Exit the cave, go a bit forward and take a Secret Seashell from the chest. Go back to the cave and go down the stairs to its lower level. Go to the next chamber and turn right to leave the cave.

Go right, take a hint from an Owl statue and climb the ladder up to enter the next cave. Go down the long corridor and exit on the other side of the cave. Go left and enter the cave. Take the stairs to the lower level of the cave.
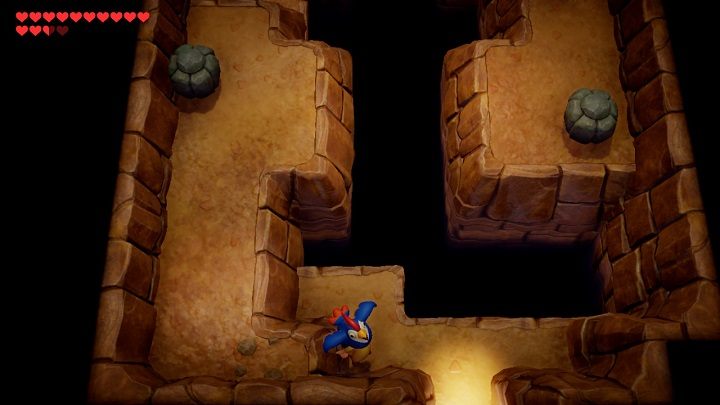
Jump over the abyss, go up the stairs and go right. Turn down and fly with the rooster to the exit of the cave. You will come out at the end of the island.
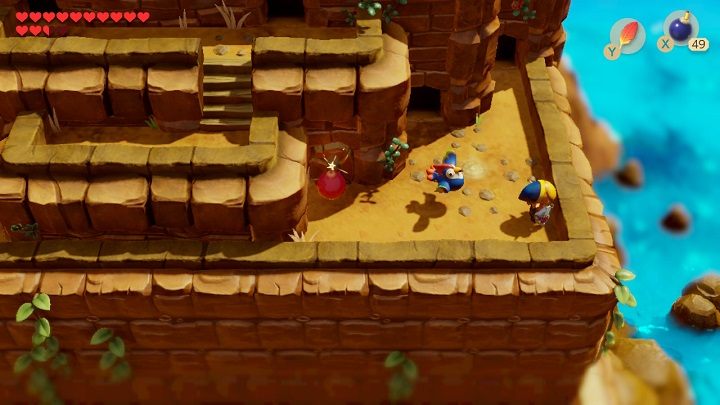
Place a bomb next to the cracked wall on the left and go inside. It will be a cave with another fairy where you can renew your life. Now go to the cave on the right leading to the top of the mountain. Go to the end of the corridor and climb the stairs to the upper level of the cave. Exit the last cave.
Exploring the Eagle's Tower in searching for the Organ of Evening Calm
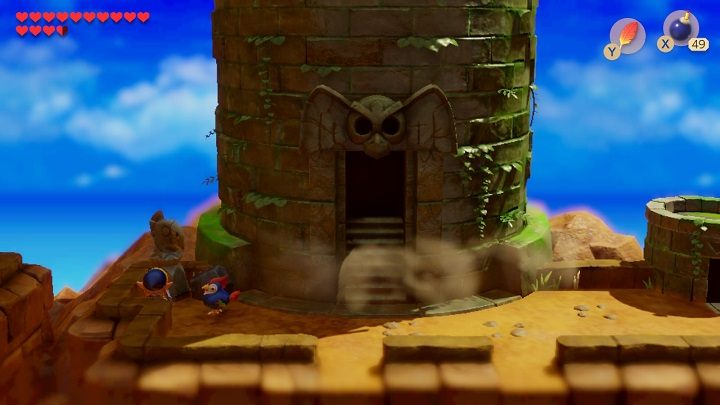
Go left, remove the stone and insert the Bird Key to the statue. The Eagle's Tower will rotate and you will be able to enter. Go right, jump over traps and spiked floor and go the next room on the right. Kill all monsters and a Small Key will drop. Use the key on the door and move on. Take the stairs to the second level of the tower.
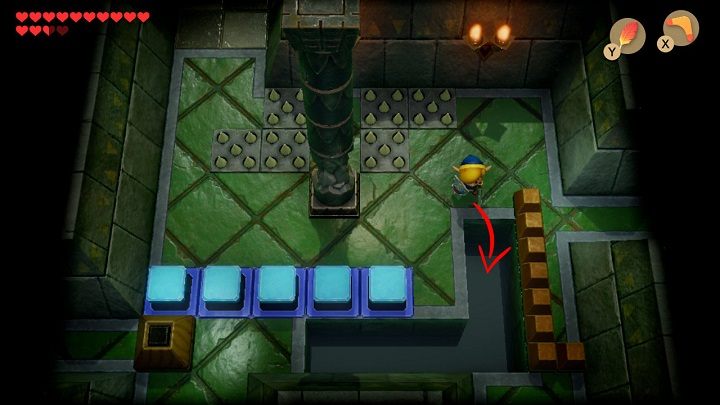
Go up and go quickly to the room on the left between the sliding bricks. Jump into the hole to get back to the first floor of the tower. Follow the orange bricks on the floor to the right and then down until you reach a chest with a Stone Beak.
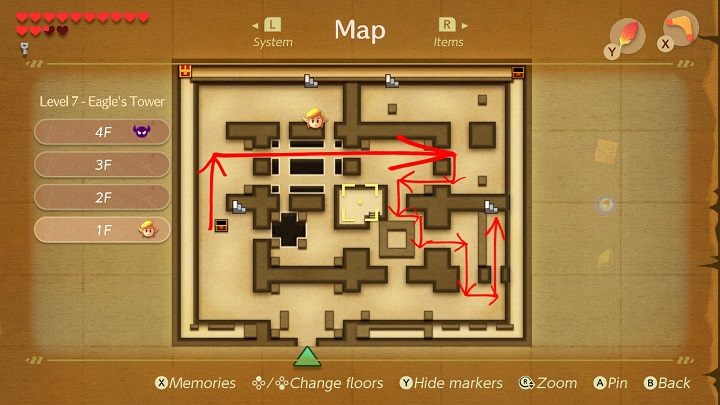
Return on the orange bricks on the floor to the place where you fell and go to the chamber on the right. Throw a boomerang at the crystal so that it turns orange. Follow the blue bricks on the floor to the left. Turn down and then right. Go down and go through the door to take the stairs to the second floor.
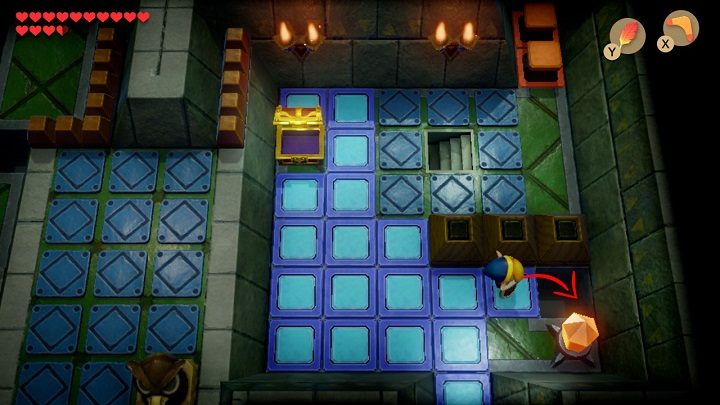
Open the chest with the Mirror Shield and jump into the hole to reach the first level of the tower. Go up the corridor to get to the chest with a Small Key. Jump off the corridor and go left. Climb the stairs to the second floor of the tower.
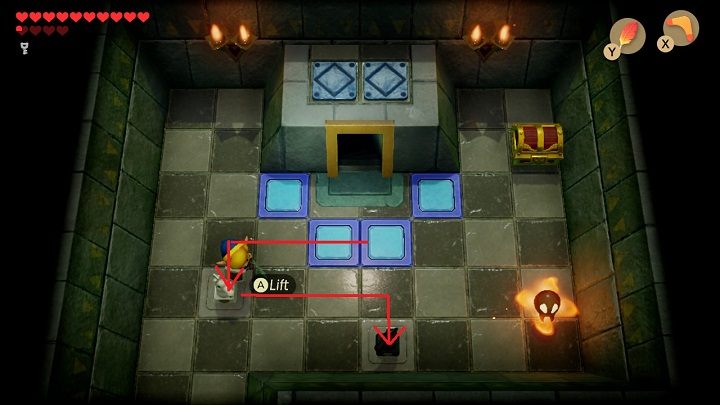
Throw the chess horses on their spots and a chest with a Map will fall down. Go down and then go to the chamber on the right.
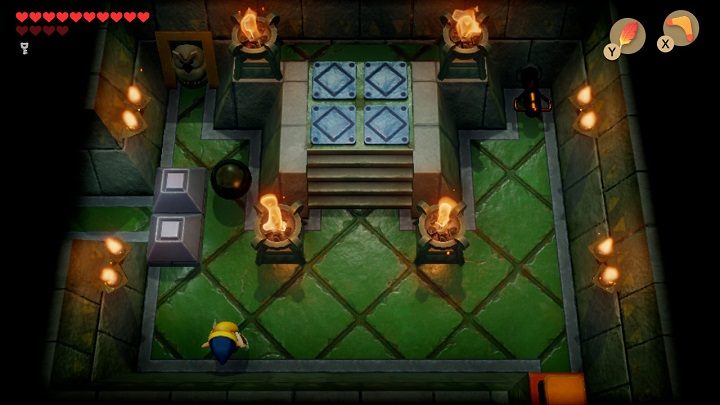
Take the black ball and place it near the bricks on the left side of the chamber. Pull the lever to move the bricks away from each other then quickly lift the ball and return to the room on the left.
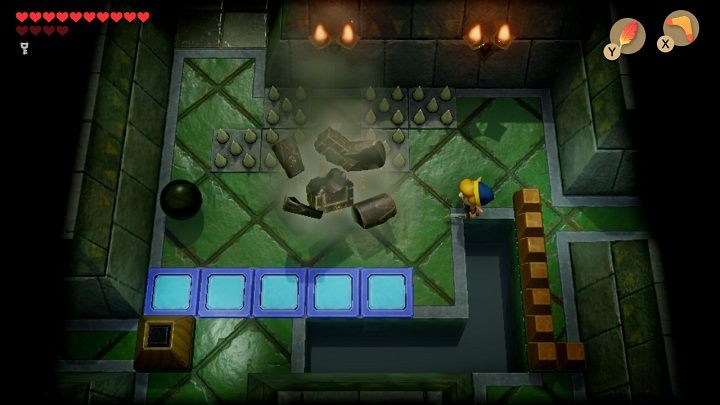
Throw the ball and crash the column. Take the ball and go down. Smash another column in the next room. Go back up, put the ball away and move the brick down. Pick up the ball and go left. Jump over the trap and go up.
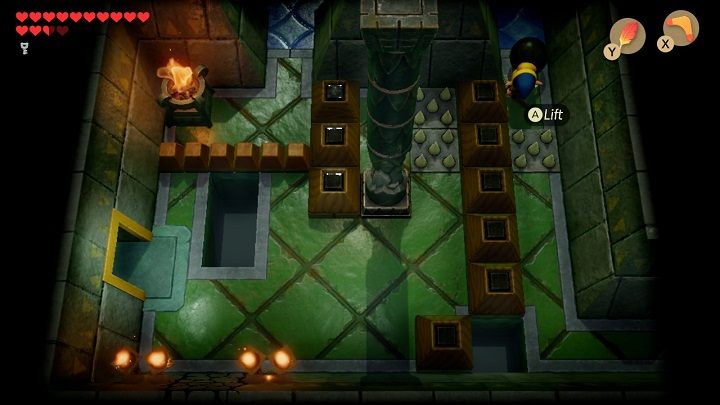
Put the ball down. The enemies in this room will only be defeated if you hit each one when they have the same stamp on their bellies. A chest with a Compass will appear. Take the ball and go down the corridor on the left. Throw the ball behind the barrier and return to the previous room to go down the stairs to the first floor of the tower.
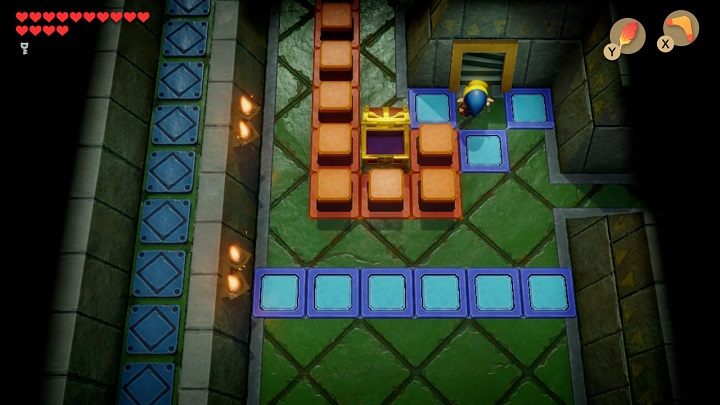
Go left over the orange bricks and then turn down. Go forward until you reach the stairs. Go up to the second floor.
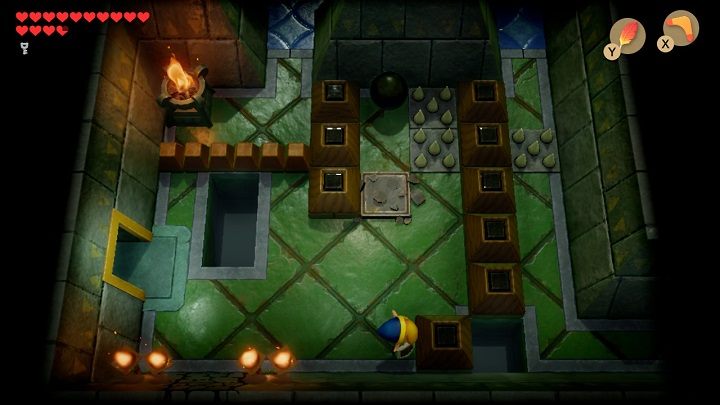
Go through the revolving door. Stand in the corner of the chamber and protect yourself with a shield, because tiles will soon start smashing at you. When the last brick breaks against your shield the door will open. Go right. Pick up the ball and smash the column. Move the brick into the hole, pick up the ball and flip it over the hole. Jump right, pick up the ball and go right.
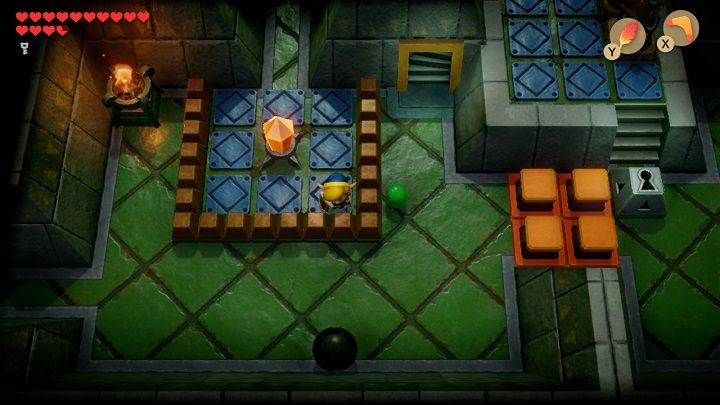
Move the brick to the right and go two rooms down. Throw the ball through the railing and return two rooms up. Move the brick down and go left. Jump over the trap and go up. Take the stairs down to the first floor of the tower. Go left and then down until you reach the stairs to the second floor.
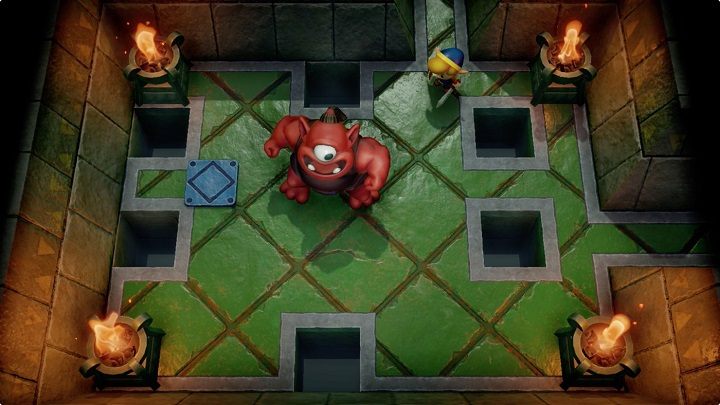
Watch out for Sparks and go down to the next chamber. You'll have to fight with Hinox there. Runaway from him, because he will try to catch you. Attack him with a boomerang. After defeating Hinox a Small Key will fall from the ceiling. Pick it up and jump into one of the holes next to the place where the key fell. Go up the narrow corridor to get a Secret Seashell from the chest.
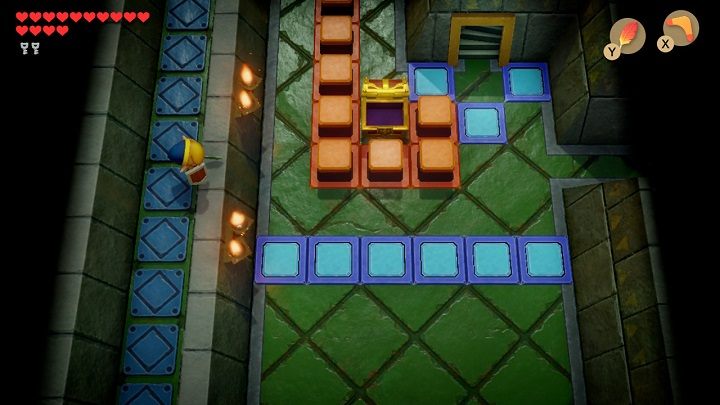
Go back down the corridor until you reach a room with a staircase. Jump down from the corridor to the right and go up to the second floor. Go to the room where you fought with Hinox and then go right. Defeat three monsters with the changing symbols on their bellies. A chest will fall, which you won't be able to get at the moment. Go right.
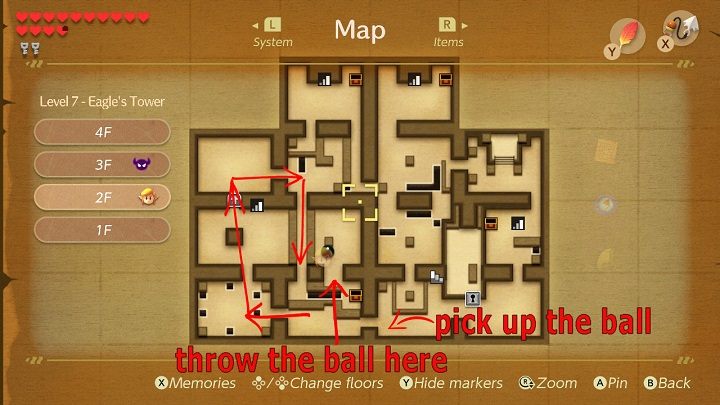
Pick up the ball, go back left and throw it into the corridor behind the railing. Go left and then up. Go through the revolving door and turn right. Place a bomb next to the cracked wall on the bottom wall and then go through the newly created hole. Place a bomb at the end of the corridor and go down. You should be near the Owl Statue. Use the Hookshot on a chest to get to the other side and take a bomb from it. Take the ball and go up. Smash the last column.
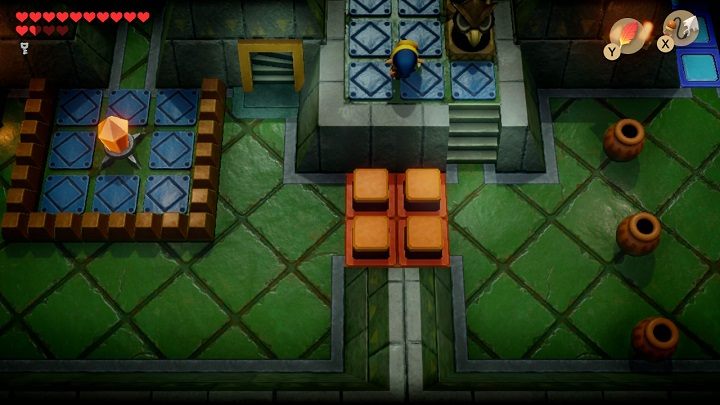
Go back to the previous room and jump into the hole. You'll land in the first room of the tower. Go right, jump over the traps and go to the next room to the right. Go through the door and then go up the stairs to the second floor. Go down and use a Small Key on the grey brick. Climb the stairs to the blue-tiled floor. Jump left, throw the boomerang at the crystal to turn it blue and go up the stairs to the third floor.
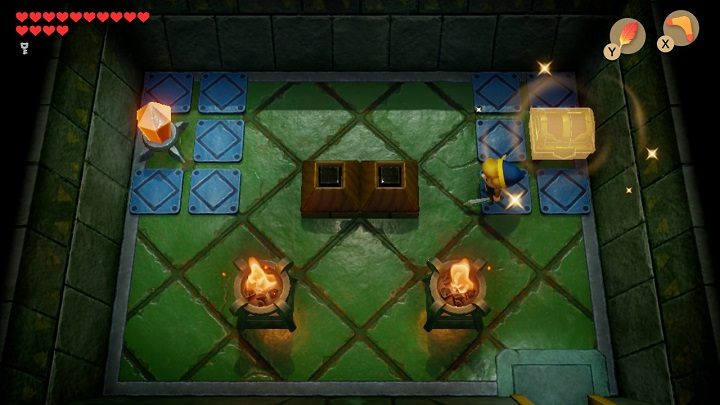
Go up and then go through the door on the right. You'll meet the Grim Creeper there. He'll summon six birds. They will attack you individually. Stay in a corner and slash all of the birds that will charge at you. Missing even one bird means a new formation will come. When you manage to kill them all at once, the Grim Creeper will run and all doors will open. Go up and tap the crystal to turn it orange. Kill the Sparks with your boomerang. Slide two bricks together and take the Nightmare's Key from the chest.
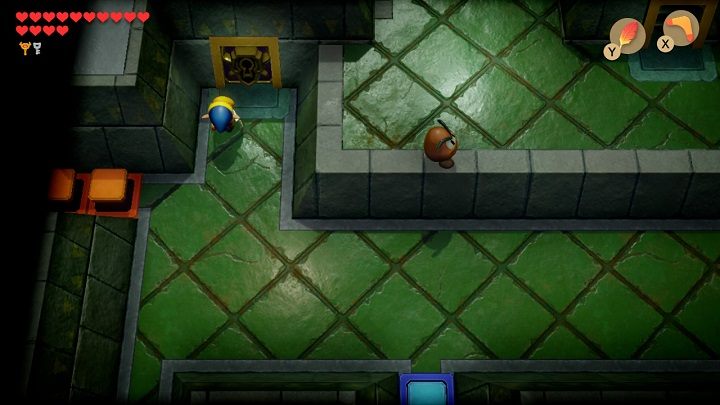
Go down, turn left and go forward until you find the door with a golden lock. Open it with the Nightmare's Key and go up. Go up the corridor, watch out for traps and go to the room on the right.
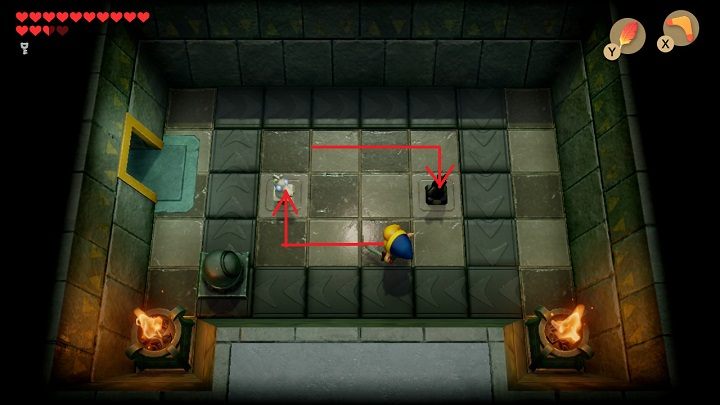
Throw the chess horses onto their spots and take a Secret Medicine from the chest. Go back left and then go down.
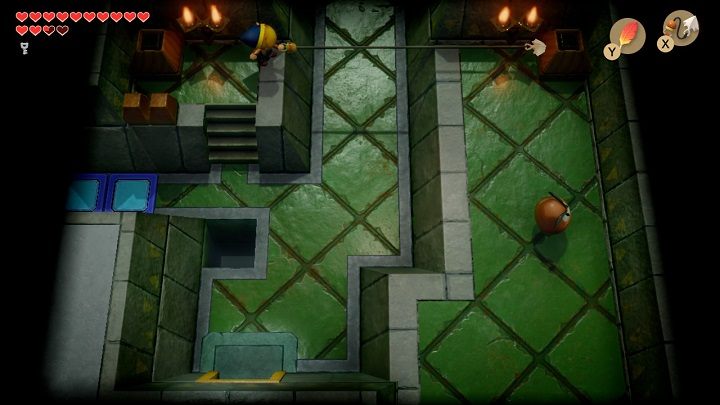
Climb the stairs on the left and use a Hookshot on the brick to get to the other side of the room. Go down and climb the stairs to the top of the tower.
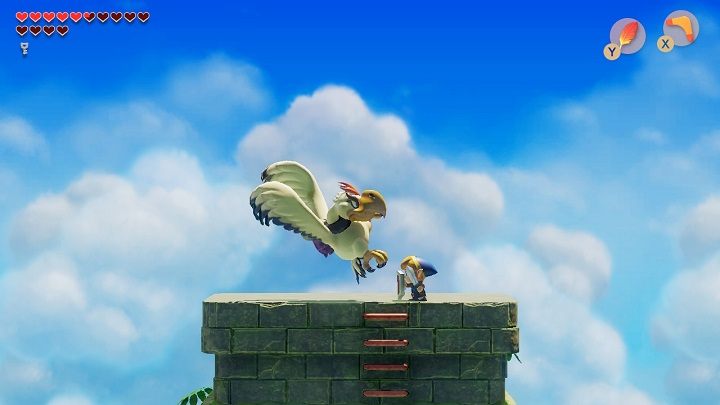
Climb the ladder to the top. You will fight the Evil Eagle there. Attack him with a sword when he flies at you or a boomerang when he flies over you. He can try to blow you off the tower. Cover yourself with a shield and watch out for his feathers. If you fall down, go back up to the top. After defeating him, take a Piece of Heart and return to the tower. Jump down right and enter through the door to take the Organ of Evening Calm.
- Link's Awakening Guide
- The Legend of Zelda Link's Awakening: Walkthrough
- The Legend of Zelda Link's Awakening: Tail Cave Walkthrough
- The Legend of Zelda Link's Awakening: Bottle Grotto Walkthrough
- The Legend of Zelda Link's Awakening: Key Cavern Walkthrough
- The Legend of Zelda Link's Awakening: Angler's Tunnel Walkthrough
- The Legend of Zelda Link's Awakening: Catfish's Maw Walkthrough
- The Legend of Zelda Link's Awakening: Face Shrine Walkthrough
- The Legend of Zelda Link's Awakening: Eagle's Tower Walkthrough
- The Legend of Zelda Link's Awakening: Turtle Rock Walkthrough
- The Legend of Zelda Link's Awakening: Wind Fish's Egg Walkthrough
- The Legend of Zelda Link's Awakening: Walkthrough
You are not permitted to copy any image, text or info from this page. This site is not associated with and/or endorsed by the developers and the publishers. All logos and images are copyrighted by their respective owners.
Copyright © 2000 - 2026 Webedia Polska SA for gamepressure.com, unofficial game guides, walkthroughs, secrets, game tips, maps & strategies for top games.
