Setting up defensive positions | Battle tactics
Last update:
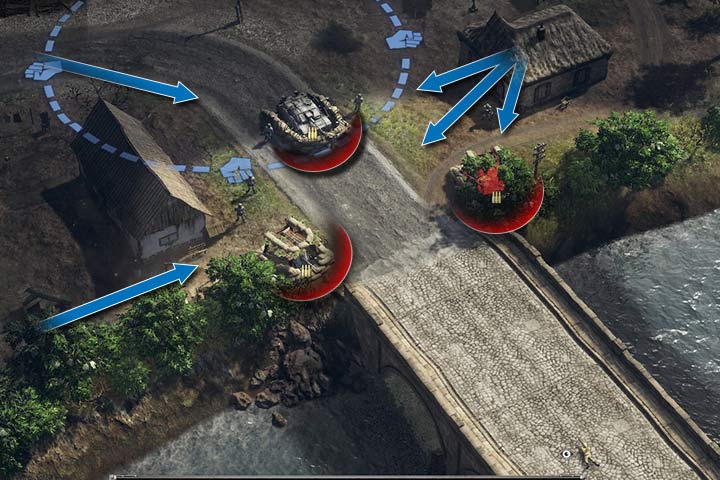
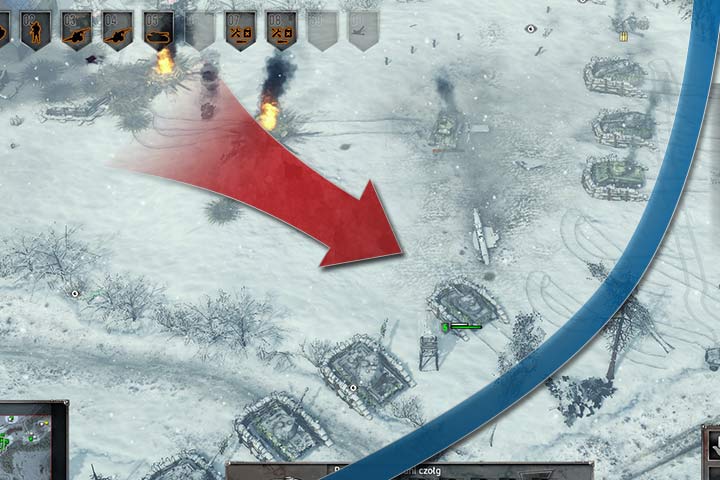
In a couple of missions, your task will be to defend a given location from waves of enemies. The key usually is to spread your forces cleverly, in order to sustain all waves. The priority, as usual, is ensuring good vision so that your units are able to quickly eliminate enemy infantry, which will make it much harder for enemy tanks to break your defense. Deploy your scouts near the expected route of the enemy, but not directly on their way - they must be able to safely observe the enemy movement. If you're sure about the direction of attack, you can set up mines. Riflemen are able to detect mines - they will be useful when you're taking another approach to a mission and already know the numbers and types of units of the enemy. Here, you have to be particularly aware of hostile vehicles - when they're destroyed, their crews will oftentimes evacuate, thus providing their allies with precious vision.

Setting up anti-armor cannons is incredibly important. You have to deploy some of them around the central focus of defense. The enemy will concentrate on them. The bulk of artillery has to be set up around the central point in order to have the right angle of fire, which will allow them to fire at vulnerable areas of enemy tanks. Alternatively, you can swap the cannons in the center with your tanks. Place your heaviest unit there, frontally to the incoming attack. In order to make sure the cannons will survive the battle, place them near buildings or other structure that may provide cover, or look to protect them with a dead angle. Sandbags are also very useful. They can reinforce the positions of your tanks and cannons by reducing the damage taken from projectiles coming from the frond and sides. They come in particularily handy in a terrain that doesn't provide a lot of natural cover. Should all your infantry perish, order the driver to disembark, lay on the ground and fire at will. He's practically a casuality at that point, but he may distract the enemy, allowing the rest of your vehicles to lay down effective fire and eliminate the remaining enemy forces. Otherwise you risk more unnecessary losses.

The infantry should cover the main path of the attack. Ideally, they should use building, structures, terrain and vegetation for cover. These provide good cover from small-caliber projectiles, but you have to be wary of artillery and tank fire. If a building collapses, most soldiers won't survive. Remember about setting up the artilelry and medics in the second line. These are rare and very vulnerable units. Particularly the medics are very useful in between skirmishes to patch up your soldiers. The AT infantry should be well covered in the second line as well, in a position that will allow them to promptly engage enemy armor in the perfect moment, ensuring the highest damage possible. After a successful raid, make sure they retreat safely.

If your units are spread thin over a big area, you should consider preparing a quick-reaction force at the back. Designate a few fast units: light or medium tanks, armored vehicles and trucks with infantry onboard. This will provide precious felxibility - you will be able to send reinforcements wherever needed without additionally stretching your line. The tanks can swiftly outflank the enemy; the infantry will provide vision and may take over abandoned artillery, which will allow it to clear the remaining danger.
You are not permitted to copy any image, text or info from this page. This site is not associated with and/or endorsed by the Kalypso Media or Kite Games. All logos and images are copyrighted by their respective owners.
Copyright © 2000 - 2025 Webedia Polska SA for gamepressure.com, unofficial game guides, walkthroughs, secrets, game tips, maps & strategies for top games.
