Murdered Soul Suspect: Chapter 8 - Bell Killer's Hideout
Go to the Judgment house. To do that, return to the crime scene and go left, then turn left again. Go past the girl sitting on the bench. You will reach a square with cars parked on. To the right, you will notice a hedge. Your aim is to get to the backstreet on the left. There are trash containers there. Reach the fence with the Danger sign on it. Enter and after a cutscene, you will get into the Judgment house.
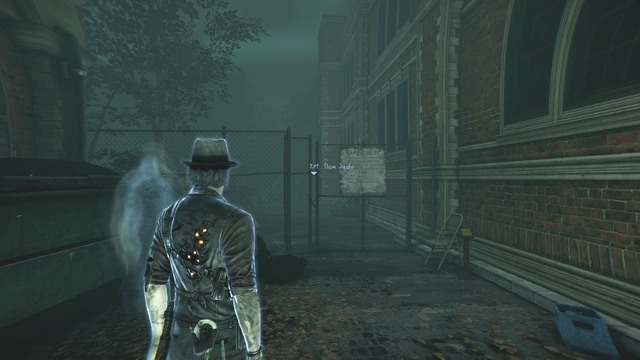
The "Get to Judgment House" main quest will be complete. Another main mission will start.
"Find the Upstairs room with the lights on"
You need to find the room with the light on. This mission becomes active automatically after you enter the Judgment House. First of all, collect some of the collectibles. Climb up to the landing and reveal the stairs. Climb up them to the platform and, at its end, use reveal. This way, you will activate the side mission: "Ashes to Ashes" of the Ghost Stories section. Climb to the first floor and collect some of the collectibles again. Follow the corridor to its end and enter the last door on the right. Cross the bookshelf on the left, into the next room. The "Find the room with the light on" will be complete. Another main mission will start.
"Find out if the killer is still in the Judgment House"
You need to find the traces of the murderer in the Judgment House. This mission becomes active after you cross the bookshelf into the secret chamber. You will obtain a clue: Joy's Verse for the Bell Killer's Hideout case. It is 1 of 7 clues for the case.
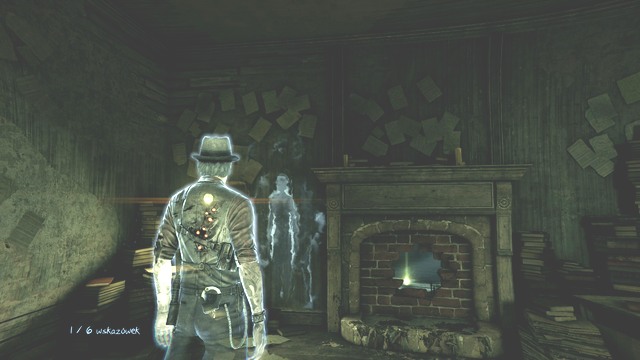
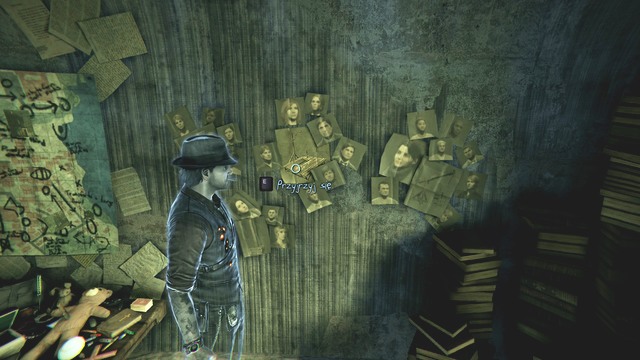
Remember to solve the case first, and then walk into the following rooms. In the game, there is a glitch that prevents you from completing the case, after you walk into the neighboring rooms. You will be able to collect the clues, but not to conclude the investigation and, at the same time, to obtain the last clue for the Bell Killer's case. It is time to solve this investigation. Take a look at the map on the wall. You will obtain a clue: Map of the previous crimes for Bell Killer's Hideout case. Take a look at the items on the table, below the map. You will obtain a clue: Trophies? for the Bell Killer's Hideout case. Take a look at the paper on the round table, next to the fireplace. You will obtain a clue: Old Salem Murders. Read the paper on the square table. You will obtain a clue: Witch Trial Similarity. Now, take a look at the photos on the wall, to the right of the map. You will obtain a clue: Execution Devices. Conclude the case and you will obtain a clue: Copycat Killers.
Deal with the two nearby demons. Cross the fireplace to the next room. Exit to the corridor and enter the room opposite. Leave the room through the opened door and cross into the next room. In the room that you are in, there is a raven. Use it to distract one of the monsters and you will be able to kill it. There is only one left now. Wait in the room with the raven, until one of the monsters turns away, follow it and kill it. After you eliminate the enemies, collect the rest of the collectibles at the ground floor and climb down the other stairs to the ground floor. They are marked 2F and Stairs. Next to it, you will find a note for Julia's Thoughts. The door to it is ajar. On the ground floor, you will walk into the colonial kitchen. It is the big room which you need to leave through the Western door. You will walk into the room, where there are halos to hide from demons in. Walk through the door on the right and you will notice, as many as, 4 demons. From this room, you can walk into the lounge, where there are enemies waiting for you. In the corner of the lounge, there is a waven. Use it to get rid of the first one of the enemies. Wait behind the wall until the opponent approaches the raven, after you activate it. While the enemy is occupied with the bird, approach it and simply kill it.
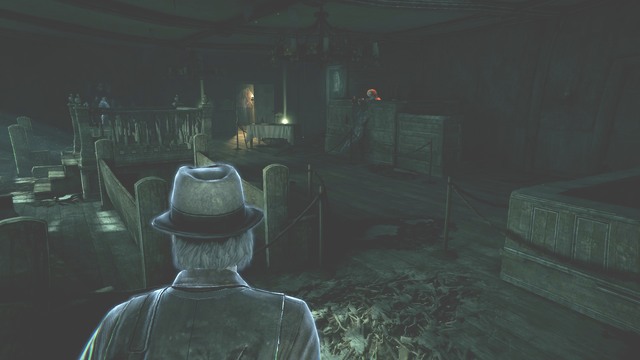
The next opponent is to the North. wait for it to turn its back at you. Approach it then and kill it. There are still two monsters left in the room. In the case of a failure to eliminate them, escape into the room that you came from. There are halos there, where you can hide. (the second previous room). Cross the wall close to the raven that you used to eliminate the demon. In the next room, there is another raven. Use it to kill the third of the enemies. There is only one left. In the Northern part of the lounge (the big room with the raven that you used to kill the first of the enemies), cross the wall. You will get into a room with halos. Exit the room to the corridor and get the last of the demons from behind and kill it. Get all of the collectibles on the ground floor. While at the lounge, enter the corridor to the North-East and walk towards the first door to the right. Reach the door to the cellar and climb downstairs.
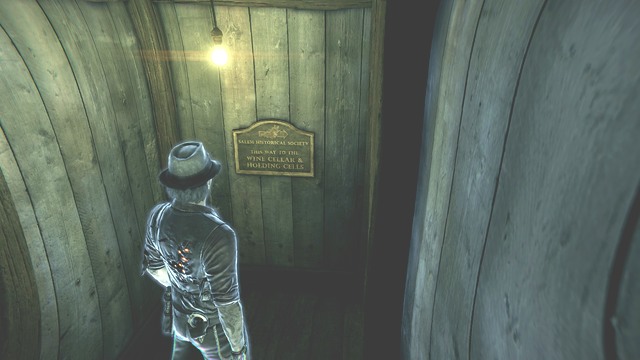
A cutscene will start. After that, talk to Baxter's ghost. Select the: who killed you? dialogue option. You will obtain a clue: the Bell Killer killed Baxter. Ask then: Where's the Killer? You will obtain another clue: Killer's Instrument of Death. Ask him: What did you do here? Ask another question: Where' Cassandra? You will obtain another clue: Cassandra is safe. Finally ask: Do you know Joy? You will obtain a clue: Baxter knows Joy. All f the clues belong to the Baxter case. After the conversation, the "Find out if the killer is still in the Judgment House will be complete. Another main mission will start.
"Search the cellar for the killer's trail"
You need to search the cellar to discover the killer's identity and predict his next move. This mission becomes active after the conversation in the cellar, with the Baxter's ghost. Walk through the cellar to reach the stairs downstairs, to the holding cells.
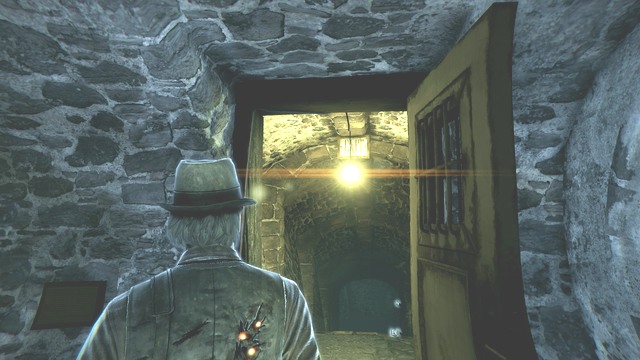
Climb down and the "Search the Cellar for the Killer's Trail" mission will be over. Another main mission will start.
"Investigate the holding cells"
You need to search the holding cells carefully to find the trace. This mission becomes active after you descend to the holding cells. You need to find an answer to the a question: What happened? At the stairs, use reveal and analyze the details. You need to answer a question: What was he doing here? Select, Judging, Accusing, Stern. You will obtain a clue: A righteous man for the Cellar in the Judgment House case. Enter the cell that the projection, which you summoned, points to. First, take a look at the shackles. You will obtain a clue: Shackles for the Cellar in the Judgment House case. Reveal the symbol on the ground and take a look at it. You will obtain a clue: Symbol in the cell. Right next to it, use reveal on the hands. after the spiritual projection appears, - analyze the details. You need to answer a question: What was Abigail doing here? Select: Imprisoned, pleading. Clue: Imprisoned Abigail will be yours.
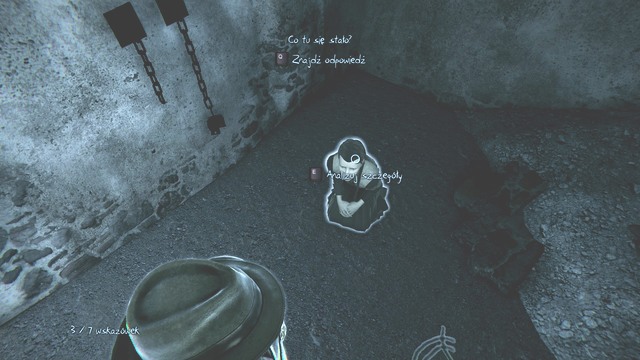
Use reveal on the object on the barrel and inspect it. You will obtain a clue: Candles. This is the end of the investigation in this cell. Walk into the next one. Take a look at the cage and you will obtain a clue: cage. Investigate the bed and you will obtain a clue: Prison Bed. You can now conclude the investigation, because you already have all the clues. You need to answer a question: What happened here? Select: Righteous Man, Imprisoned Abigail and Symbol in the cell. You will obtain a clue: Is Abigail the Bell Killer? These are all the clues for the Cellar in the Judgment House case. The main mission: "Investigate the holding cells" is over.
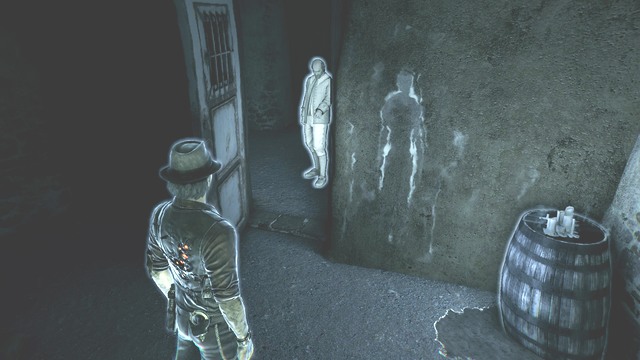
Return to Baxter's body. You need to answer a question: Where would Abigail take Joy? Select: Actual Puritan Era Gallows, Killer's Instrument of Death and Is Abigail the Bell Killer? You will receive a trophy: Judgment Day, for discovering the Bell Killer's secret. Start another investigation: Track Abigail. You will obtain a clue: Killer's Gallows at the museum, for the Abigail's True Identity. Another main mission will start.
"Get to the museum"
You need to leave Judgment House. This mission becomes active after you find the answer to the question: where would Abigail take Joy. Take the stairs to the ground floor and enter the opened door with the Exit sign, on the right.
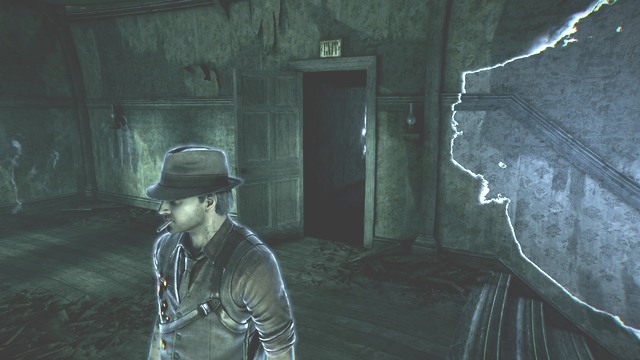
You are now next to the stairs, next to the building entrance. Leave the Judgment House.
- Murdered: Soul Suspect Game Guide
- Murdered Soul Suspect: Game Guide
- Murdered Soul Suspect: Main investigations
- Murdered Soul Suspect: Prologue - Death is only the beginning
- Murdered Soul Suspect: Chapter 1 - New Abilities
- Murdered Soul Suspect: Chapter 2 - Finding the Witness
- Murdered Soul Suspect: Chapter 3 - The Trail Leads to the Police Station
- Murdered Soul Suspect: Chapter 4 - The Knowledge of Teleportation
- Murdered Soul Suspect: Chapter 5 - The Witness That Survived the Encounter with the Bell Killer
- Murdered Soul Suspect: Chapter 6 - Visiting the Museum
- Murdered Soul Suspect: Chapter 7 - Murders at the Church
- Murdered Soul Suspect: Chapter 8 - Bell Killer's Hideout
- Murdered Soul Suspect: Chapter 9 - Finale
- Murdered Soul Suspect: Main investigations
- Murdered Soul Suspect: Game Guide
You are not permitted to copy any image, text or info from this page. This site is not associated with and/or endorsed by the developers and the publishers. All logos and images are copyrighted by their respective owners.
Copyright © 2000 - 2026 Webedia Polska SA for gamepressure.com, unofficial game guides, walkthroughs, secrets, game tips, maps & strategies for top games.
