Murdered Soul Suspect: Chapter 3 - The Trail Leads to the Police Station
Start from searching the Station for collectibles. Start in the war room. After you have found all of them, return to this place. You have to learn what does the police know about the case. In the room, you will see a Policeman with a clipboard. Possess him and use the peek ability. There are three options in the notebook. Choose the one that will give you a new clue. It is the one at the bottom. It starts with the words: preliminary forensics. You will get a clue: Police Didn't Find Lead. It is 1 of 11 clues.
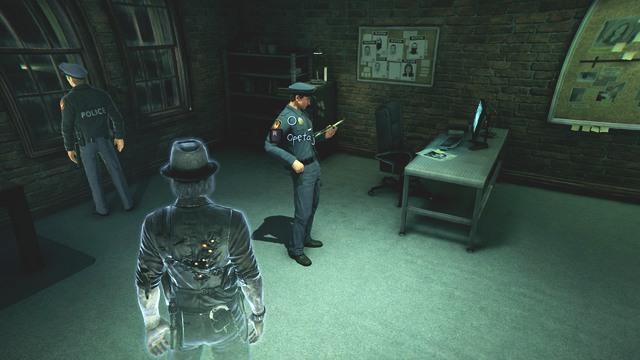
Notice a piece of paper on the table. Click examine details and you will see a poster with pictures of the missing persons. Peek, and you will get a new clue: Missing Persons Flyer. There is a large Board on the wall. Peek and get the clue: Links Between Murders. Approach the map behind the desk. You will obtain another clue: Map of The Bell Killer Murders. Facing the map, notice the photos on the left side of the table. Peek at them and you will get a clue: Crime Scene Signature. To the right of the table, there are some photos as well. When you peek at them, you will get yet another clue: Symbol Similarity.
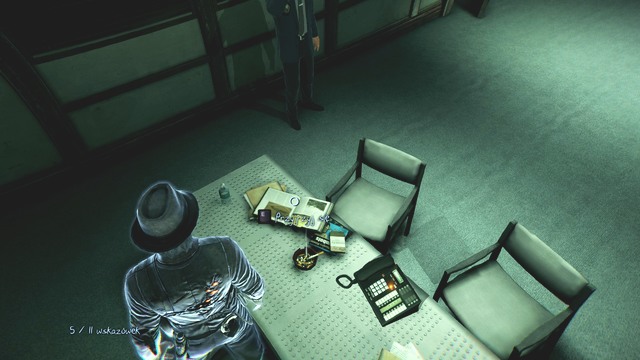
Possess the Policeman talking on the phone and eavesdrop on his conversation. You will obtain a clue: Rex's frustration. Approach the desk by the window and use Poltergeist to control a small fan. It will switch on and some of the papers will fall on the ground. Peek at the rest of the papers on the desk. You will notice an autopsy report. You obtain another clue: Pattern of victim deaths. Go to a smaller Board on the wall and select: examine details. You will see a description of the killer. The clue you obtain is: Bell Killer Suspects. A cop will enter the room and sit in front of the computer. Possess him and select: influence. You have to choose an option that will make the cop remember what he was about to do. Select: Missing Person Flyer. You get a clue: Missing persons file update. You now have 10 out of 11 clues to the "Bell Killer War Room" case. Do not yet dispossess and select: peek. Select the Amber Alert update. You will obtain the last clue: The Witness In Custody.
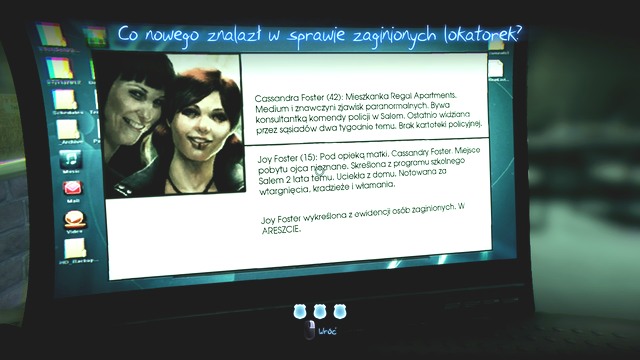
Dispossess and end the investigation, as you now have all the 11 clues. The "Bell Killer War Room" case is completed. Also the "Investigate the War Room" quest is completed as well.
"Find the Witness in the Holding Cell"
You have to find the witness. This quest becomes active after completing the investigation in the war room. Leave the war room and go left through the corridor. Go past the stairs and turn into a corridor to the right. Go to the end of it and enter a room on the left. There is an inscription saying "Holding Area". Enter through the first door on the right and you will find the witness. The "Find the Witness in the Holding Cell" objective is completed. The next quest will begin.
"Free the Witness from the Holding Cell"
You have to rescue the girl. This objective activates after stepping into the interrogation room.
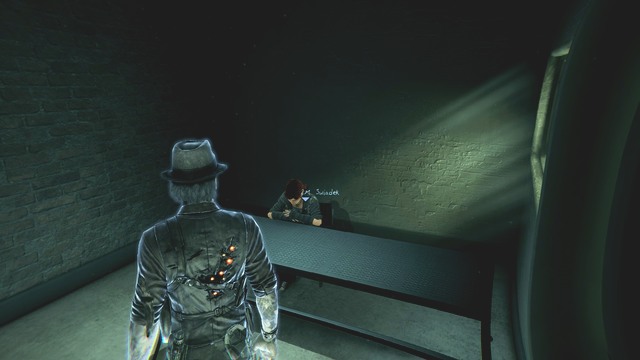
Poltergeist will help you to deactivate the camera in the room. You complete the "Free the Witness from the Holding Cell" quest. The girl will hide behind the wall that says "exit". Talk to her and another quest will begin.
"Distract the cops and usher the Witness to the door on the other side"
You have to safely escort the witness to the stairs blocked by a floor demon. This quest activates after you deactivate the camera and the girl escapes. You are in a big hall. To distract the cops, poltergeist the espresso machine standing opposite the vending machine. The girl will move on a bit and the hide again. There is a desktop printer near the three chairs by the window. Take control over it and your companion will get a bit closer to the stairs. You will see a copying machine. Poltergeist it as well and the girl finally reach her destination.
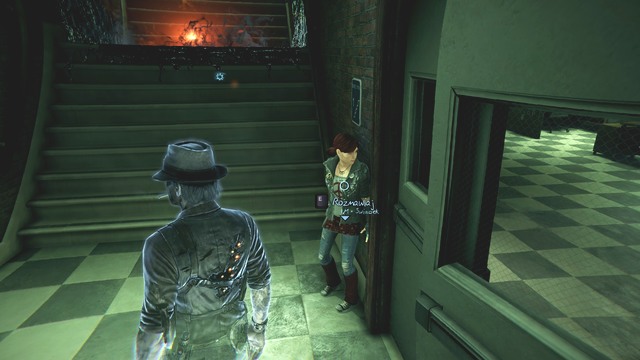
You complete the "Distract the cops and usher the Witness to the door on the other side" quest. Talk to your companion. Another quest will begin.
"Get to the second floor"
You have to find a way to get past the mysterious force. This quest becomes active after talking to the witness near the stairs leading to the second floor. Possess the girl and get past the obstacle. After you've done that, dispossess. The "Get to the second floor" objective is completed. The next quest begins.
"Help the Witness get past the cops"
The Witness has to get to the Detective Offices. This quest activates after going past the dark force. There are two cops standing near the door to the offices.
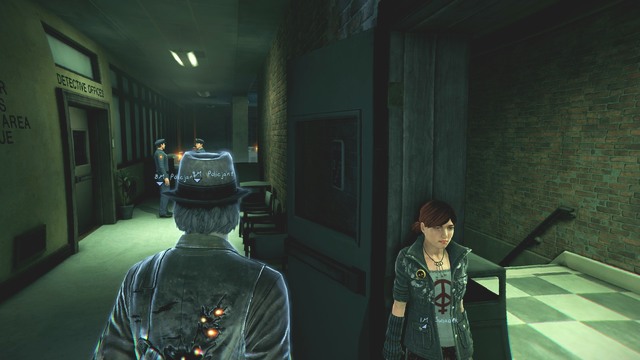
North of them, you will see an espresso machine - take control over it. It will distract one of them. Do the same with the printer to the east. The way to the offices will now be clear. You complete the "Help the Witness get past the cops" objective. Talk to the witness. The new objective is:
"Get to Baxter's Office"
You have to find the right room. This quest becomes active after talking to the girl, when the way to the office is clear. Go straight, turn right, again straight and then turn left. The office is located on the right, with the door open. Now you have to link the sound with the evidence. Choose Mug shot.
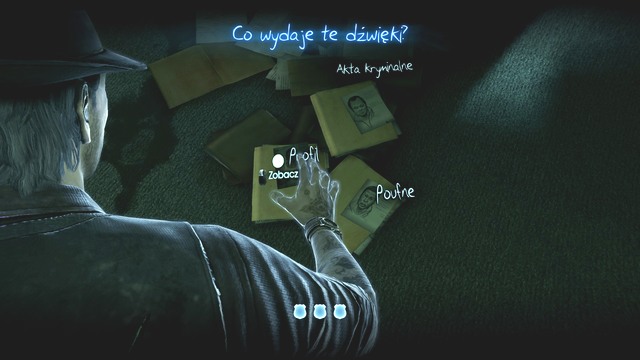
The "Get to Baxter's Office" objective is completed. Another task begins.
"Find the Witness's Mother's Book"
You have to find a notebook in the Baxter's office. This quest activates after you link the right evidence with the sound. After the cut-scene, you will obtain the first clue: Criminal Record. It is 1 of 11 clues to this case. There is a book on the drawer to the left from the sofa. Peek at it and you will get another clue: Salem History Buff.
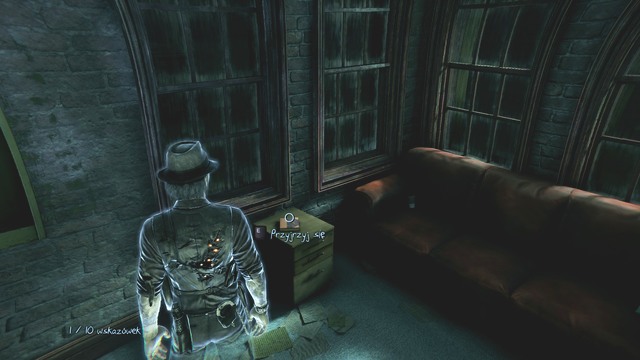
On the wall opposite the drawer, there are some photos hanging. Peek at them. First the one on the right. You will get a clue: Baxter's Promotion. After peeking at the left one, you will obtain the clue: Academy class photo. Notice the answering machine on Baxter's desk. You will get another clue: Phone message. Talk to the girl and ask her to listen to the message. After she's done that, you get a clue: Baxter Hid the Book. In the corner of the room, there is a bookshelf. Peek at it and you will obtain the next clue: Baxter's ticket. There is also a filing cabinet next to the bookshelf. Here you will find a trophy saying "champion". You obtain yet another clue: Bowling Champion.
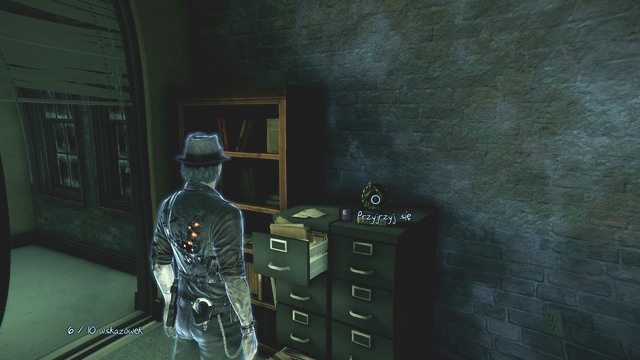
There are some marks to the right from the gun rack. Click analyze details. Select Matches Gun Rack, Stain, Imprinted. You get a clue: Gun rack. Peek at the other side of the gun rack. You will get a clue: Latch. Talk to the girl. After the cut-scene, you will get another clue: Gala invitation. The "Find the Witness's Mother's Book" quest is completed. Another quest begins.
"Help the Witness escape from the Police Station"
You have to help the girl get out of the Police Station. This quest activates after you talk to her in Baxter's Office. Take control over the printer in the center of the hall. Some sheets of paper will fall out of it. This will enable the witness to move on and you will reach the landing. Talk to the girl.
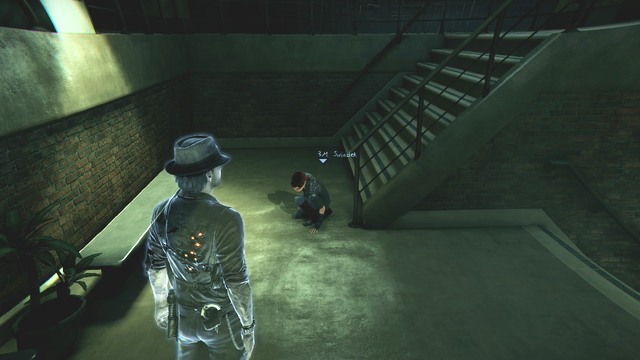
After a cut-scene, you will find yourself on the first floor, near the stairs. Head left and enter through the ajar door to the war room, where your companion is. A cut-scene will appear. You will obtain the "Half-Truths and Whole Lies" achievement. You've helped the witness escape the police station and gained an ally. The "Help the Witness escape room the Police Station" objective is completed. A new task begins.
"Chase the Witness outside"
You have to get out of the Police Station. This quest becomes active after reaching the war room with the witness. Leave the station through the main door.
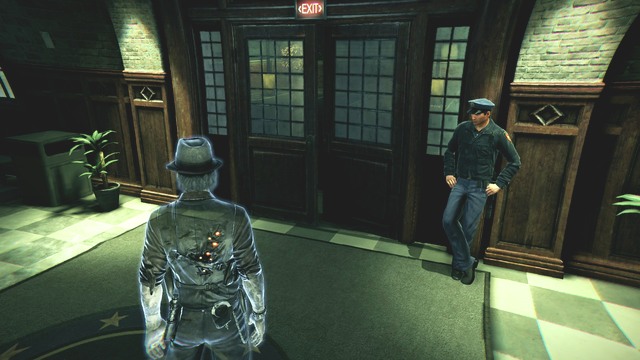
Outside, you will catch up with the girl. You have to choose the option that will convince her to help you. Select: Witness's Mother's Note. You get a clue: Partnership. You complete the "Chase the Witness outside" quest. "Get to Ashland Hills Cemetery" is your new objective.
- Murdered: Soul Suspect Game Guide
- Murdered Soul Suspect: Game Guide
- Murdered Soul Suspect: Main investigations
- Murdered Soul Suspect: Prologue - Death is only the beginning
- Murdered Soul Suspect: Chapter 1 - New Abilities
- Murdered Soul Suspect: Chapter 2 - Finding the Witness
- Murdered Soul Suspect: Chapter 3 - The Trail Leads to the Police Station
- Murdered Soul Suspect: Chapter 4 - The Knowledge of Teleportation
- Murdered Soul Suspect: Chapter 5 - The Witness That Survived the Encounter with the Bell Killer
- Murdered Soul Suspect: Chapter 6 - Visiting the Museum
- Murdered Soul Suspect: Chapter 7 - Murders at the Church
- Murdered Soul Suspect: Chapter 8 - Bell Killer's Hideout
- Murdered Soul Suspect: Chapter 9 - Finale
- Murdered Soul Suspect: Main investigations
- Murdered Soul Suspect: Game Guide
You are not permitted to copy any image, text or info from this page. This site is not associated with and/or endorsed by the developers and the publishers. All logos and images are copyrighted by their respective owners.
Copyright © 2000 - 2026 Webedia Polska SA for gamepressure.com, unofficial game guides, walkthroughs, secrets, game tips, maps & strategies for top games.
