Murdered Soul Suspect: Chapter 3 - Small cases
The Stalwart Specter
The "The Stalwart Specter" side case from the "Ghost Stories" section is activated during completing the "Investigate the War Room" quest. Enter the room opposite the main entrance to the building. You can get there either from the east or from the west. Choose the east way. Select: reveal on the wall to your right and collect the Rifle.
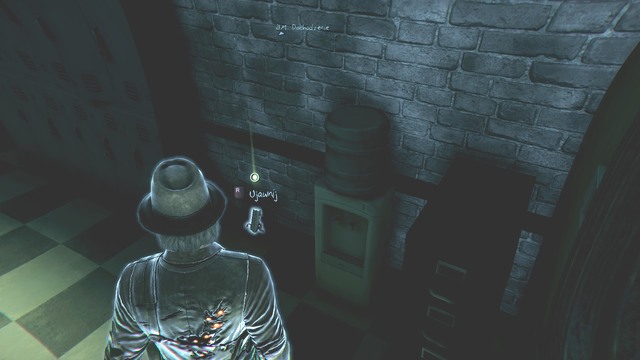
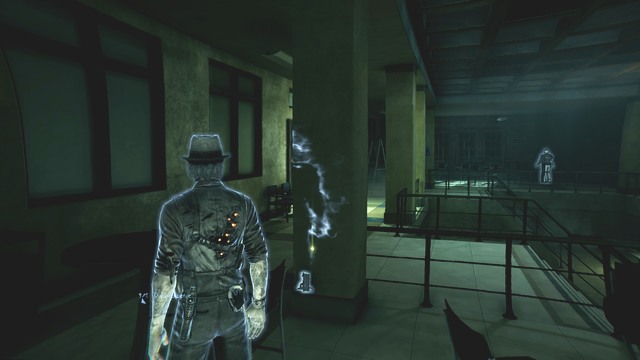
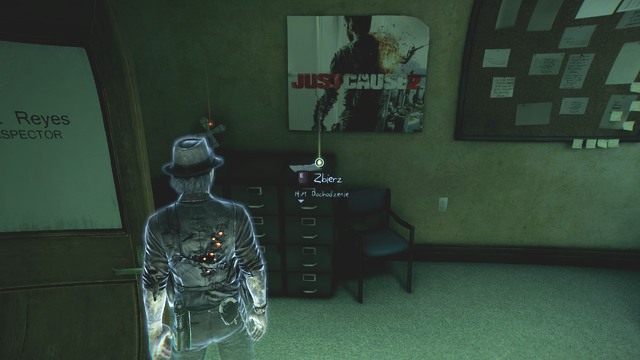
Leave the war room and head left. Go past the stairs and you will reach an ajar WC door. Go through them and enter the first cabin (opposite the door). You will find another Rifle there. Go to the corridor with the Holding Area sign. Walk to the end of it. By the wall, near a chair, there is the next Rifle. To collect another one, head to the cell with the Judge message. You will get there by going through the walls, because the passage in the corridor is blocked by mysterious force. Leave by going through the bars. Notice that you're now on the other side of the trap. Walk through the door (the only one possible) and then take the door to the right. In this room, near the locker, there is another Rifle. Go to the second floor and find a ladder opposite the stairs. Go left from the ladder, then straight until you reach dining tables. The next Rifle is behind the column.
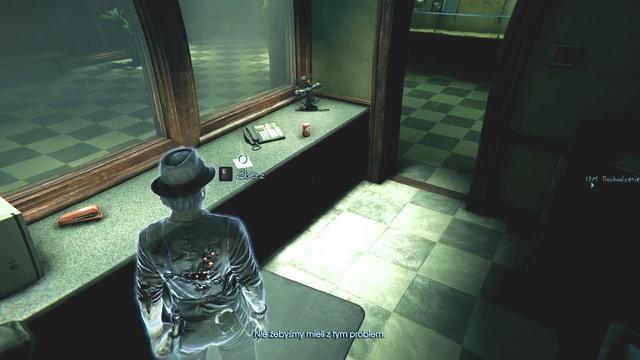
On the first floor, head left from the ladder near the stairs. Enter the room to the right. In the corner, behind the board, there is another Rifle. The next one is in the Detective Offices. Go straight through the corridor near the entrance and turn left at the end of it. The next Rifle is leaning against the wall. Turn around and go through the door to the left, then head to the next room. You will find the last Rifle by the window. After collecting all the Rifles, you can watch a cut-scene. You also get the "The Stalwart Specter" achievement.
Info About My Killer part 3
In this chapter you will continue to collect clues to the "Info About My Killer" side case. You've activated it during the first chapter. To the right of the entrance to the Police Station, on the wall, there is a Note. Collect it and you will obtain a clue: Suspect Released. Opposite the main entrance to the building there is a lodge. Enter from the left side. To the left, on the table, there is a note. Take it and another clue is yours: Missing Persons Report.
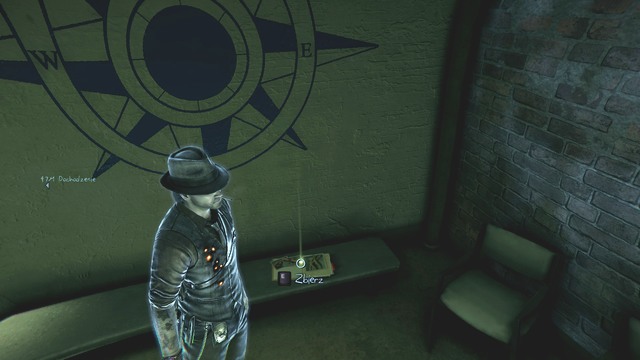
When leaving the war room, go left. Go past the stairs and reach the north-west wall. There is a note: Witness Description of Clothing. On the first floor, walk through the corridor where the toilet is. Go past two cops. You will reach a big hall. Look to your left and go through an ajar door, straight to the stairs. There is a note on the bin: G. Soderberg Personal Info. Return to the big hall and go through the door with a nameplate saying: H.C. Beger Chief Officer. There is a note lying on the desk. You will get: G. Soderberg Police Progress. Return to the corridor and walk straight until you reach a door with a nameplate saying: K. Kane Inspector. On the desk, near the phone, there is another note: A. Grace Police Progress. To the left of the 1777 Battle Plaque, there is an entrance. Go through it and you will find a note on the bench. You will get a clue: C. Nelson Police Progress. There is a wind rose above.
Now go to the corridor with the Holding Area sign and take the first door on the left. You will find a note on the desk: C. Nelson Personal Info. Go to the second floor. Go left from the ladder opposite the stairs. Walk straight and enter a room to your right. On the desk to the left, you will find a note: A. Grace Personal Info. Going left from the ladder, there is a room to your right, through which you can go to another corridor. You will see two cops and a door with a sign saying: Detective Offices. To the right of the door, there is a note on the wall: Killer's Profile. Enter the Detective Offices and go through the first door to the left. There is a desk and a note on it: K. Douglas Personal Info. You will find another note on the same desk: K. Douglas Police Progress.
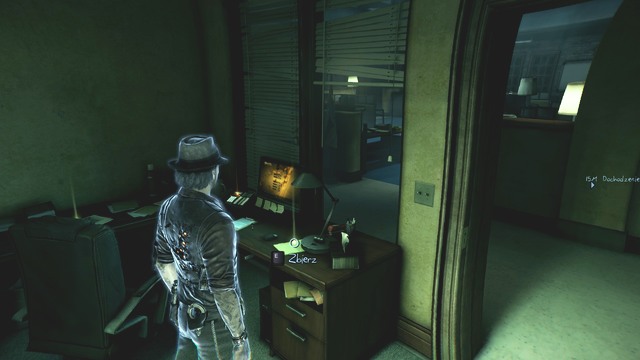
Return to the corridor, go straight and enter the room next to Detective O'Connor's office. There is a map opposite the entrance, on which there is a clue: Map of Killings.
Truth About Baxter part 2
In this chapter you will be searching for clues to the "Truth About Baxter" side case. You've activated it in the first chapter, during the "Find your way to the Church" quest. There are only two clues to this case. One of them you've collected earlier. To the right of the Police Station's main entrance, opposite the bench, you can see a form. Use: reveal on it and collect. You will get a clue: Baxter's Relationship with the Witness's Mother.
Salem's History
In this chapter you will continue to collect clues to the "Salem's History" side quest. You've activated it in chapter one, during the "Find your way to the Church" task. Go right from the main entrance to the Police Station. You will reach a wall with a glass showcase. Collect the 1775 Fortress Plaque next to it.
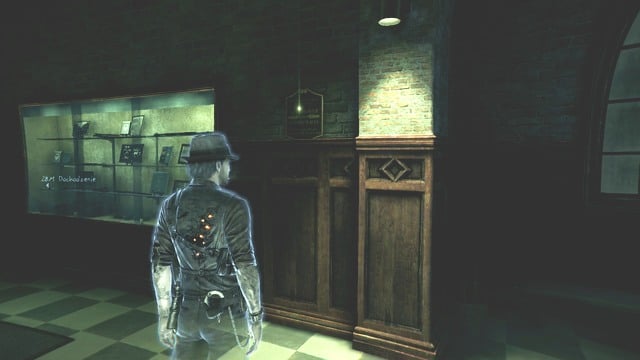
Walk along the corridor (first floor of the Police Station) where there are rooms with nameplates: H.C. Beger Chief Officer and K.Kane Inspector. There is also a WC. Go to the end of the corridor and you will find 1777 Battle Plaque on the wall. Now get to the Holding Area. Go through the bars and you will find 1776 Battle Plaque behind them. When leaving the room where you've found a Rifle next to a locker, go through the bars and you will find Forensic Facility Plaque in front of you.
Ghost Girl's Messages part 3
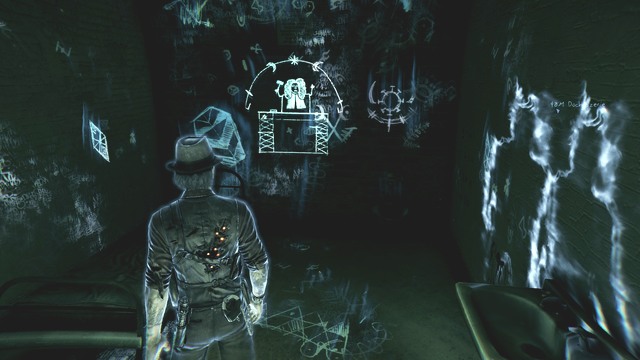
In this chapter you will continue to collect clues to the 'Ghost Girl's Messages" side case. You've activated it in chapter 1. You will get the next message at the Police Station, in the Holding Area corridor. Walk to the end of it and enter through the last door to your right. Use your revealing power on the wall. You will discover a message: Cannon, to the "Ghost Girl's Messages" case. Head to the cell where you've found the My First Crimes clue to the "My Life" case. Go through the wall behind the bed, straight to a next cell. On the wall in front of you, use: reveal, so that you could obtain: Judge, to the "Ghost Girl's Messages" case.
My Life part 3
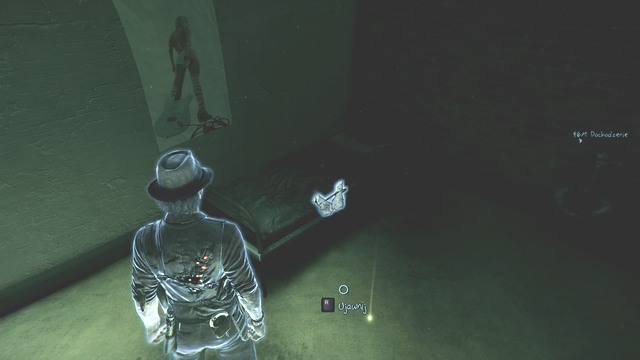
In this chapter you will continue to collect clues to the "My Life" side case. You've activated it in chapter 1, during the "Find your way to the Church" quest. You will get the next clues in the Holding Area. The corridor is blocked by mysterious force. You have to find a way to get past it. Enter the second cell to the right. Walk through the wall to the next cell (a ghost is standing there). Use your revealing power on the bed and select: analyze my life. You will get a clue: My First Crimes to the "My Life" case.
Head to the place where you've found the Forensic Facility Plaque. On your right, there is a door to the morgue. Enter and approach your body. Select: analyze my life. You will get a clue: Seeing My Own Corpse. From the war room, go left and you will reach a staircase. Go to the second floor. There is a ladder opposite the stairs and some tables to the right of the ladder. Next to the windows, in the corner, select: reveal and analyze my life. You will get a clue: When Baxter Tried to Threaten Me. You complete the "My Life" side case. You will earn the "Ronan's Story" achievement.
Julia's Thoughts part 3
In this chapter you will continue to collect clues to the "Julia's Thoughts" side case. You've activated it in the first chapter. You will get the next note at the Police Station, on the second floor. Head to the Detective Offices and enter through the first door to your left. There is a note on the filing cabinet: Visit to the Station to the "Julia's Thoughts" case.
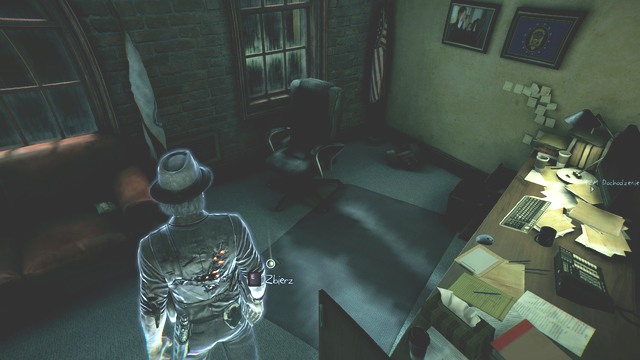
Leave the room, go straight to the end turn left. Enter through the door to your right. There is a sign saying: R. O'Connor Detective. You will find a note on the floor: Ronan Gets His Badge. In the same room, on a chair next to the sofa, there is another note: Ronan's Trouble with the Law. Go to the next room and take a note from the table. You will get a clue: Plain Clothes Cop.
Rex's Thoughts part 2
In this chapter you will continue to collect clues to the "Rex's Thoughts" side case, which you've activated in the first chapter, during the "Find your way to the Church" quest. You will find the next (and the last) clue at the Police Station, in the Detectives Offices. Go through the first door to your left and use your revealing power near the desk. You will get a clue: Rex's Gratitude. You complete the "Rex's Thoughts" side case. You will earn the "Rex's Story" achievement.
Profiler's Memories part 2
In this chapter you will continue to collect clues to the "Profiler's Memories" side case, which you've activated in the first chapter. You will get the next clue on the second floor of the Police Station. Head to the Detective's Offices. Go straight to the end and turn right, then left. Enter through the door with a sign saying "Baxter". Behind the desk, on the floor, there is a note. You will get a clue: Insights on the Killer's Motives.
- Murdered: Soul Suspect Game Guide
- Murdered Soul Suspect: Game Guide
- Murdered Soul Suspect: Side cases
- Murdered Soul Suspect: Chapter 1 - Loud Parties
- Murdered Soul Suspect: Chapter 1 - Who Was Driving?
- Murdered Soul Suspect: Chapter 1 - Small cases
- Murdered Soul Suspect: Chapter 2 - Shipyard Park
- Murdered Soul Suspect: Chapter 2 - Scorned
- Murdered Soul Suspect: Chapter 2 - Small cases
- Murdered Soul Suspect: Chapter 3 - Small cases
- Murdered Soul Suspect: Chapter 4 - Small cases
- Murdered Soul Suspect: Chapter 5 - Small cases
- Murdered Soul Suspect: Chapter 6 - Small cases
- Murdered Soul Suspect: Chapter 7 - Small cases
- Murdered Soul Suspect: Chapter 8 - Small cases
- Murdered Soul Suspect: Side cases
- Murdered Soul Suspect: Game Guide
You are not permitted to copy any image, text or info from this page. This site is not associated with and/or endorsed by the developers and the publishers. All logos and images are copyrighted by their respective owners.
Copyright © 2000 - 2025 Webedia Polska SA for gamepressure.com, unofficial game guides, walkthroughs, secrets, game tips, maps & strategies for top games.
