Metal Gear Rising Revengeance: R-07 Assassination Attempt
The final mission which, if you do not count the boss battle, is relatively short. For the most part,, you will be sneaking between enemies and avoid getting into combat - if nobody spots you before you reach the end, you will receive the Surprise Attack! Achievement. If you want to find all collectibles, (the left arms, among others), you need to put up some fight, though. You can, simply, complete the this mission twice, where you avoid detection the second time through.
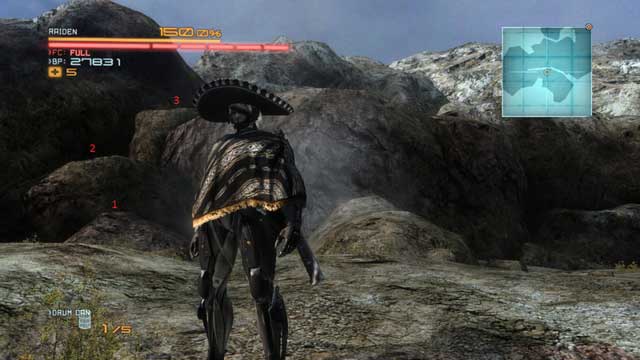
Once the mission starts, turn back and Ninja Run onto the rock ahead. You will find a VRM computer (1/2) there. Activate the computer and jump off the rock. Take the road towards the gate.
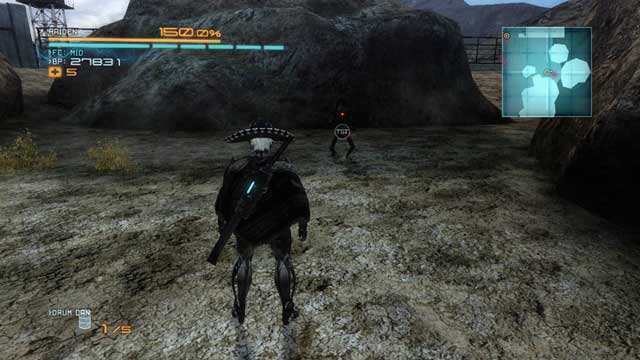
Ignore the marker at the gate and go ahead, to the right of the road, among the rocks. If you have not raised the alarm, there should be a Gekko Mimic waiting for you there. If anybody spotted you, load the checkpoint and go there again - The Gekko Mimic does not appear if the alarm is raised. Then, go towards the gate - one of the cyborgs guarding it is a lefty (1/4).
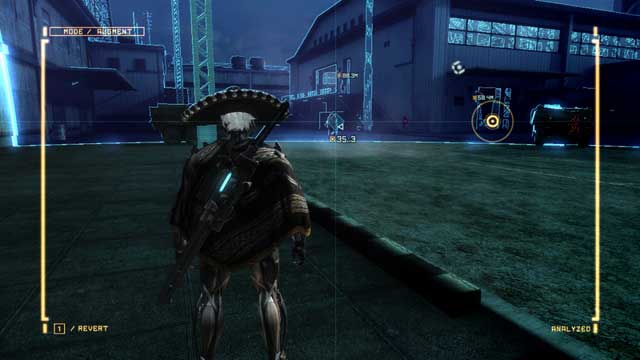
After you cut off the arm, and deal with all the enemies, cut through the gate and note the patrolling heavy armored cyborg. This is another lefty (2/4).
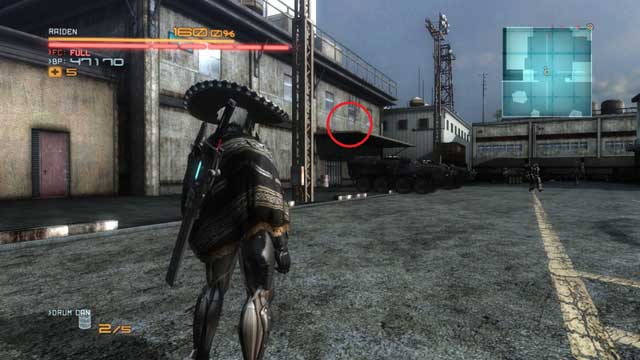
Deal with him and (while standing at the HQ's entrance), take a look at the green shelf on the wall. That is where you find the Data Storage (1/2).
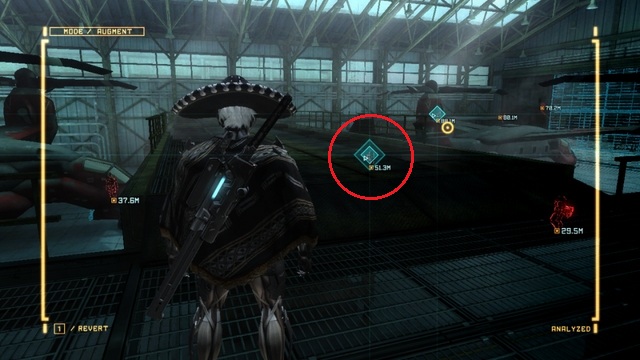
After you collect the item, go to the hangar on the right. Inside you will have to fight several more cyborgs. Among them, there is another lefty (3/4) - again - a heavily armored cyborg with a sledgehammer. I recommend that you deal with the cyborgs armed with RPGs, in the first place - their attacks may interrupt your Blade Mode, which will make it more difficult to claim the cyborg's arm. You should also watch out for cameras above the hangar's exit gate - they are armed with machine guns and they will fire at you if you get within range.
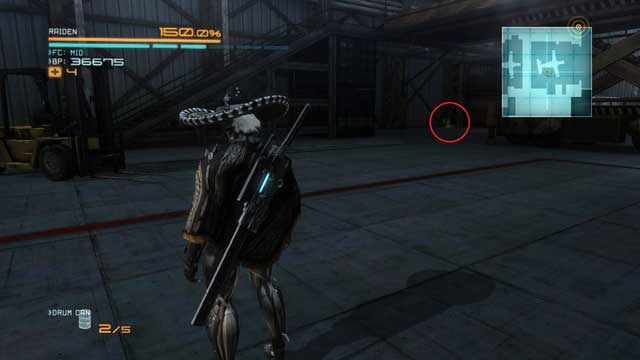
After you have secured the hangar, you can take to collectibles. The first one of them is the VRM computer (2/2) near the forklift, under the stairs to onto the catwalk.
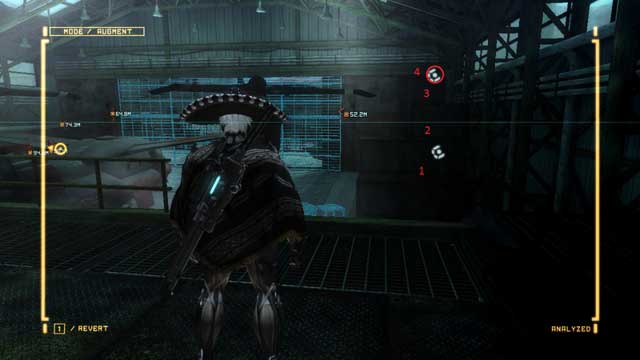
Another thing that you can find in the hangar is the Endurance Plus, located on top of the containers, in the corner of the hangar. Ninja Run up the containers and collect the upgrade.
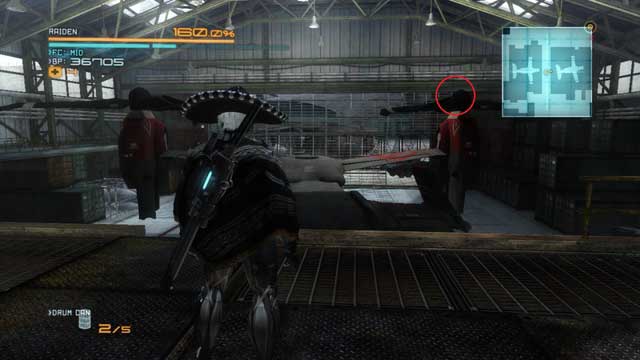
The last collectible in the hangar is a Data Storage (2/2), that you can find on one of the rotors of the red chopper. Once you have collected all of them, walk outside through the gate with cameras above it.
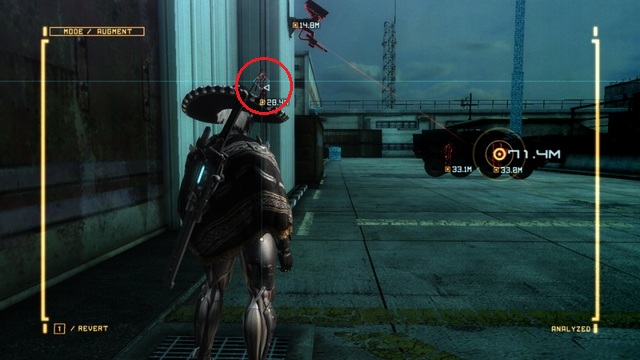
Initiate the AR and locate the last lefty (4/4) in the game - he is standing on the elevation to the left.
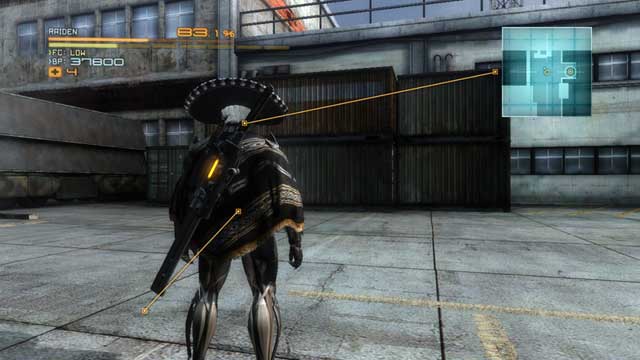
Cut off the hand, deal with the rest of the cyborgs and approach the stack of container, located close to the marker on the map. Inside, among the containers, there is the last Man in the Box. Deal with him and go to the marker to see the cutscene, and start the boss battle.
Boss - Metal Gear Excelsus
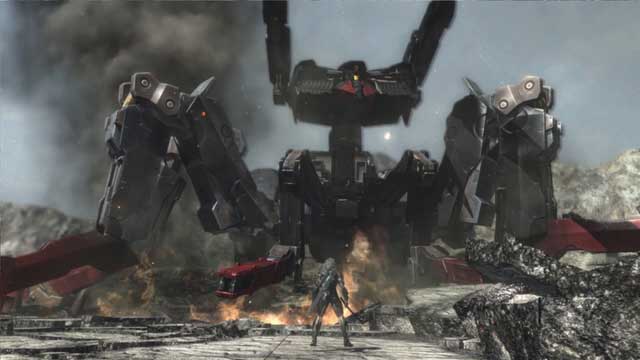
At first look, the fight may seem a bit difficult, because there are several ways in which the boss attacks. Knowing its attacks, knowing which can be blocked, and which you need to escape from, is going to make things much easier for you. The attacks that Excelsus uses are:
- Vertical attack with both blades - you need to dodge this one, because it cannot be blocked. Once the boss lifts both of the blades, wait for it to start the descent and, a moment before the blades strike, dodge (Defensive Offense) to avoid taking damage. You now have several seconds to attack, before the boss attempts another attack.
- Horizontal attack with both blades - Excelsus performs this one several seconds before it attacks with the previous one. This time dodging does not work - if you want to avoid taking damage, simply parry this attack.
- Vertical attack with ne blade - a variant of the previous attack where the difference is that instead of both, the boss strikes with one blade. Although this attack is faster than the double-bladed version, it is easier to dodge. Remember to attack the blades as long as they are on the ground.
- Limb attack - every now and then, the Excelsus stops using its blades and attacks with one of the hoof-like limbs. This attack resembles the one used by Metal Gear Ray - so, the method to avoid it is similar. You simply need to jump away a moment before the limb hits the ground. After each attack, you get a short moment to deal damage by attacking the limb.
- Attack with plasma beams - similar to the attack used by Metal Gear Ray. The difference is that Excelsus has two cannons and, it attacks in a straight line, in your direction (you can avoid this one by standing between the individual beams) and horizontally (to avoid this one, simply, increase the distance).
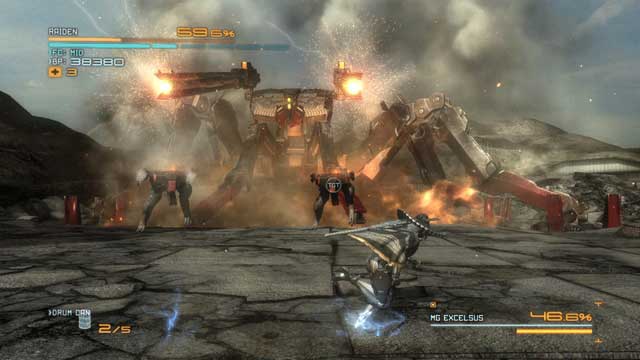
Apart from that, Excelsus will summon several Gekko robots to its aid (when it starts attacking with plasma beams). You can use them to regenerate your health - remember that you can also use the Blade Mode on the Gekkos killed by Excelsus).
Continue fighting, using the Blade Mode until there will appear a piece of information on the screen, and soon after a QTE sequence will start. After this, Metal Gear will end up as a piece of junk.
Boss - Armstrong, phase one
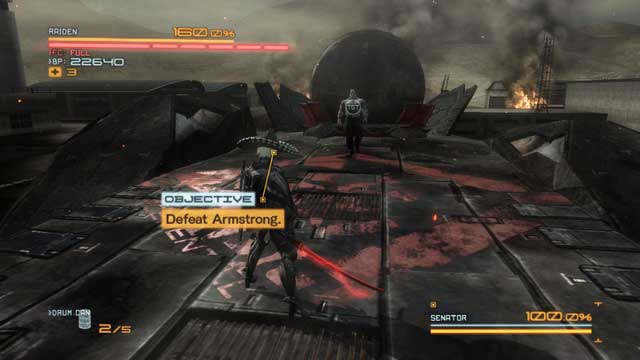
The first stage of the fight with the final boss. The battle is short, because the boss's health must drop to 90%, after which a cutscene will start. After that, you need to bring the boss's health down to 90% again, to make it to phase 2.
Remember to parry Armstrong's "regular" attacks (when he glows red) and escape when he uses the unblockable ones (he glows in gold) - instead of escaping, you can dodge, but your timing must be right. Once Armstrong's health drops down to 90%, a long cutscene will start, after which the final showdown will start.
Boss - Armstrong, phase two - Uber Armstrong
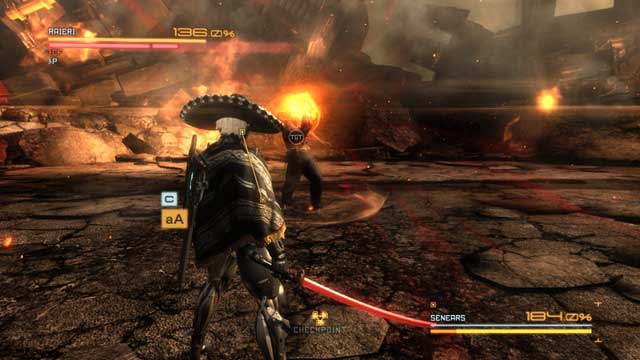
The time for the last, and at the same time, the most frustrating and the most difficult battle in the game, has come. The blows of the upgraded Armstrong deal immense damage (some of them devour , as much as, 100% of your health bar) which is why you need to learn how to parry and dodge them. These are the attacks that Armstrong may use:
- Combo of attacks - the least threatening and the easiest attack to repel, which you can easily parry.
- Takedown - Armstrong will glow gold then only to launch at you. If you manage to parry this attack, you are going to enter the QTE mode , after which you will deal quite a damage to Armstrong, but he will disarm you and you will have to pick up your weapon. At any cost, do not let the boss disarm you, if he is below 90% on his health.
- Regeneration - once you notice Armstrong glow green, get behind him quickly and activate the Blade Mode, to land a blow to his back. If you do not do that, the boss will quickly regenerate the lost health. This attack is exceptionally dangerous, because the boss uses it after he disarms you - before you manage to retrieve the sword, the boss will regenerate a lot of his health. Armstrong uses this attack when his health drops below 90%.
- Fire attack - will glow gold to put the fist to the ground, after a moment, which cause a fire explosion. Once you see him getting ready for this attack, stay in constant movement, or (if you manage to) dodge the attack at the last possible moment (with the Defensive Offense).
- Rock throw - every now and then, the boss will jump onto the elevation and throw a large chunk of rock at you. At this moment, you will have to cut through the rock in a certain way (in the same way as during the battle with Sundowner). Armstrong throws three chunks and, if you cut through the rocks, and perform the QTE sequence correctly, you will deal a lot of damage. If you find it difficult to cut through the rocks, you can dodge them with the Ninja Run and run ahead, towards the boss. The rock will then fly behind your back.
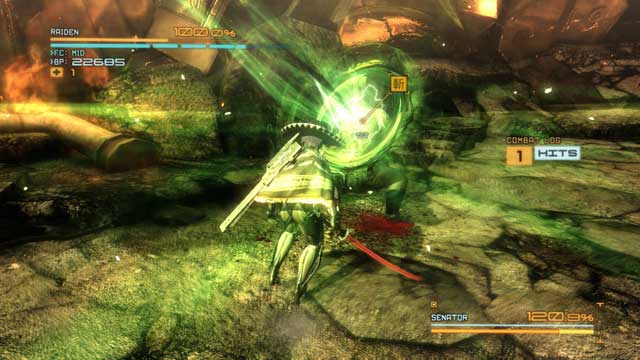
Once Armstrong's health drops to 0.1%, a QTE sequence will start, after which you will have to perform several slashes in the Blade Mode - if you manage to do that, this will end the battle and the game will be over.
- Metal Gear Rising: Revengeance Game Guide & Walkthrough
- Metal Gear Rising Revengeance: Game Guide
- Metal Gear Rising Revengeance: The Main Campaign - walkthrough
- Metal Gear Rising Revengeance: R-00 Guard Duty
- Metal Gear Rising Revengeance: R-01 Coup d'Etat
- Metal Gear Rising Revengeance: R-02 Research Facility
- Metal Gear Rising Revengeance: R-03 Mile High
- Metal Gear Rising Revengeance: R-04 Hostile Takedown
- Metal Gear Rising Revengeance: R-05 Escape From Denver
- Metal Gear Rising Revengeance: R-06 Badlands Showdown
- Metal Gear Rising Revengeance: R-07 Assassination Attempt
- Metal Gear Rising Revengeance: DLC - Jetstream Sam - walkthrough
- Metal Gear Rising Revengeance: Boss - Blade Wolf
- Metal Gear Rising Revengeance: Boss - Metal Gear Ray
- Metal Gear Rising Revengeance: Boss - Armstrong
- Metal Gear Rising Revengeance: DLC - Blade Wolf - walkthrough
- Metal Gear Rising Revengeance: VR Training - Africa
- Metal Gear Rising Revengeance: VR Training - Denver
- Metal Gear Rising Revengeance: VR Training - Denver Offices
- Metal Gear Rising Revengeance: VR Training - Platforming
- Metal Gear Rising Revengeance: Abkhazia Dilapidated Town
- Metal Gear Rising Revengeance: Abkhazia Main Street
- Metal Gear Rising Revengeance: Boss - Khamsin
- Metal Gear Rising Revengeance: The Main Campaign - walkthrough
- Metal Gear Rising Revengeance: Game Guide
You are not permitted to copy any image, text or info from this page. This site is not associated with and/or endorsed by the developers and the publishers. All logos and images are copyrighted by their respective owners.
Copyright © 2000 - 2025 Webedia Polska SA for gamepressure.com, unofficial game guides, walkthroughs, secrets, game tips, maps & strategies for top games.
