Metal Gear Rising Revengeance: R-03 Mile High
Probably the longest mission in the game, additionally difficult, due to one of the stages (even more difficult if you want to gain achievements). But, more about this below.
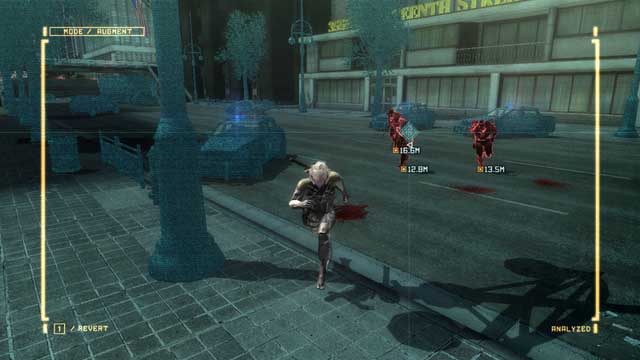
This mission starts when you are attacked by a group of policemen. One of them is a lefty (1/8) - use the AR, to figure out which one it is and claim his arm. Once you have dealt with the enemy, turn your attention to the poster on one of the buildings - it is an Easter egg, which gained a cult status in the Metal Gear Solid series, although you do not need it for anything.
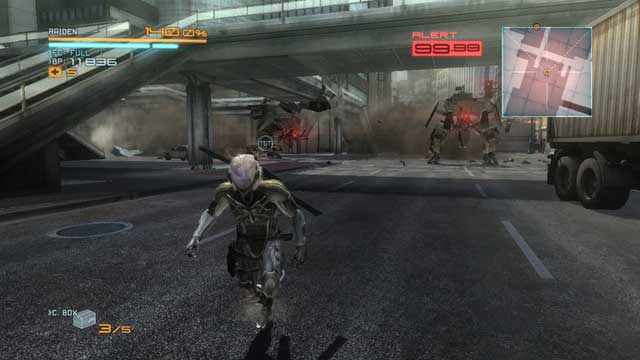
Continue along your path, towards the marker on the radar, and you will encounter two GRAD robots. Yes, exactly like the boss that you have just fought against although, they are suitably weaker. The method of fighting these, however, is not the same as in the case of the boss - keep close to them and try to parry their attacks and also use the Blade Mode whenever you receive the appropriate notification on the screen.
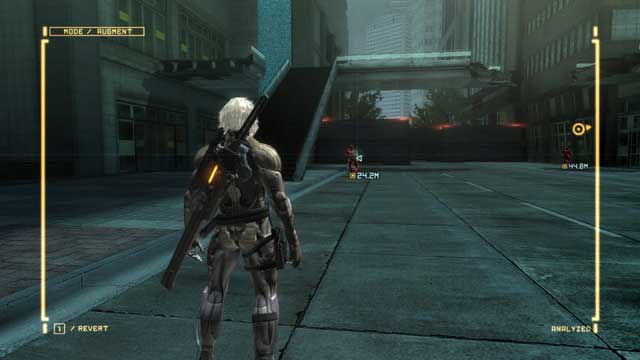
After you have dealt with the robots, go towards the barricade, right next to the stairs. There will be another group of enemies to appear from behind it, where one of them is a lefty (2/8). Then, go past the barricades that the enemies dashed from behind, to find a VRM computer (1/5). Soon after Boris lets you know, of a new side mission (the green marker) - if you want to, go there to fight a quite easy battle.
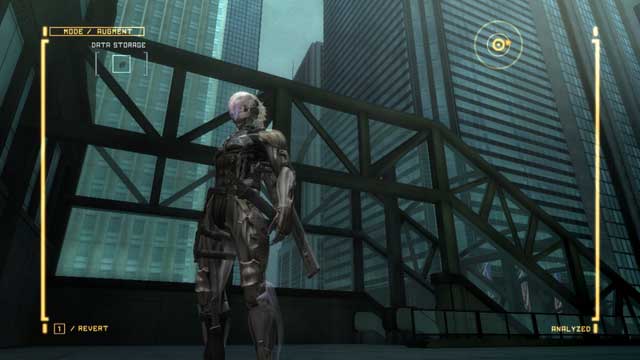
After you are done, go towards the marker, open the door and after you climb the escalator, look up - above the glass structure, there is a Data Storage (1/4).
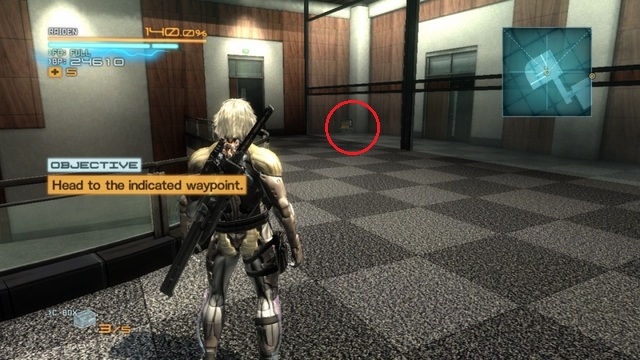
Again, go towards the marker, upstairs, and after Boris is done talking to you, pick up the VRM computer (2/5) behind the glass pane and go to the next room, to the office.
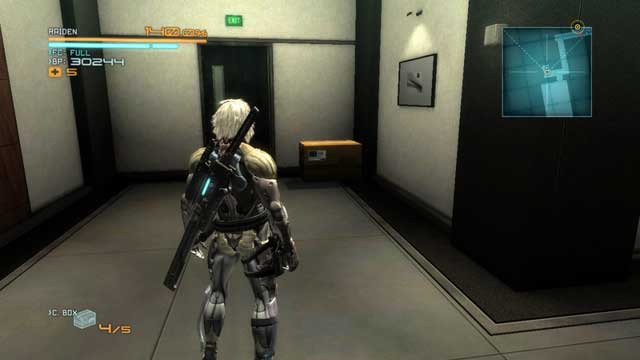
Clear it and note the fork, as you exit - go left to reach another Man in the Box. Continue past the marker until you reach a corridor, where there is another group of enemies armed with RPGs and shields. One of the soldiers with an RPG is a lefty (3/8).
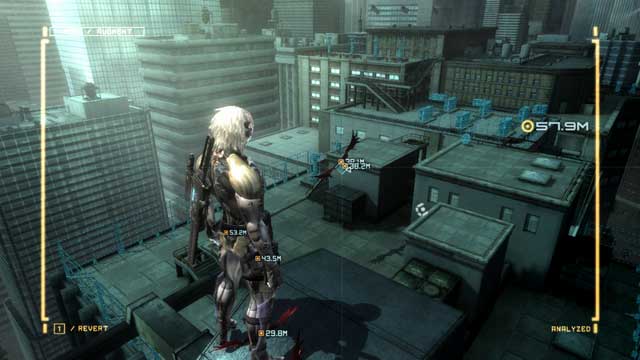
After you climb up onto the roof, use the crane to make it over to the next building. Note one of the policemen using the Slider - it is another lefty (4/8). Deal with everybody around and leave the lefty for the end - you can bring him down with several blade attacks, or try to cut off his arm, up in the air, with the Blade Mode.
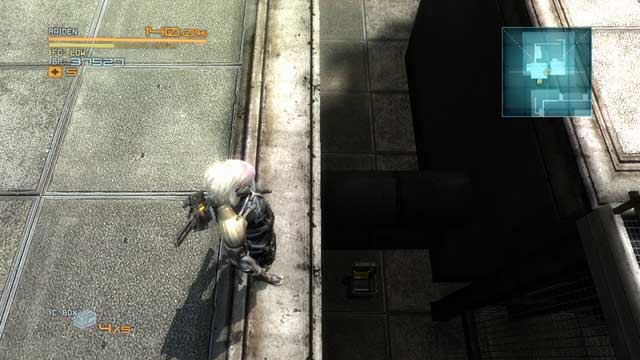
Between two buildings (take a look at the map, in the above screenshot, for orientation) there is another VRM computer (3/5). Collect it and go to the next rooftop. You will encounter a new enemy here - a heavily armored and armed with a sledgehammer, cyborg. Most of its attacks cannot be parried (these are signaled by the enemy's yellow halo), which is why you should use a skip back (Defensive Offense) a moment before the attack reaches you. At the moment at which the enemy misses you, it will be vulnerable to your attacks (it usually parries most of your attacks) - take advantage of this to deal as much damage as possible. Then, cut off its limbs, one after another, in the Blade Mode. Deal with the chopper on the roof and get over to the next building.
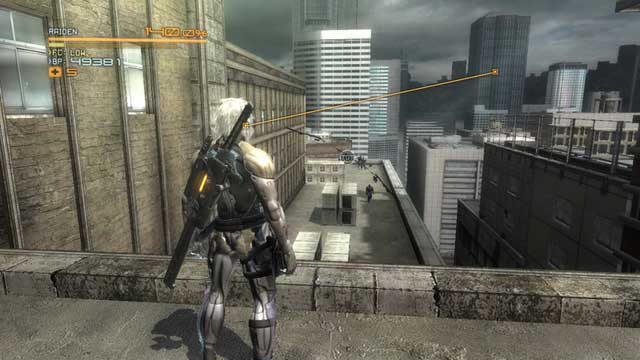
After a while, a Slider, carrying a Data Storage (2/4) will approach - you need to smash it to pick up the collectible. You can use both rockets, regular attacks and the Blade Mode to do that. If you fail, restart the last checkpoint and keep trying until you succeed.
While on the rooftop, you can notice a group of enemies guarding a hostage below. Additionally, one of them is a lefty (5/8). To reach them safely, you need to eliminate the patrolling guard first, and then incapacitate the enemies that guard the hostage, with an EM grenade - this will let you deal with them quickly, without the hostage's dying. After you have rescued the hostage, continue towards the marker, smash the gate and cut through the elevator's ropes to get to the foot of the building.
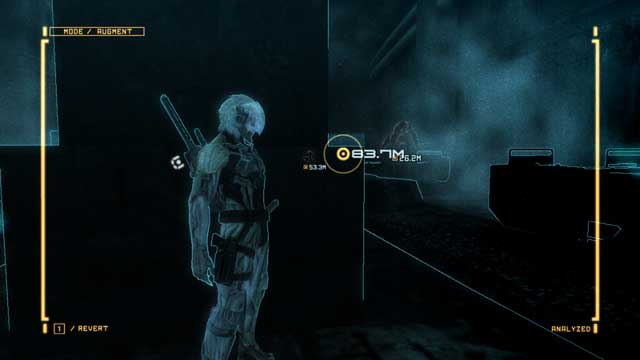
No, do not adjust brightness - this will do nothing. In this location, there is pitch dark and without the AR, it is impossible to move around. Unfortunately, to gain the A Walk in the Dark achievement, you need to cross this location without using the AR. Smash the grate and get down, where you will encounter two Mastiffs patrolling this area.
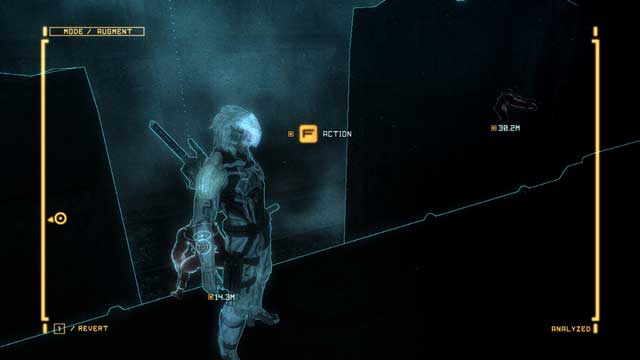
Do not take to the one that is standing closer to you - if you eliminate it, the other one will notice you and you will not be able to make past it without fighting. Instead, go on the left side of the tunnel, climb onto the train and jump down on the enemy, when the other one is turned with its back at you. Afterwards, you can take to the Mastiff that you walked past earlier.
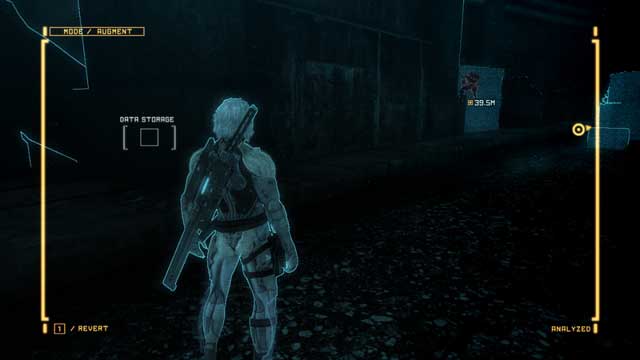
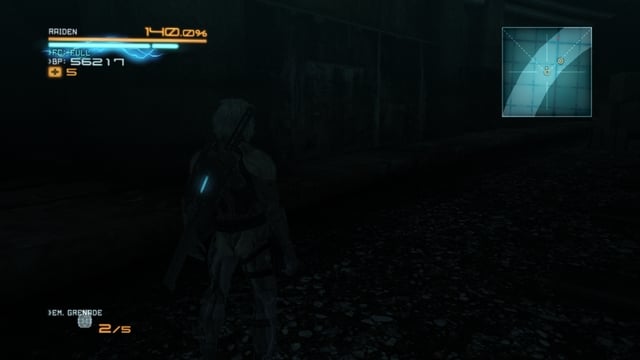
Go deeper into the tunnel to bump into a Data Storage (3/4) on the left (the two screenshots above present the AR view and the regular one, which shows your position on the map). Eliminate the Mastiff patrolling nearby and find the Data Storage in the heap of rubble.
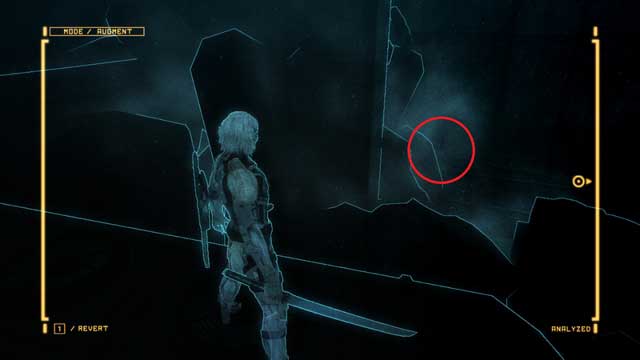
Continue along the tunnel until you reach a place where there are Dwarf Gekkos under the ceiling. Deal with them and stop at the end of the railway car that the enemies hung above. Then, turn left - you should be looking directly at a VRM computer (4/5) (the above screenshot).
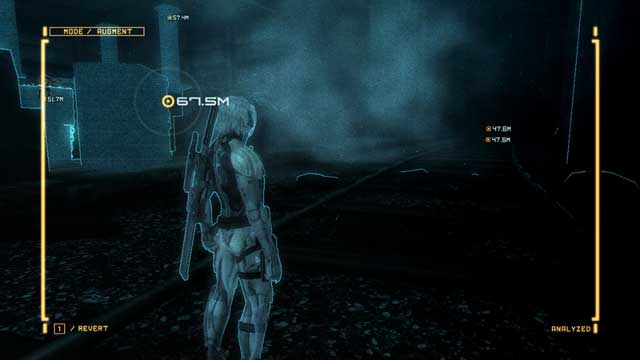
Collect it and turn towards the tunnel - at its end (the above screenshot) you will find a Gekko Mimic to blast. Go towards the marker on the radar - you will encounter another Mastiff. If you want to sneak up to it, remember that there are Dwarf Gekkos under the ceiling, which will make this more difficult. After you have dealt with the enemies, approach the switch, open the gate and emerge from the darkness.
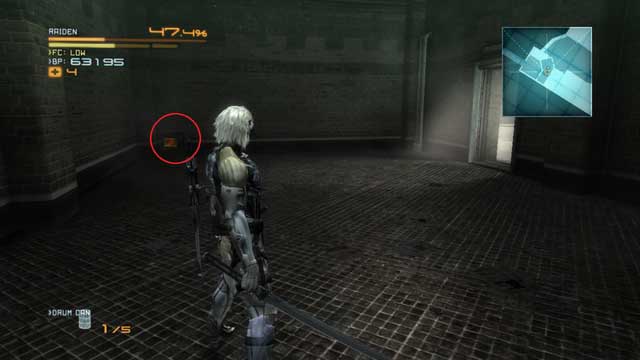
After a short conversation with Wolf, collect the VRM computer (5/5) on the left, and exit. You will fight a group of cyborgs and a GRAD here. One of the cyborgs is a lefty (6/8), use the AR to find it. You can bring the GRAD down, by cutting through the columns of the bridge that the robot is standing on.
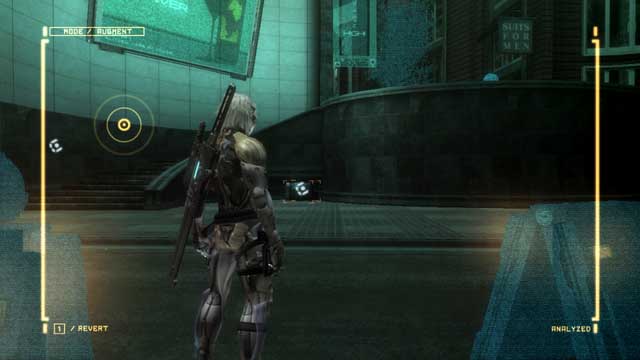
A bit ahead, you will find another lefty (7/8). Deal with the rest of the enemies and collect the Endurance Plus, under the stairs on the left, and continue along your path.
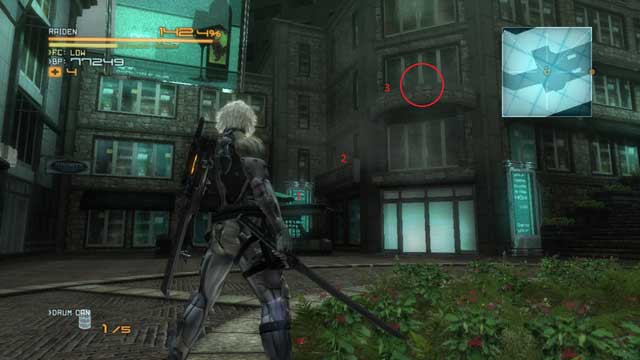
One of the enemies (armed with an RPG) is the last lefty (8/8) in this mission cut his arm off and wipe out everybody, then collect the Data Storage (4/4) on the elevation (the above screenshot). To reach it, jump onto the drinks booth, then onto the café's sign, and finally perform the Heavy Aerial Attack to reach the item.
After you have reached the square, you will talk to Sam, and afterwards, you will have to fight, after which Raiden will be useless for further combat. Your task is to make it over to the marker, while avoiding the enemies, at the same time. After you cross the gate, you will be unable to avoid detection so, try pushing the enemies away until another cutscene starts, and after that, another boss battle.
Boss - Monsoon
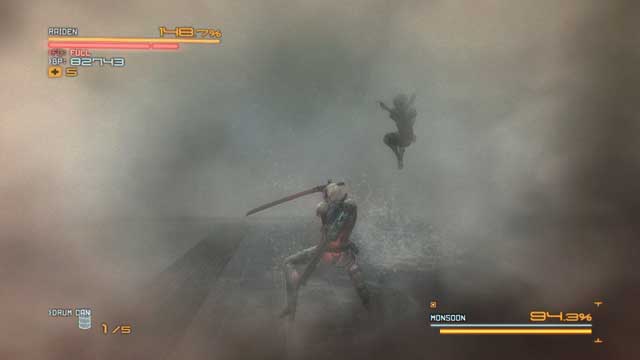
After a long cutscene, and after Raiden goes online again, you are up for a fight with one of the most dangerous bosses in the game. If you still have not mastered parrying, this is where you get the opportunity to make up for this.
Monsoon does not deal too much damage, but its attacks are incredibly fast. You need to keep your guard at all times, to be ready to parry an attack at any moment. Each time the Monsoon stops its attacks, use this to your advantage and strike.
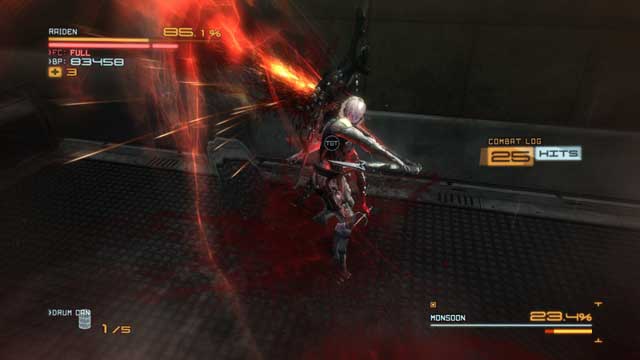
Monsoon uses the following attacks in the battle:
- Melee and ranged attacks - in both cases, they are preceded with a red flash of the boss so, you can easily parry them. The number of attacks in one combination varies and you should always be prepared for defense.
- Phosphorus grenade - when the Monsoon throws it onto the ground, you will lose your vision and the enemy will pull of several quick attacks, from various directions. Again, parry all the possible attacks and, when the Monsoon moves away, and the cloud of gas goes thin, change to offensive.
- Division of the body into two - Every now and then, the Monsoon divides its body into two (the chest and the legs). If this is what happens, you cannot do anything else than parry attacks until the body assembles again. Then, you get the opportunity to parry the attack to initiate the Blade Mode.
- Scrap throwing - when the boss's health drops to the pre-determined value, (for the first time, when it drops to 70%), Monsoon will skip back and start throwing various vehicles at you. Use the Blade Mode (and horizontal slashes) to smash all targets, which often drop the Repair Nanopaste.
- Lorenz Force - similar to the previous attack but, instead of throwing cars, the boss throws a whirling blade at you, This attack can neither be parried, nor Blade Mode can be used against it - the only way out is avoiding it by running sideways, from one end of the arena to the other.
- Split into pieces - Monsoon breaks up into whirling pieces and attacks you with a kind of a charge, on a straight line. After several such attacks, the boss assemblies himself back. This kind of attacks are very easy to parry, you only need to know where they approach from.
The time, during which Raiden can stay in the Blade Mode, is unlimited for this battle, which should let you deal with the scrap that Monsoon throws at you, without any problems. Every now and then, the boss will break up into pieces - locate its head and attack it to deal severe damage to the enemy.
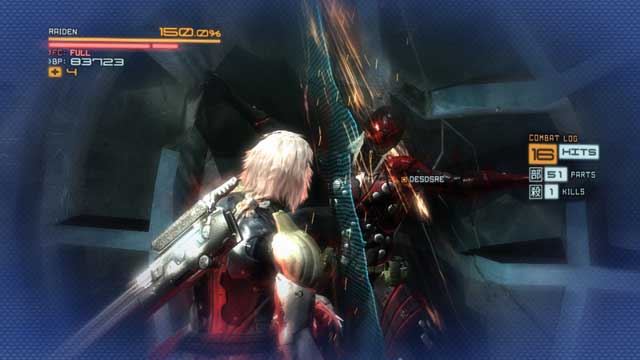
Once the boss's health bar drops below 10%, a QTE will start, in which Raiden will deal with Monsoon, after the correct buttons are pressed.
- Metal Gear Rising: Revengeance Game Guide & Walkthrough
- Metal Gear Rising Revengeance: Game Guide
- Metal Gear Rising Revengeance: The Main Campaign - walkthrough
- Metal Gear Rising Revengeance: R-00 Guard Duty
- Metal Gear Rising Revengeance: R-01 Coup d'Etat
- Metal Gear Rising Revengeance: R-02 Research Facility
- Metal Gear Rising Revengeance: R-03 Mile High
- Metal Gear Rising Revengeance: R-04 Hostile Takedown
- Metal Gear Rising Revengeance: R-05 Escape From Denver
- Metal Gear Rising Revengeance: R-06 Badlands Showdown
- Metal Gear Rising Revengeance: R-07 Assassination Attempt
- Metal Gear Rising Revengeance: DLC - Jetstream Sam - walkthrough
- Metal Gear Rising Revengeance: Boss - Blade Wolf
- Metal Gear Rising Revengeance: Boss - Metal Gear Ray
- Metal Gear Rising Revengeance: Boss - Armstrong
- Metal Gear Rising Revengeance: DLC - Blade Wolf - walkthrough
- Metal Gear Rising Revengeance: VR Training - Africa
- Metal Gear Rising Revengeance: VR Training - Denver
- Metal Gear Rising Revengeance: VR Training - Denver Offices
- Metal Gear Rising Revengeance: VR Training - Platforming
- Metal Gear Rising Revengeance: Abkhazia Dilapidated Town
- Metal Gear Rising Revengeance: Abkhazia Main Street
- Metal Gear Rising Revengeance: Boss - Khamsin
- Metal Gear Rising Revengeance: The Main Campaign - walkthrough
- Metal Gear Rising Revengeance: Game Guide
You are not permitted to copy any image, text or info from this page. This site is not associated with and/or endorsed by the developers and the publishers. All logos and images are copyrighted by their respective owners.
Copyright © 2000 - 2026 Webedia Polska SA for gamepressure.com, unofficial game guides, walkthroughs, secrets, game tips, maps & strategies for top games.
