Metal Gear Rising Revengeance: R-01 Coup d'Etat
The first mission in which you will be, finally, able to modify your character and buy various upgrades and additional skills. To access the upgrades menu, bring up the CODEC menu and access Customization Option. Remember that, after you leave the customization menu, you will be transferred to the last saving point and not to the moment at which you decided to buy the upgrades. You will also receive an interesting mechanism called Zandatsu (to learn more, see the chapter devoted to the basic gameplay mechanics).

You start at the beach and there is nothing else to do here, but go towards the marker on the radar. Before you enter the building, you will bump into a group of enemies, who will be wearing camo. However, this is not a reason to worry, because they become visible shortly before the attack.
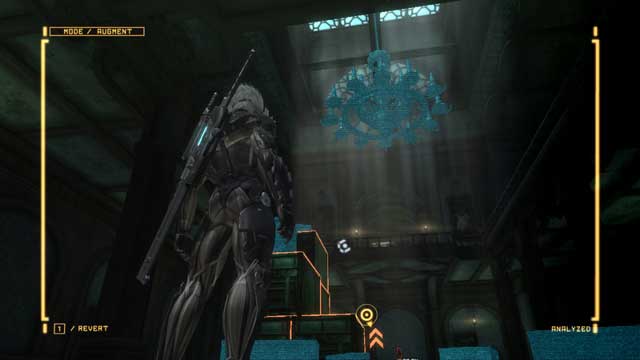
After you have dealt with the cyborgs, enter the building and look behind. You should notice a chandelier under the ceiling. Climb up over the boxes in the location and cut the chandelier down, where there is a Data Storage (1/4). Once the chandelier hits the ground, collect the item and go towards the marker.

Eliminate the enemy behind you and walk outside. Out in the street, you will find a hostage (1/2), who you can (and you should, because you will receive a lot of points in return) rescue. Sneak up to the group of enemies guarding him and use the platform on the right to jump down on one of them from, and deal with the other one quickly. Soon, there will be new ones to arrive - deal with them, before any of them manages to kill the hostage. After everything is done, free the man.
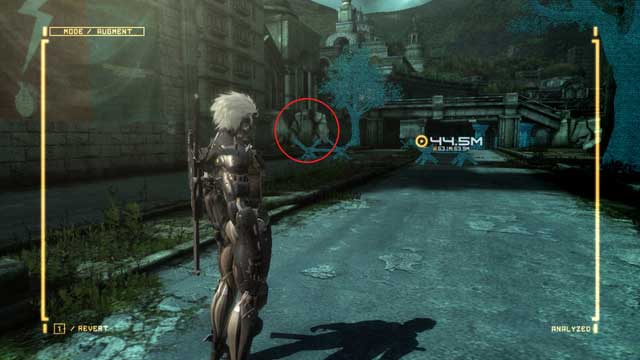
Turn towards the marker and note the wall on the left - there is a Data Storage (2/4) there. Before you climb up there, you will fight a group of enemies and a new opponent - Gekko. A good way to defeat this one is to encircle the robot and slash with light attacks, while avoiding his attacks. After several slashes, the gecko will be driven into the ground, which will give you the opportunity to jump onto its back and deal damage. Repeat this action twice and the robot will be no more.
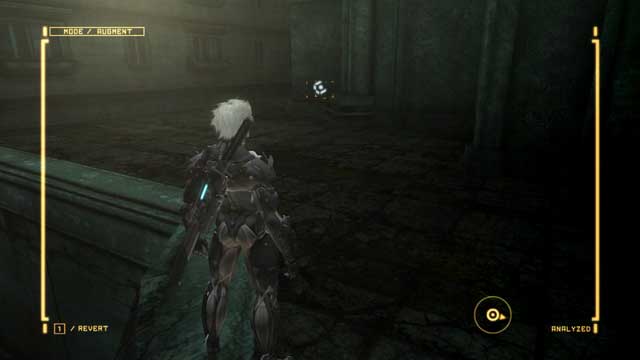
After you have defeated the enemies, climb onto the wall, cut through the lock on the chest (e.g. with the Blade Mode) and collect the Data Storage (3/4).
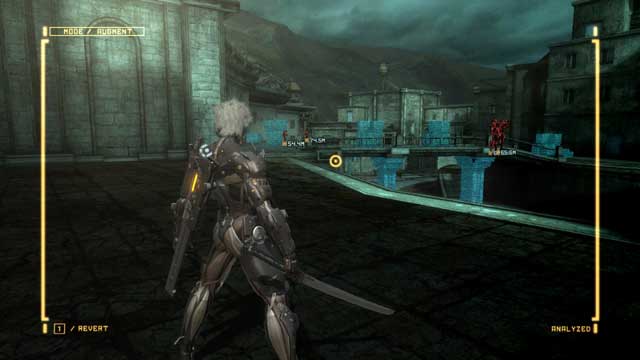
Turn around and take a careful look around - you will have to fight several cyborgs and two Gekko here. You can get into a direct fight, but it is better to try sneaking up to the cyborgs and eliminate them with a silent blow to the back. If you are spotted, there is no other way but fight.
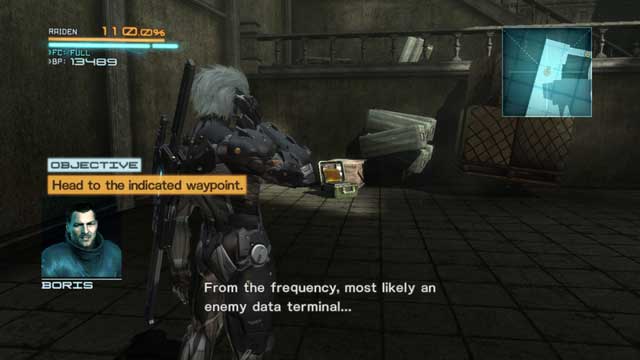
After you have dealt with the enemies, go to the door that the marker points you to and, after you enter, approach the VRM computer (1/4) ahead of you (you cannot miss it, because even Boris mentions it) - once you pick it up, you will unlock a VR mission. Then, go upstairs to face another boss.
Boss - Blade Wolf
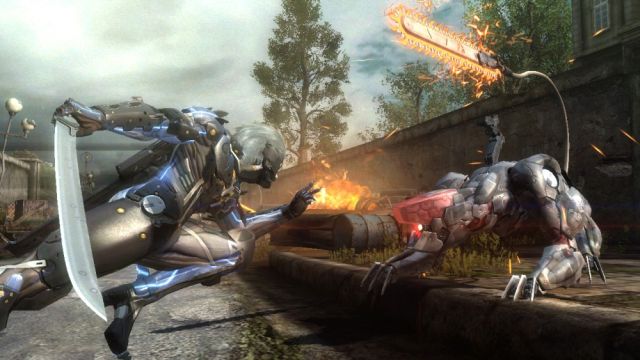
The third boss, and probably one of the greatest challenges that you will encounter, while playing Metal Gear Rising Revengeance, mainly due to the fact that few players will have already mastered the game's basic mechanics by this point.
Unlike the fight with the first boss, the Metal Gear Ray, in this one you cannot let yourself run about and swing your sword - you need to start parrying attacks (to learn more see the chapter devoted to the information on gameplay).
Blade Wolf uses several types of attacks, which can mostly by parried:
- A combo of attacks, in which Blade Wolf throws three slow attacks - after you parry the third one of the streak, you have a moment to attack the enemy.
- A charge that the enemy uses when you are away, at a considerable distance - you can parry this attack or simply dodge it however, to block it, you need to have quick reflexes, because this attack is quite quick.
- Takedown, which cannot be neither blocked, nor dodged nor escaped in the QTE sequence - the only chance here is to escape as far away from the boss as possible; once you hear "I will obliterate your consciousness" prepare for the takedown and escape - if you do not manage to pull it off, you will receive severe damage, (that depends on the difficulty level, of course).
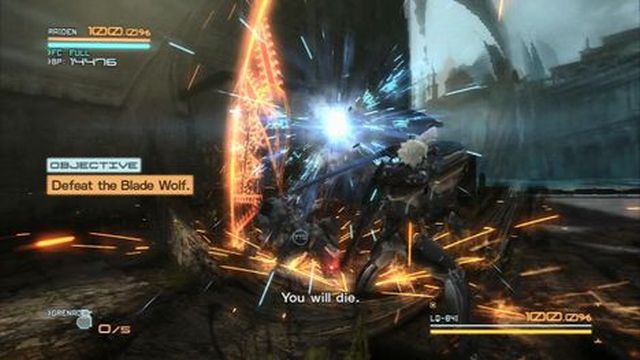
Every now and then (after Blade Wolf's health drops to a pre-defined value) the boss will escape to the elevation and call for reinforcements - this is a blessing for you, because you can heal yourself, the easy way, by absorbing the enemies' core. The reinforcements, usually, consist of 3 regular cyborgs or one Gekko.
Note the chests and containers all around the place - inside, you can find a lot of useful items like grenades, or the Repair Nanopaste, which you can "wear" if your health drops to zero, to regenerate automatically (the way to equip it can be found in the chapter devoted to the basic gameplay information).
Once you have stopped swinging your sword chaotically, and start to parry attacks effectively, fighting the Blade Wolf will turn out to be much easier.
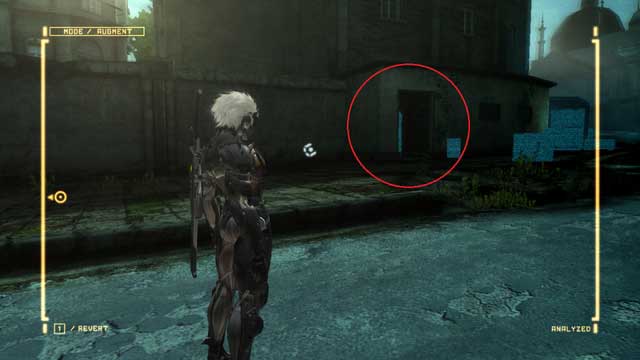
After the fight, turn away from the marked on the radar and go to the small area. After you enter, pock up all the items inside, including the Data Storage (4/4) exit and go towards the bridge.
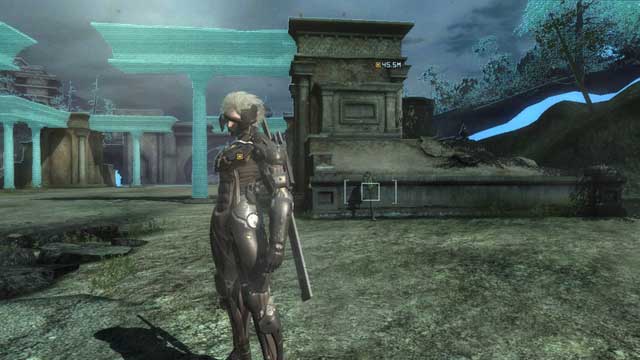
Here you will have to run from Hammerhead helicopter fire - you simply need to run to the right, while holding down the Ninja Run button. After a short run, you will walk out into a some sort of arena where you will have to fight against the chopper. Take a look around and collect all of the guided missile launchers, which will make it much easier to you to fight. Two well-aimed rockets, plus several sword slashes should do the job.
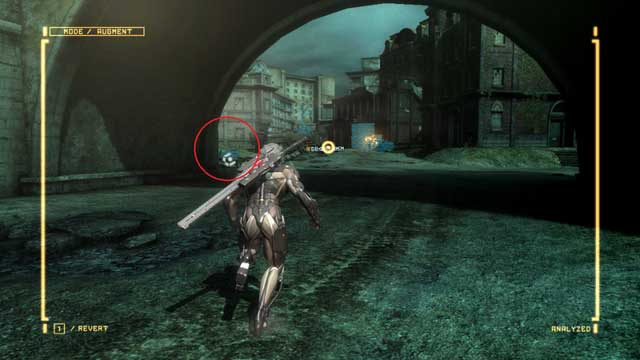
After you have dealt with Hammerhead, you will make it out into the street, where a group of enemies are guarding another hostage (2/2). On the left, in the chest, you will find an EM grenade. You can use it to make the task easier for you, because it stuns all the enemies within the blast area, temporarily, without wounding the hostage.
First of all, deal with the enemies on the ground and then, eliminate the airborne enemies. To reach them, you can use the rocket launcher, or simply, jump and launch the light attack several times to destroy their wings and bring them to the ground. Rescue the hostage and go towards the big white building.
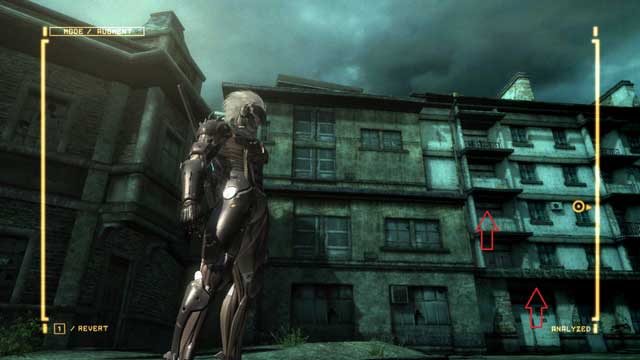
Climb onto the successive levels (the above screenshot) and, after you reach the highest level, go to the right to find another VRM computer (2/4) around the corner. Collect it and continue towards the marker. Soon, you will learn that you need to obtain the enemy's left arm to make it across the gate. Backtrack to where you rescued the hostage. After a while, a group of enemies will arrive.
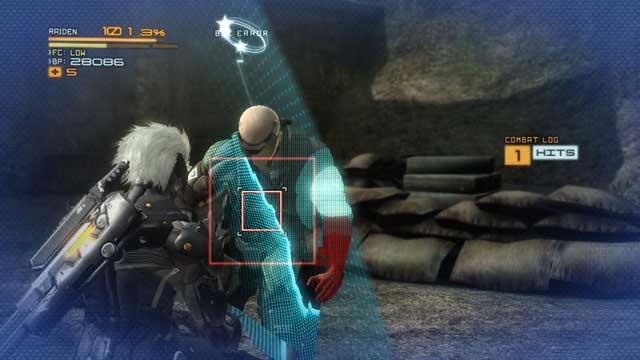
Deal with the three cyborgs that jump out of the vehicle and go ahead, to reach another lonely enemy. Use the Blade Mode to deprive this one of its arm - it is a quite annoying process, because sometimes it is difficult to aim well enough to cut off the arm, and not cut the enemy in half. The process of obtaining the enemy arms is connected with an achievement, which requires you to cut off 30 of them. Further in this guide, you will learn the locations of all the enemies that you need to deprive of their arm. You can also look up the whereabouts, using the AR - the enemy will have his left arm highlighted. From now on, I shall call them leftys.
Once you manage to do that, collect the arm and go towards the gate. If, for any reason, you did not manage to obtain the enemy arm, do not worry - you can destroy the gate with your sword (you need to use the Blade Mode for that). After you crossed the gate, deal with the enemies and go to the building that they exited.
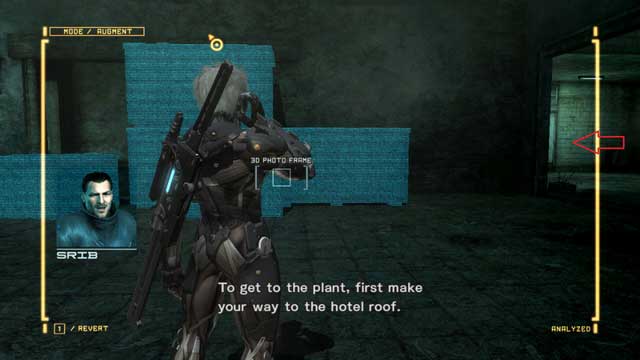
Go right to collect a VRM computer (3/4). Then, continue along your path, towards the marker, until you reach the roof. Below, there are two enemies - deal with the first one and cut off the arm of the other one, because he is another lefty (2/4), that you need to obtain this item from. Deal with the rest of the opponents and go out into the open area.
You will have to deal with two Gekko and several opponents here. Around, you should note the Ferris wheel - you can drag a Gekko under it and, after you cut through the legs of the structure, the robot should die under the collapsing structure. After you have dealt with the opponents, go towards the marked to encounter another group of enemies.
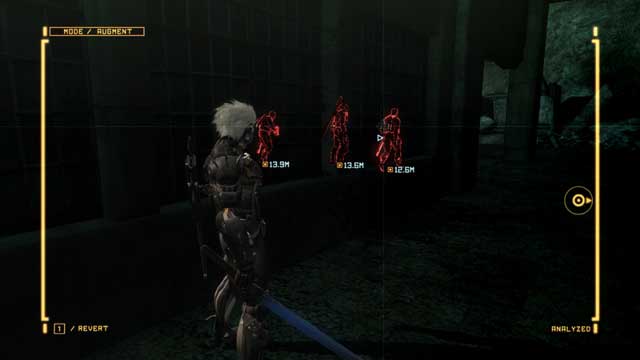
One of them is a lefty (3/4) again - use the AR to find out which one and cut his arm off. Deal with the rest of the enemies to receive a message from Boris, after a while. At this moment, you should notice two markers - one to the main objective (yellow) and the other to a side mission (green), during which you will have to destroy two Hammerhead choppers. The choice is yours - after al is done, go towards the gate, open it and walk down to the refinery.
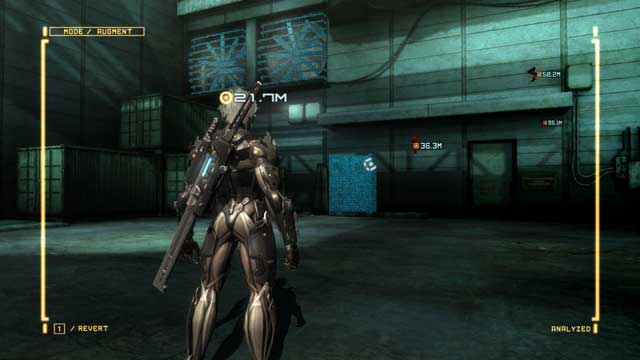
You will encounter a new opponent here - Dwarf Gekko. They are not too dangerous but, in packs, they tend to be very annoying, because they often jump onto your back to immobilize you. After you have dealt with them, enter the building past the fans above. While inside, take a look at the cameras - destroy them all (you will also find several of them a bit further), to receive the No Flash Photography achievement.
To avoid the lasers on the wall, use Ninja Run - Raiden will get past them in the way not triggering the alarm. Continue towards the marker and, in the next room, climb up the stairs. You will find another lefty (4/4) here so, pay attention to who you are slicing and dicing. After you have dealt with the enemies, spend some time exploring this area, because there are quite a few things to collect here.
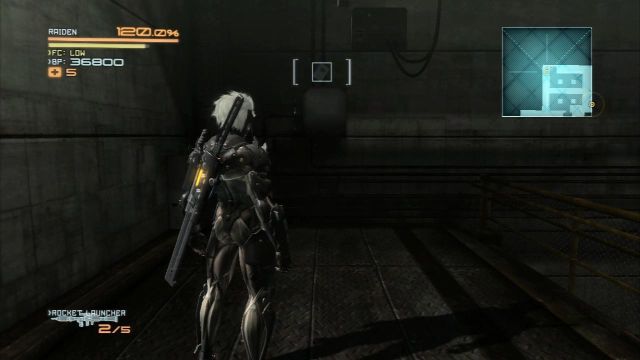
On the wall, in the corner of the room, there is a Data Storage (4/4). Then, find fans on one of the walls - smash them and walk out onto the balcony. You will find Endurance Plus there - an item that increases your health bar.
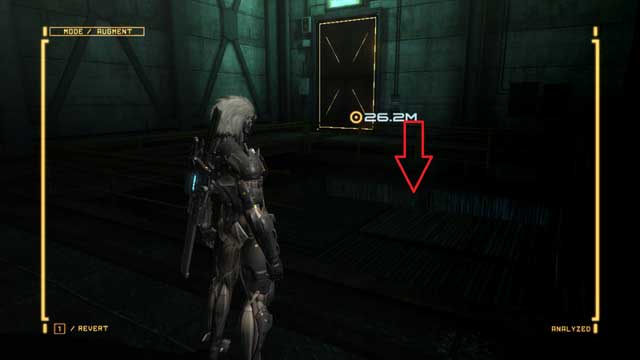
Then, go towards the door marked with the marker and jump down. You will find there a couple of items and a cardboard box - cut it open. An enemy will jump out of it. Locating such boxes is connected with another achievement.
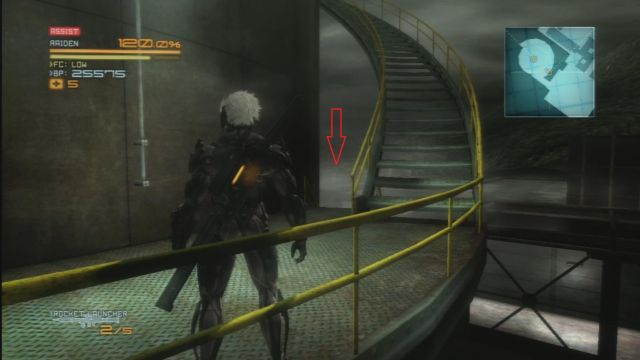
Climb up, go across the door and, before you go up, climb down the stairs (the above screenshot), where you will find a VRM computer (4/4). Activate it and dash to the very top to fight another boss.
Boss - Mistral
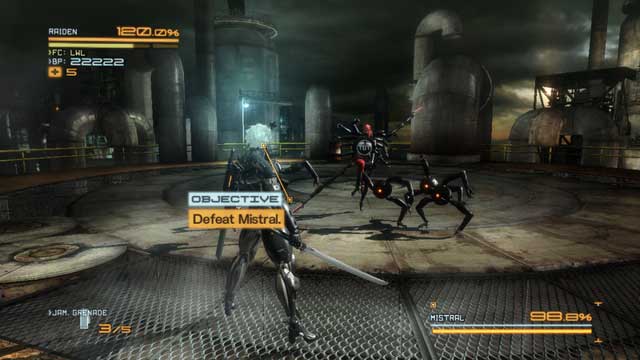
In comparison with Blade Wolf, Mistral is very easy to defeat. The fight is also a good moment to receive another achievement - Looking Out for the Little Guys, which you receive after you eliminate 30 Dwarf Gekkos - they are plentiful during this fight.
Mistral is an easy opponent and, with successful parrying, you should defeat here without major problems. This is the list of her characteristic attacks:
- A combo of blows that Mistral deals with her whip - the number of blows in a combo varies, but they are very easy to parry.
- The "spinning" attack, where Mistral flies across the room several times. This attack is also easy to parry - you should not be trying to dodge it, though, because you may take damage. Also, you should watch out for attacks against your back.
- Fireball attacks - Mistral will, sometimes, jump onto elevations and fire projectiles at you. You can destroy them with light attacks, but it is way easier to avoid them with Ninja Run.
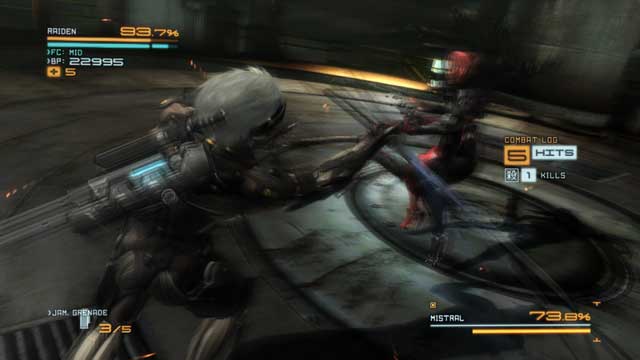
While parrying Mistral's attacks, you will sometimes manage to stun her - take advantage of that and deal a lot of damage with Blade Mode. During the duel, you will change locations several times but, her attacks should not be too different between arenas. If you are taking damage, smash several Dwarf Gekkos, because they sometimes drop an item that will replenish some of your health. When Mistral's health bar is near to zero, the game will start a cutscene that will end the fight.
- Metal Gear Rising: Revengeance Game Guide & Walkthrough
- Metal Gear Rising Revengeance: Game Guide
- Metal Gear Rising Revengeance: The Main Campaign - walkthrough
- Metal Gear Rising Revengeance: R-00 Guard Duty
- Metal Gear Rising Revengeance: R-01 Coup d'Etat
- Metal Gear Rising Revengeance: R-02 Research Facility
- Metal Gear Rising Revengeance: R-03 Mile High
- Metal Gear Rising Revengeance: R-04 Hostile Takedown
- Metal Gear Rising Revengeance: R-05 Escape From Denver
- Metal Gear Rising Revengeance: R-06 Badlands Showdown
- Metal Gear Rising Revengeance: R-07 Assassination Attempt
- Metal Gear Rising Revengeance: DLC - Jetstream Sam - walkthrough
- Metal Gear Rising Revengeance: Boss - Blade Wolf
- Metal Gear Rising Revengeance: Boss - Metal Gear Ray
- Metal Gear Rising Revengeance: Boss - Armstrong
- Metal Gear Rising Revengeance: DLC - Blade Wolf - walkthrough
- Metal Gear Rising Revengeance: VR Training - Africa
- Metal Gear Rising Revengeance: VR Training - Denver
- Metal Gear Rising Revengeance: VR Training - Denver Offices
- Metal Gear Rising Revengeance: VR Training - Platforming
- Metal Gear Rising Revengeance: Abkhazia Dilapidated Town
- Metal Gear Rising Revengeance: Abkhazia Main Street
- Metal Gear Rising Revengeance: Boss - Khamsin
- Metal Gear Rising Revengeance: The Main Campaign - walkthrough
- Metal Gear Rising Revengeance: Game Guide
You are not permitted to copy any image, text or info from this page. This site is not associated with and/or endorsed by the developers and the publishers. All logos and images are copyrighted by their respective owners.
Copyright © 2000 - 2026 Webedia Polska SA for gamepressure.com, unofficial game guides, walkthroughs, secrets, game tips, maps & strategies for top games.
