Walkthrough - Trolley Combat | Chapter 4
 |
Walkthrough: Wait until you've regained control over the main character and start off by examining two dead bodies found in the area #1. In both cases you'll have a chance to collect standard ammunition. Enter a room located behind you #2 to find even more supplies, including ammunition, dynamite sticks and nightvision goggles.
 |  |
Return to the start area and this time head forward. Enter a room located directly in front of you #1. Check the left wall and open a red box #2. Doing this will allow you to collect a medkit, a gas mask and 5 rounds of gold ammunition.
 |
Return to the main corridor and follow your teammates to the next room #1. Thankfully you won't encounter any enemies here. Instead check one of the bodies found in the next room #2 to collect 5 rounds of gold ammunition.
 |  |
It won't take long until you've reached a trolley #1 and you should familiarize yourself with the controls #2, because you'll spend most of the mission in the gunner's seat. Notice that you'll have to expand your line of fire by using the A and D key to move the turret left or right.
 |  |
You won't have to do anything in particular until you've reached a large gate #1. Follow the verbal instructions by pressing the E key to sound the horn. Wait until the trolley has been stopped by one of the enemy officers and get ready for battle #2. Thankfully you won't have to eliminate everyone in your vicinity, because you'll soon leave this area.
 |  |
I would strongly recommend that you rotate the seat by 180 degrees, because enemy trolleys will soon appear behind yours #1. Focus mostly on destroying the trolley which uses the same tunnel as you do. Fire short bursts until it explodes #2. Make sure not to overheat the weapon, because you would have to wait for a few seconds until it cools down.
 |  |
Use the same tactics with other trolleys appearing in the tunnel #1. Be careful, because it won't take long until you've reached a train platform and you'll have to rotate the turret 90 degrees clockwise #2. Once again - you won't have to eliminate all enemy units. Focus on killing only the closest targets.
 |  |
Bear in mind that a new trolley may arrive while you're still near the train platform #1. This means you would have to destroy it and only then you'd be allowed to resume firing at enemy soldiers. Wait until you've received a proper request, turn the turret to its default position and destroy a small barricade located in front of your trolley #2.
 |  |
The next part of this mission will require you to destroy at least one more trolley #1. Thankfully you can ignore a warning about an enemy tank appearing in the area. Get ready to attack enemies occupying a new train station. This time they'll be stationed to your right #2.
 |  |
Neutralize one more trolley after leaving the station #1 and ignore the fact that it will still be moving after you, because the tunnel will soon collapse and you'll have this problem out of the way. Eventually you should end up in a large cave #2.
 |  |
Wait until an enemy tank has appeared on the tracks to your right. Follow the advice you've been given by targeting metal elements #1. Destroying these objects will result in getting rid of the tank. Thankfully the final part of your trip won't have any dangerous moments and it won't take long until you've reached your destination #2.
 |  |
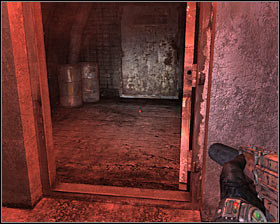
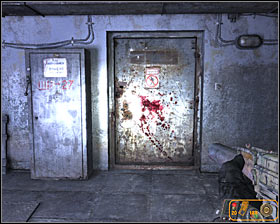
Look around as soon as you can start moving again. You can pick up standard ammunition from one of the skeletons. Choose the only available passageway #1 and make sure to check a locker on the left wall after reaching a new room #2. Take a gas mask and 5 rounds of gold ammunition. Opening a nearby door will end this mission.
You are not permitted to copy any image, text or info from this page. This site is not associated with and/or endorsed by the THQ Inc. or 4A Games. All logos and images are copyrighted by their respective owners.
Copyright © 2000 - 2025 Webedia Polska SA for gamepressure.com, unofficial game guides, walkthroughs, secrets, game tips, maps & strategies for top games.
