Metro 2033: Depot
 |  |
Walkthrough: This mission will also begin on board of a trolley, however in this case you'll be forced to use your own guns #1. Don't forget to duck under the first metal object #2 and naturally you'll have to be ready for similar actions later in the mission.
 |  |
I would strongly recommend that you choose a silenced weapon from your inventory. You'll soon notice that a single guard is standing on the train tracks #1. It would be a good idea to kill him before he manages to inform his colleagues about your arrival. Thankfully you won't have to kill him with a single shot. You may use an entire clip on him, as long as he doesn't reach the train station. If you've succeeded press and hold the crouch key. Wait for the trolley to go past the train station unnoticed #2.
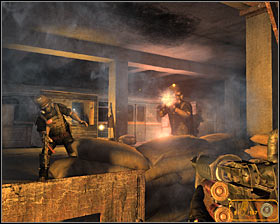 | 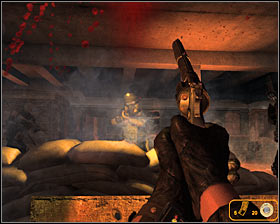 |
If you weren't successful in eliminating the guard or if you don't have a silenced weapon in your arsenal you'll raise an alarm and you'll have to eliminate a lot of enemy soldiers along the way #1 #2. Make sure to focus your attention on killing enemies standing close to the tracks or occupying a higher ground, because they'll pose a serious threat to your safety.
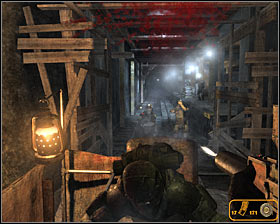 | 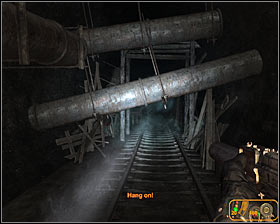 |
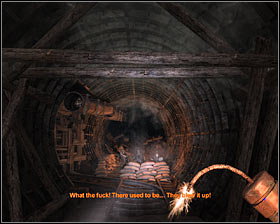
Wait for the trolley to leave the train station. If you kept quiet then your enemies will find out what's happening when it's already too late. Otherwise some of them will start chasing after the trolley #1. You can ignore them or kill a few of them. Watch out for new obstacles in this tunnel #2.
 | 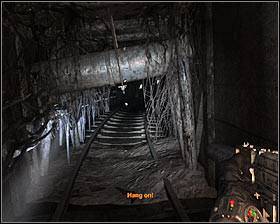 |
It shouldn't take long until you've reached a small checkpoint #1. Attacking enemies is possible, however it's not mandatory. Be careful while heading down #2, because you may hit another obstacle. It's best to keep a crouching stance all the time, so you won't be risking your life.
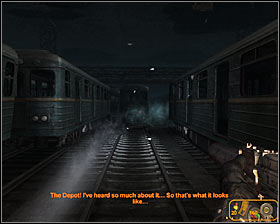 | 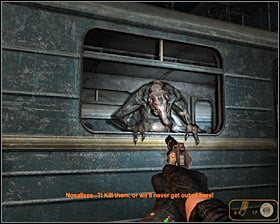 |
Expect new surprises after you've reached a train depot #1. It would be a good idea to keep crouching here, so you'll avoid most of the attacks of the beasts hiding in nearby carriages #2.
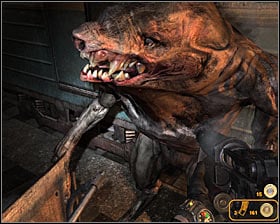 |
You'll have to be very careful here, because sooner or later new monsters will begin "attaching" themselves to the trolley #1 #2. Use the exact same tactics as in the previous missions so you should wait for the creatures to get on board the trolley before attacking them. Use a revolver or a shotgun and don't forget to aim for their heads.
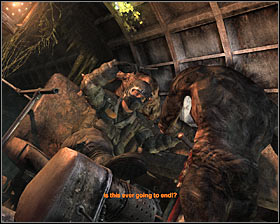 | 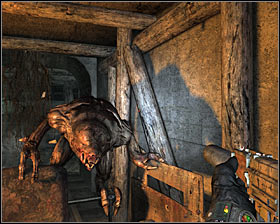 |
The monsters will soon kill your ally #1 and this will result in the main character losing control over the trolley. Eliminate the last group of creatures #2 and wait for the trolley to start moving faster. Hold the crouch key to avoid new obstacles and wait until the trolley derails.
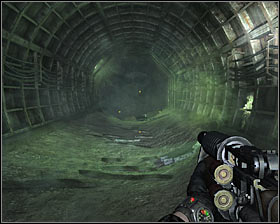 | 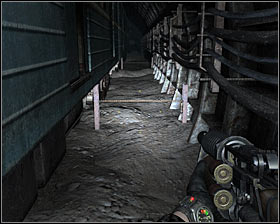 |
You'll regain control over the main character in a large tunnel and you should proceed towards metro cars seen in the distance #1. Choose a narrow passageway located to the right of the first carriage #2 and be careful, because there are going to be several traps here. Avoid them by jumping over them.
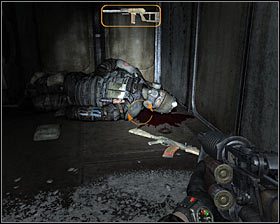 | 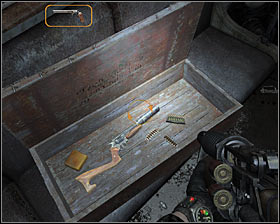 |
Eventually you should be able to reach an entrance to the metro car #1. Head inside and check a dead body found to the right. There's also a new chest to the left and you can take 10 rounds of gold ammunition from it #2. Find several other bodies in the car and examine them to collect new supplies. Exit the carriage once you're done exploring and return to the area where you've started the game after the trolley has derailed.
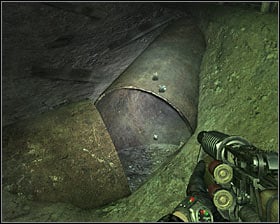 | 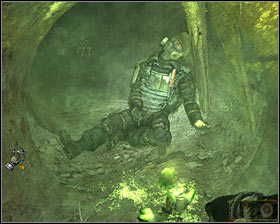 |
You must now find a hole in the ground #1. Start off by choosing the tunnel located to the right and it won't take long until you've found a dead body #2. Put on a gas mask before moving closer. Collect standard ammunition and 2 rounds of gold ammunition. Return to the junction and this time choose the left tunnel. This mission will soon come to an end.
You are not permitted to copy any image, text or info from this page. This site is not associated with and/or endorsed by the developers and the publishers. All logos and images are copyrighted by their respective owners.
Copyright © 2000 - 2026 Webedia Polska SA for gamepressure.com, unofficial game guides, walkthroughs, secrets, game tips, maps & strategies for top games.
