Walkthrough - Defense* | Chapter 4
 |  |
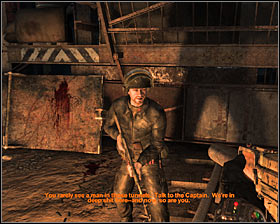
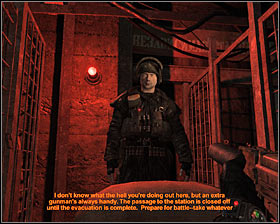
Walkthrough: Head forward and ignore the cans, because you won't have to avoid them. Enter the next area to meet a group of survivors. Start off by talking to one of the soldiers #1 and then head to your left to talk to the leader #2. You'll find out about an upcoming attack.
 |  |
You won't have to do anything in particular in the first phase of this mission, because you won't be attacked by any monsters. Instead a weird shockwave will result in you and the rest of the survivors losing consciousness #1. Wait until you've regained full control and check bodies of fallen allies for extra ammunition #2.
 |  |
Get ready for a new battle. You can ignore the creatures using ceilings and other objects from the environment to get past the barricade, because you won't have to stop them. Instead focus only on attacking the creatures showing up near your position #1 #2. Make sure to stay on the move and to protect your allies so that they can assist you for a longer period of time.
 |  |
Sadly, even if you're very good at this, sooner or later you'll remain as the only defender on the battlefield #1. This means you'll still have to keep moving to prevent the beasts from surrounding the main character. This battle will end with a new shockwave #2. Wait until Artyom stands up and take your time to collect ammunition from the dead bodies.
 |  |
You may now choose a newly unlocked passageway #1 which will allow you to get to the injured commander. Talk to him and MAKE SURE to collect a tape left by him on the ground #2. You won't find this object useful right away, however it will help you in completing a side objective later in the game.
 |  |
Start off by going to your right. Check the area near a stationary gun and you should be able to find a new chest #1. Take standard ammunition from the chest, as well as 5 rounds of gold ammunition. Head down and start moving towards a tunnel #2.
 |  |
It shouldn't take long until you've approached a trolley. Check the nearby area to find 1 round of gold ammunition #1 and supplies (near an opened chest). Head forward. You'll soon reach a new train platform. Leave the tracks and keep going straight #2. Examine a new dead body located in front of you to collect 2 rounds of gold ammunition.
 |  |
It would be a good idea to check the area to the right, because you'll have a chance to find a lot of standard ammunition #1. You may now choose a corridor located to the left of the last dead body #2.
 |  |
You'll have to be careful here, because you'll be attacked by smaller creatures regularly #1. It's not going to be easy to kill them, because they're quick and because they'll use tunnels to surprise you. Make sure to aim for their heads and to stay on the move so you won't be an easy target. Start off by going to your left #2. Find new dead bodies with a lot of ammunition.
 |  |
Return to the passageway you've used not long ago and this time proceed to your right #1. Keep checking new bodies along the way (ammunition) and you should also explore a small and dark room found to your left #2. Aside from standard ammunition you'll also find 3 rounds of gold ammunition inside this room.
 |  |
Proceed towards a passageway located on the opposite end of the large room #1 (the one with the blinking red light seen inside). Check the area to find a gas mask and ammunition and then proceed towards a new doorway located to your left #2.
 |  |
Turn left after you've entered a new room #1 and use the stairs to get to an upper level. Notice that you'll have to put on a gas mask along the way which shouldn't be a problem. Make a second left turn and head towards a small balcony #2.
 |  |
Eventually you should end up standing inside a small room. Look around to find standard ammunition and gas mask filters. You can also take 12 rounds of gold ammunition from a safe #1. Exit this room, return to the stairs and head back down. Turn left and start moving forward #2.
 |  |
Watch out for new monsters in the vicinity. Proceed to the center of the room and then find a new passageway located to your left #1. Eliminate a group of creatures and then make a second left turn #2.
 |  |
Start moving forward and eventually you'll get to a new body and a radio #1. Check the body to collect much needed ammunition and then the radio to find 4 rounds of gold ammunition. Deal with the last group of monsters, turn around and proceed to the opposite end of the train platform. Leave the platform #2 and head inside a new tunnel.
 |  |
Keep heading forward and you'll soon get to the other end of the tunnel. Notice a lot of bodies in the area #1. Check the body of a dead soldier to collect supplies and 15 rounds of gold ammunition. You may now choose a side passageway #2 and it won't take long until you've reached the exit.
You are not permitted to copy any image, text or info from this page. This site is not associated with and/or endorsed by the THQ Inc. or 4A Games. All logos and images are copyrighted by their respective owners.
Copyright © 2000 - 2025 Webedia Polska SA for gamepressure.com, unofficial game guides, walkthroughs, secrets, game tips, maps & strategies for top games.
