Metro 2033: Lost Tunnel
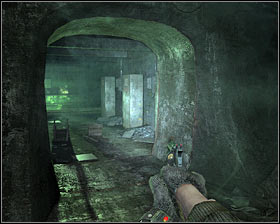 |
Walkthrough: Drop down to the train tracks and start moving forward. It would be a good idea to examine a human body along the way #1, because you'll find a lot of ammunition for all sorts of weapons. Turn left after you've reached a junction #2.
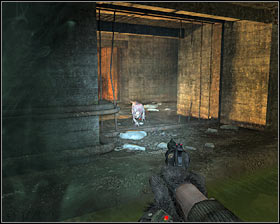 | 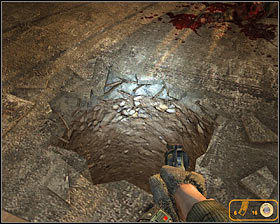 |
You're going to be attacked by two monsters just around the corner #1. Be careful, because they're very fast and they can use tunnels to perform surprise attacks. Aside from the beasts you'll also have to watch out for large holes in the ground #2. Dropping inside a hole will result in the death of the main character.
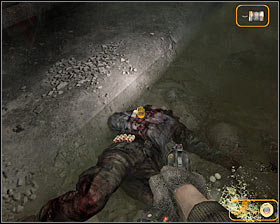 |
Make sure that you've eliminated both creatures and then look around to find a new body, as well as a lot of ammunition #1. Head to the area where you first saw one of the monsters. Examining a new body will allow you to collect ammunition and a pneumatic rifle #2. Remain here and examine the third body found on the other side of the grating. Doing this will allow you to collect 2 rounds of gold ammunition.
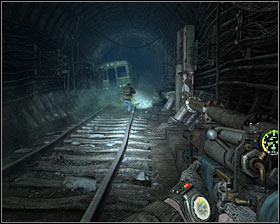 |
Return to the main tunnel (the one with the train tracks) and start heading towards a metro car seen in the distance #1. Enter the carriage and look around to find a new body. Pick up ammunition #2 before leaving the carriage.
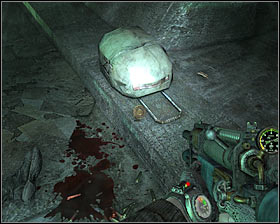 | 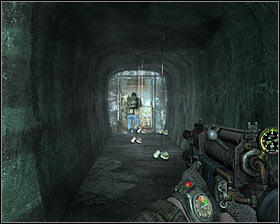 |
Continue exploring the area until you get to a new junction. Check the body, as well as backpack found nearby #1 to collect a lot of standard ammunition. Choose a corridor found to your right #2, BUT watch out for traps located in the area. Prevent the main character from touching the hanging cans by moving slowly and close to the left wall.
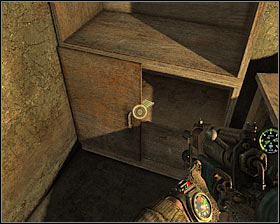 | 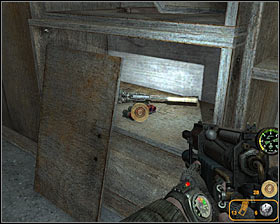 |
You may enter a new room. Check one of the nearby cupboards to find 3 rounds of gold ammunition #1. Other cupboards contain standard ammunition #2 and you shouldn't ignore them, because you'll need supplies for the next battle. Exit the room and wait for Bourbon to disarm one of the traps for you.
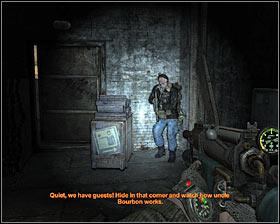 | 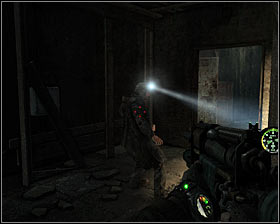 |
Proceed to the next section. Approach the door where your colleague should be waiting for you #1. Stand to the left of the door, turn off your flashlight and wait for one of the guards to enter this room #2. If you want to kill him yourself you should use a weapon with a silencer attached to it or a knife to prevent the alarm from being raised. If you don't want to kill him you can wait for Bourbon to deal with him for you.
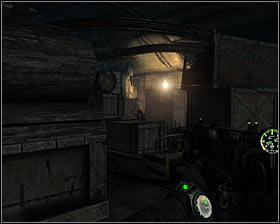 | 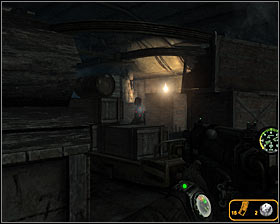 |
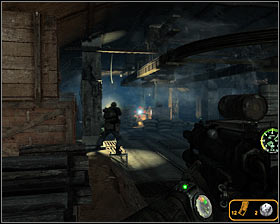
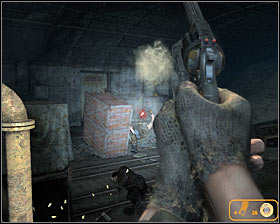
Enter the next room carefully and make sure that you're still not using a flashlight. The area is being patrolled by several soldiers and you should decide to eliminate at least a few of them #1 #2 using a pneumatic rifle or a silenced revolver.
 |  |
Sooner or later your opponents will find out what is happening and this means you'll have to engage them in direct combat #1 #2. In this case you may want to consider using a normal submachine gun or a shotgun (assuming you can get closer to your enemies). You should also start throwing dynamite sticks to dispose of larger groups of enemy units.
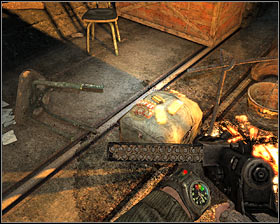 |  |
It would be a good idea to examine all bodies after the battle to collect much needed supplies. There's a small fireplace in the center of the room #1 and aside from standard ammunition you would also find 20 rounds of gold ammunition. Approach the next door #2 when you're ready to move on with the mission.
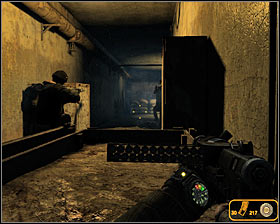 | 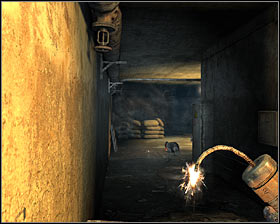 |
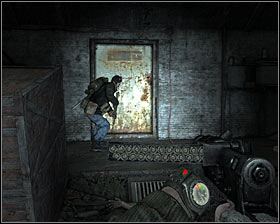
Take cover behind one of the larger objects as soon as you've entered a new corridor #1, because enemy troops will show up in the area. I would strongly recommend using dynamite here, especially since a large group of enemies will be taking cover behind sandbags #2.
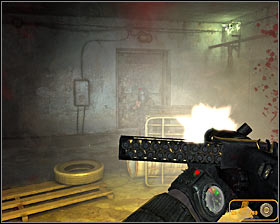 | 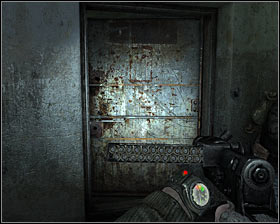 |
Proceed to the next area, however watch out for additional enemy units to your right #1. Make sure that all bandits have been eliminated and take your time to collects supplies (especially ammunition). Interact with a nearby door #2 to end this mission.
You are not permitted to copy any image, text or info from this page. This site is not associated with and/or endorsed by the developers and the publishers. All logos and images are copyrighted by their respective owners.
Copyright © 2000 - 2026 Webedia Polska SA for gamepressure.com, unofficial game guides, walkthroughs, secrets, game tips, maps & strategies for top games.
