Metro 2033: Top
 |  |
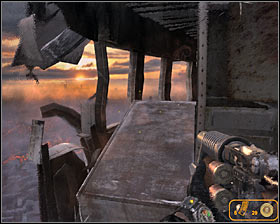
Walkthrough: You'll have to be very careful during this mission, because one false move will result in falling from the tower. Wait until you've regained full control #1 and listen to a warning about a flying monster heading your way. Take cover inside a very small room #2 and wait for the beast to leave (you could also attack it, because you won't have to conserve ammunition for later).
 | 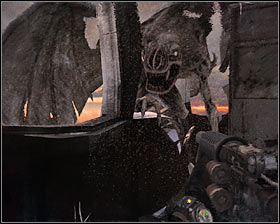 |
Proceed towards the only available passageway #1. I would recommend using a compass here often, so you'll always know where to go. Watch out for a second flying demon #2. It would be a good idea to wait for the beast to start ripping off a part of the wall and then run past it.
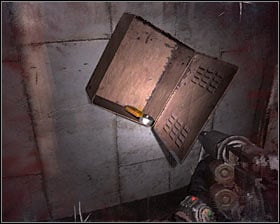 | 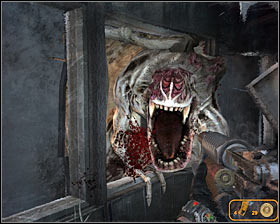 |
Continue exploring the tower. There's a box with a filter and a medkit nearby #1 and you can also pick up a brand new gas mask from the ground. Get ready to defend yourself against a flying demon - in this case you should consider firing at the beast #2 to scare it away.
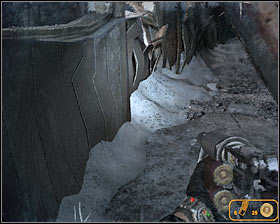 | 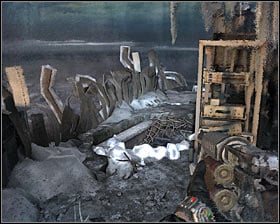 |
Press a crouch key and crawl under metal objects located to the right of the window where the last demon appeared #1. Choose a passageway located to your left #2. This means you'll be moving close to the edge of the tower, so you must be careful.
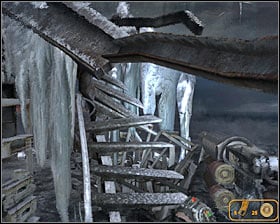 | 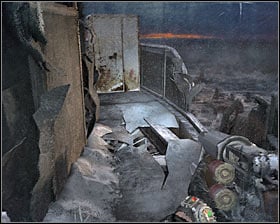 |
Remember that you shouldn't make any stops along the way, so you won't be an easy target for the monsters. Locate a broken staircase #1 and make your way to the upper level. Head forward here. Once again you'll have to choose a passageway found near the edge of the building #2.
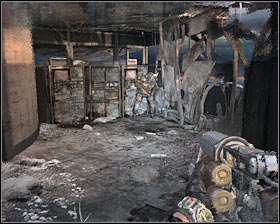 | 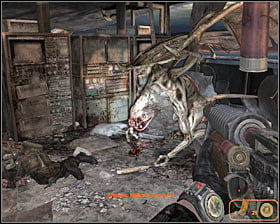 |
It shouldn't take long until you've located your partner #1. Sadly you won't be allowed to cooperate with him, because you're going to be attacked by a flying monster soon. Kill the beast #2 before it manages to finish off your colleague. Talk to your injured partner - he'll ask you to continue the mission on your own.
 | 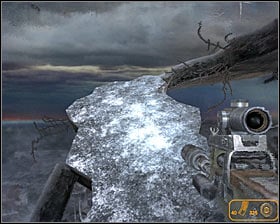 |
You must now choose a passageway located near the demon's body #1. There's an entrance to a ventilation shaft along the way, but you may as well ignore it. Instead keep heading forward and then turn around to get to the upper floor #2.
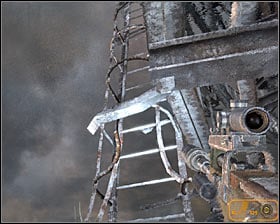 | 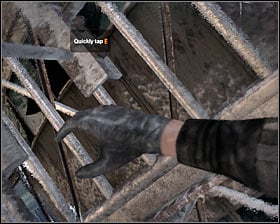 |
Approach a ladder found not far from here #1 and use it. You'll have to be careful, because the ladder will star falling apart soon and this means you'll have to keep pressing the action key rapidly #2 to save the main character from certain death. Repeat this a few more times.
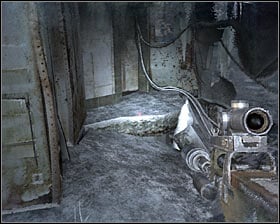 | 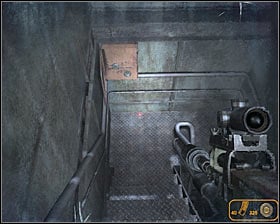 |
Get to the top and then start moving forward. Eventually you should be able to locate an entrance to the tower #1. Start off by heading towards a lower floor where you should locate a locker and pick up gas mask filters #2. Go back up and this time proceed towards upper floors.
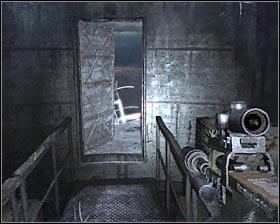 | 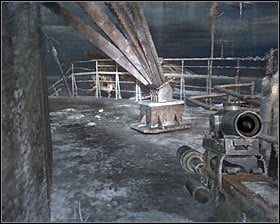 |
Ignore image distortions and head outside #1 to continue exploring the tower. There's only one passageway leading to your destination and you can always use a compass, so you shouldn't get lost. Ignore a new flying beast and instead hold the crouch key to crawl under several obstacles #2.
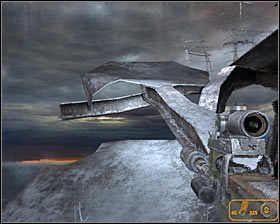 | 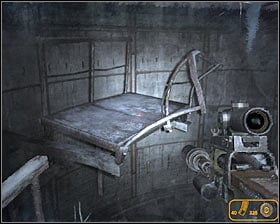 |
Proceed towards a small balcony #1 carefully and keep heading forward until you've found a new entrance to the tower. Once you're inside you'll have to start making jumps towards small platforms #2.
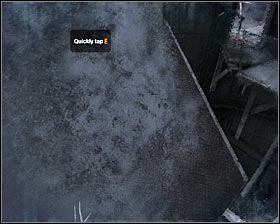 | 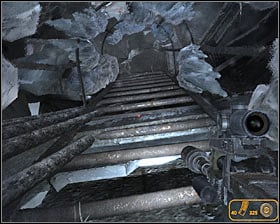 |
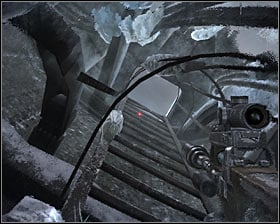
Be careful, because you'll have to take part in a mini-game after you've tried landing on the last platform #1. Keep pressing the action key repeatedly to save the main character from certain death. Repeat the mini-game several more times and then use a new ladder #2.
 | 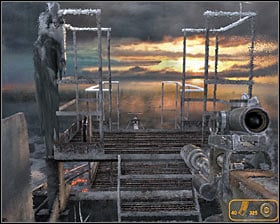 |
Ignore a new vision and use a ladder #1 to get to the top of the tower. You must now approach a small metal arm #2 where Artyom will automatically put down the guidance system. Watch several new cut-scenes.
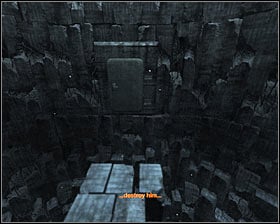 | 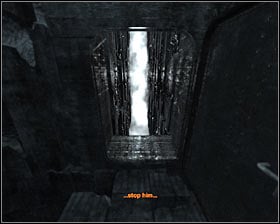 |
You'll regain control over the main character in a dark room. Start off by exploring four passageway which lead to small doors #1. Make sure to move in a straight line, because otherwise you may fall down and die. Opening two doors will uncover a wall and the remaining two will uncover bigger areas #2. Ignore them and go back to the starting point.
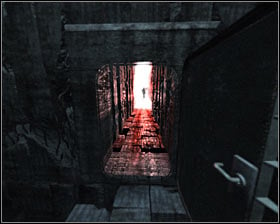 | 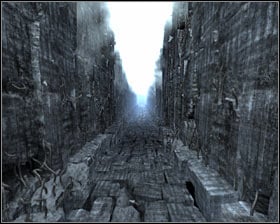 |
Approach one of the closed doors again and this time you should notice a weird looking creature in front of you #1. Go towards it and you should be transported to a new area. You'll have to start exploring something that looks like a huge labyrinth #2.
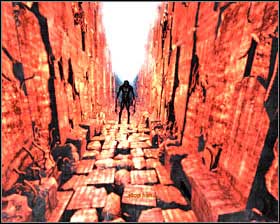 | 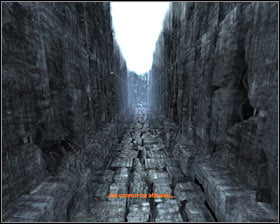 |
During this entire scene you'll have to be running away from the alien creature which will be surrounded by a red light #1, because approaching it would result in Artyom's death. You should know that this hostile won't always stay behind you, because sometimes you may be transported to a different area and you'll notice it standing directly in front of you. Make sure to act quickly in these types of situations. Always move towards a corridor surrounded by a blue light #2.
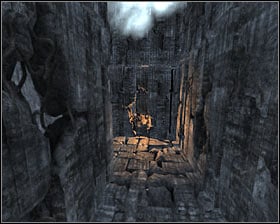 | 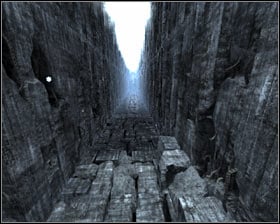 |
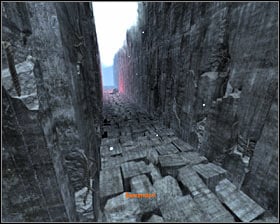
Eventually you'll get to an area where you'll notice a wall with a large crack on it #1. Turn left twice, so that you'll return to this wall. You must now turn around and start moving in the opposite direction, turning right at least twice. If you've done everything according to the plan you'll end up in a long corridor again #2.
 | 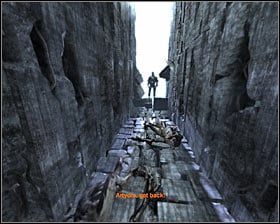 |
Keep moving forward until you've reached a junction. DON'T choose the left passageway #1, because this is a trap. Instead proceed to your right #2, heading towards one of your allies surrounded by blue light.
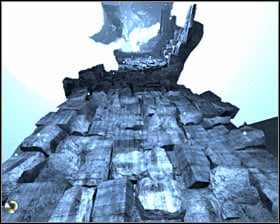 | 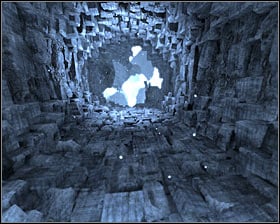 |
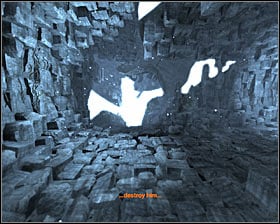
Wait until you're transported to an entirely new area. You still have to be moving forward here, however you will be forced to perform several jumps along the way #1. Enter the tunnel #2 and head straight.
 | 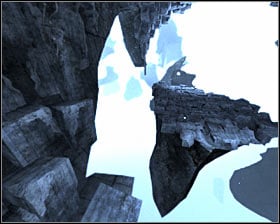 |
Remember about choosing correct corridors, so that you'll continue avoiding the alien creature. You'll soon reach a junction #1 and you should choose a passageway located to your right (the other one leads to an abyss). Get ready to perform several new jumps here #2.
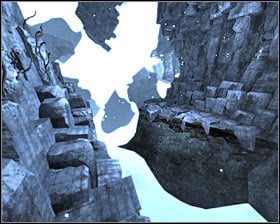 | 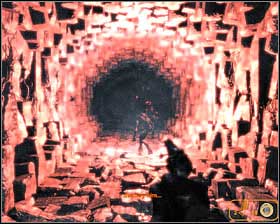 |
Remain close to the left wall after reaching an abyss #1. Head forward and you should be able to make a jump towards a ledge seen to your right. Keep going straight until you're rewarded with a new cut-scene. As soon as the cut-scene has ended use a revolver to kill an alien creature heading your way #2 (aim for the creature's head if you want to get rid of it faster).
Killing the creature will allow you to proceed with the ending. If you've chosen If it's hostile, you kill it ending you won't have do anything else and if you've chosen Enlightened ending you'll have to use a revolver to hit a guidance system device. Congratulations!
You are not permitted to copy any image, text or info from this page. This site is not associated with and/or endorsed by the developers and the publishers. All logos and images are copyrighted by their respective owners.
Copyright © 2000 - 2026 Webedia Polska SA for gamepressure.com, unofficial game guides, walkthroughs, secrets, game tips, maps & strategies for top games.
