Metro 2033: Child
 |  |
Walkthrough: This mission will begin with a cut-scene showing the main character talking to a young boy named Sasha #1. Notice that your new ally has climbed on your back and this will mean two things - you won't be allowed to run and all of your moves will occur with a small delay. Take your time to familiarize yourself with these restrictions and then check the body of Sasha's uncle #2 to collect standard ammunition.
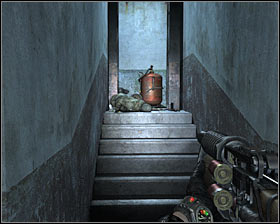 | 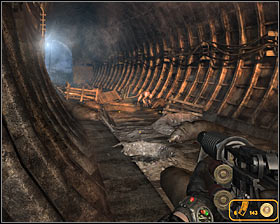 |
Start off by choosing the only available passageway #1. Make sure to examine all the bodies you encounter along the way to find new ammunition. Eventually you should make your way to a large tunnel #2. Choose a good weapon from your inventory.
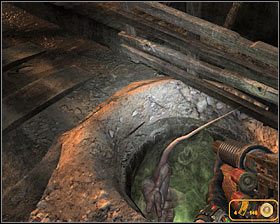 | 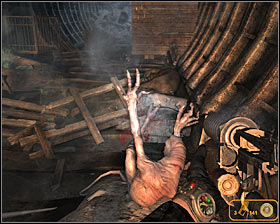 |
Get ready for your first battle with the monsters #1 #2. You'll be dealing with the smaller creatures again, so you'll have to be careful. Try attacking them when they're trying to use nearby holes (to get in or to get out) and prevent them from scratching you too often. I would recommend using a shotgun here, however a revolver will also do the trick.
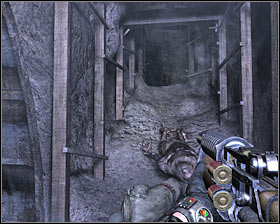 | 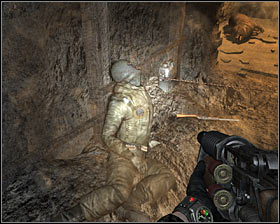 |
I wouldn't recommend leaving this area unless you've killed all the monsters. Proceed to the other end of the tunnel and choose a passageway found to your right #1. Don't forget to keep examining new bodies and to avoid a new trap found in one of the corridors #2.
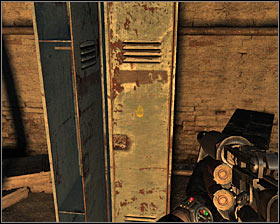 | 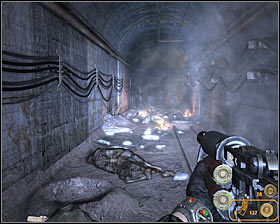 |
Once you're inside a new room you should spend some time looking around. Opening one of the lockers #1 will allow you to acquire standard ammunition and 10 rounds of gold ammunition. Proceed to the next section. Get ready to take part in a new battle after reaching a long tunnel #2. Once again you'll be dealing with smaller creatures.
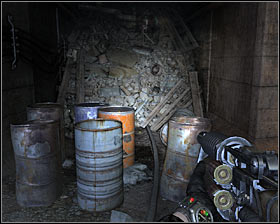 | 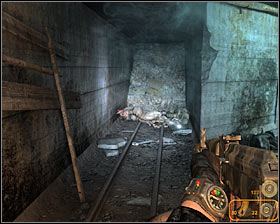 |
Head forward after the battle. Check the barrels located in front of you #1 after you've reached a new junction. You should be able to find a dead soldier here. Examine his body and you'll collect 5 rounds of gold ammunition. You may now choose the corridor found to your right. Keep moving forward until you've located a new body #2 and 2 rounds of gold ammunition.
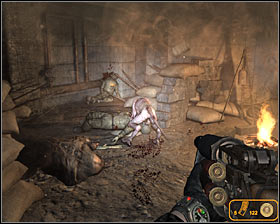 | 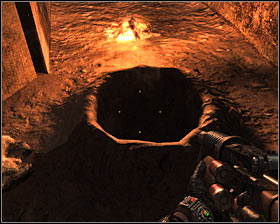 |
Continue exploring the area. Kill a single monster after reaching a new cave #1. You shouldn't be in a lot of hurry here, because you'll find a lot of dead bodies in the area. Listen to the boy's warning and make sure to avoid a large hole in the ground #2.
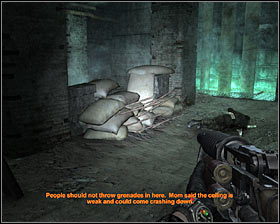 | 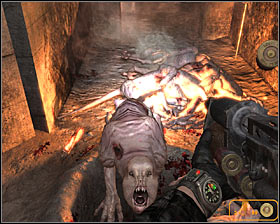 |
Get ready after you've reached the next area #1 and listened to a warning about not using any grenades, because you'll have to part in the largest battle of this mission. I would recommend that you retreat to the previous corridor and stand next to one of the holes #2. Keep attacking the beasts coming out of the hole or running towards you from a nearby room.
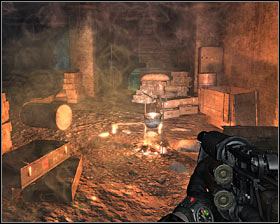 | 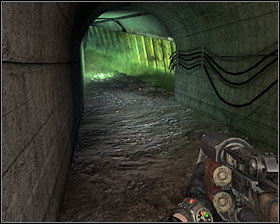 |
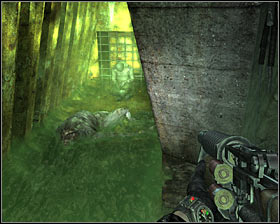
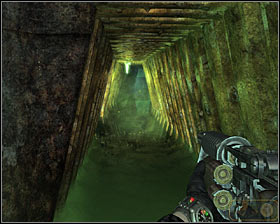
I would strongly suggest that you remain in one spot until you've dealt with all the monsters, because you aren't allowed to run. Proceed to the next section and don't forget to check the campsite to collect ammunition #1. Choose the right corridor #2 after reaching a new junction (the one leading to the sewers).
 |  |
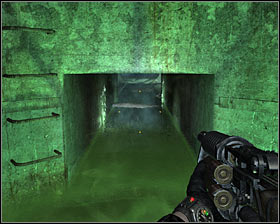
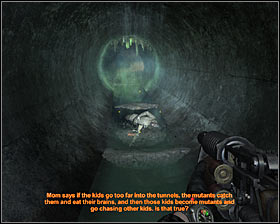
You may move forward without making any stops, because you won't have to deal with radiation here. Turn right after entering the sewers area, make a few steps forward and locate a body (2 rounds of gold ammunition) #1. You won't have to return to the junction, because the left corridor would only lead you to standard ammunition and you would also have to avoid several traps. Instead remain in the sewers and start moving forward #2.
 |  |
Don't be frightened when you see a monster, because you won't be attacked here. Approach a ladder #1 and instead of using it hold the crouch key to enter a small tunnel. Keep moving forward and it won't take long until you've discovered a new body #2. Examine it to collect standard ammunition and 5 rounds of gold ammunition.
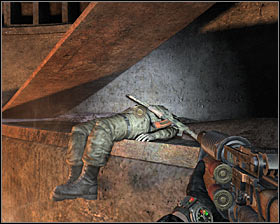 | 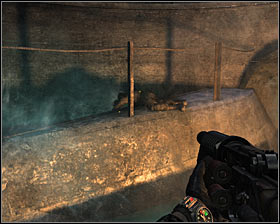 |
Continue exploring the tunnel system. Once you've entered a large area which looks like a well you'll find two bodies - one of them will be to your right #1 and the other one to your left #2. In both cases you'll find 4 rounds of gold ammunition.
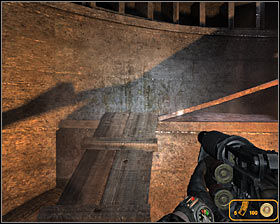 | 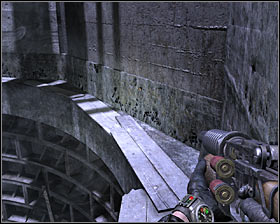 |
You can now start using wooden footbridges #1. Keep heading upwards and make sure that you're not in a lot of hurry so you won't make any mistakes and fall. Choose a small ledge after you get to the top #2.
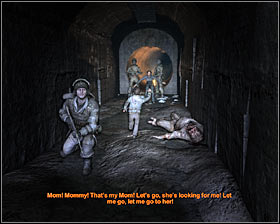 | 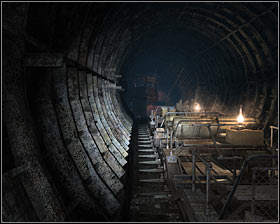 |
It shouldn't take long until you've encountered friendly units and Sasha will rejoin with his mom #1. You can now either accept the reward (20 rounds of gold ammunition) or refuse (better choice if you want to unlock a good ending). Watch a short cut-scene and then head upwards #2.
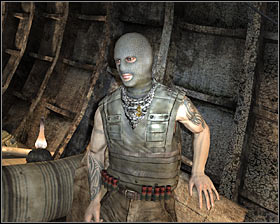 | 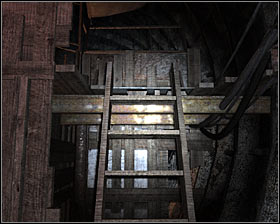 |
Notice that there are two merchants to your right #1 and it would be a good idea to check both stores to resupply. Keep heading forward and make sure to examine the left guard tower #2 (use the ladder) before leaving this area. Doing this will allow you to find 5 rounds of gold ammunition. This mission will end as soon as you've left the base.
You are not permitted to copy any image, text or info from this page. This site is not associated with and/or endorsed by the developers and the publishers. All logos and images are copyrighted by their respective owners.
Copyright © 2000 - 2026 Webedia Polska SA for gamepressure.com, unofficial game guides, walkthroughs, secrets, game tips, maps & strategies for top games.
