Chapter XIII - p. 3
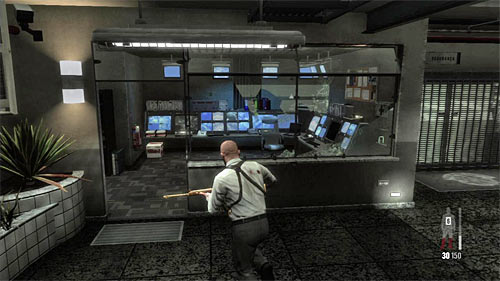
At the end go to the security room (screen) in which few enemies was hiding. Game will display a cut scene informing you about an arrival of the elite policemen unit.
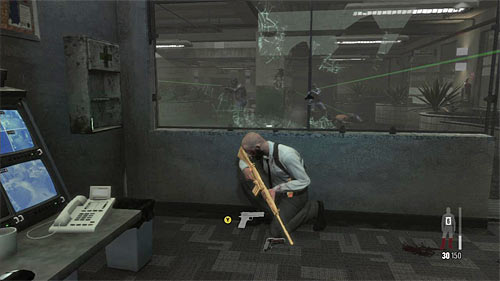
I recommend stay in the security room, wait until enemies close a bit and then take them from a surprise.

After the encounter begins, you can stay in the same place or exit it to place yourself behind one of pillars or start making jumps in the bullet time. Remember to aim at heads, because opponents are armored. Use also laser beam for easier targeting.
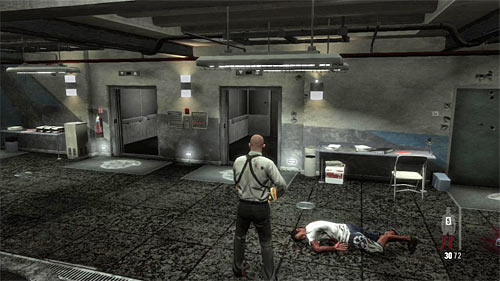
After the encounter pick up ammo and possibly the SMG's. Go to the elevator which was used by the enemies and press the Y button to take Max on the fifth floor.
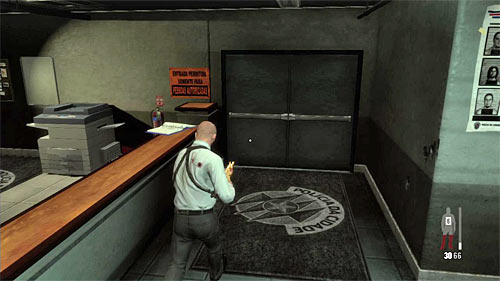
Move forward and prepare for eliminating the armed enemy who will appear in front of you. After that check the left room for painkillers and then approach the entrance to the right room (screen).
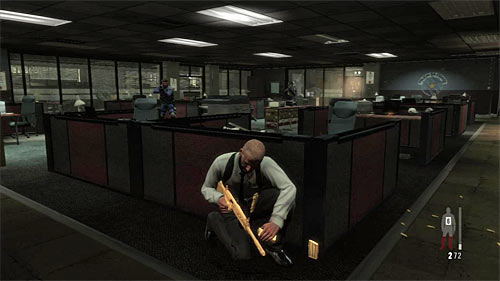
Another encounter is difficult, because you'll begin it in not very good position and you'll have all big office room to secure, with small amount of covers. I recommend to clear ASAP the area on your right and left and then hide behind the furniture.
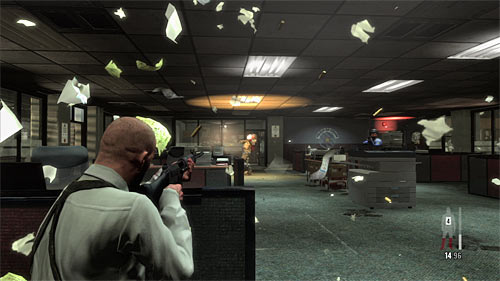
Continue firing at enemies. As usual, do not let anyone reach you and secure especially the sides office rooms from which new enemies may approach.
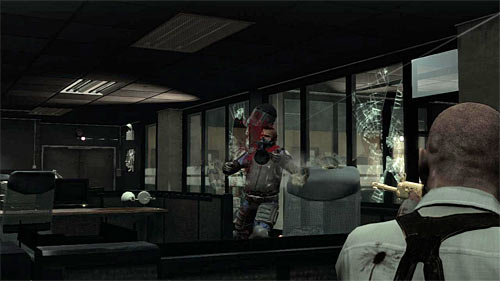
At the very end you'll have a duel with the policeman equipped in the LMG rifle. Make sure that you're still behind the cover and start firing, trying to aim at his head. After the encounter you have to decide whether you want to pick up the LMG rifle with the limited number of bullets or keep one of your guns.
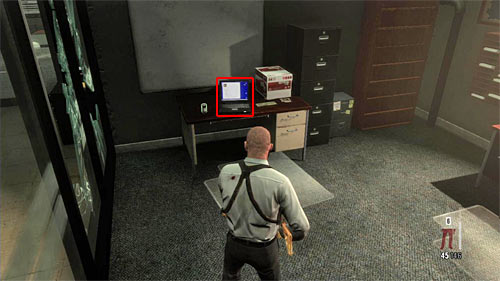
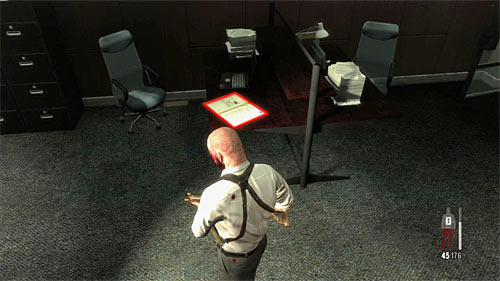
As usual, spare a moment for searching the area, what gives you, among others, the painkillers. But much more important is to get two collectibles. One is a laptop in one of the left rooms (1st screen) [Clue 4/7 - E-File on Da Silva] and the second is a folder in the middle room on the right (2nd screen) [Clue 5/7 - Political Folder].
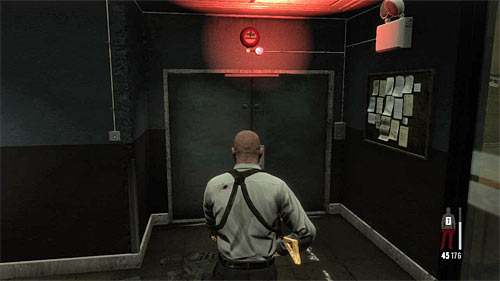
Make sure that you've checked the area and only then use the exit (screen) what causes another cut scene.
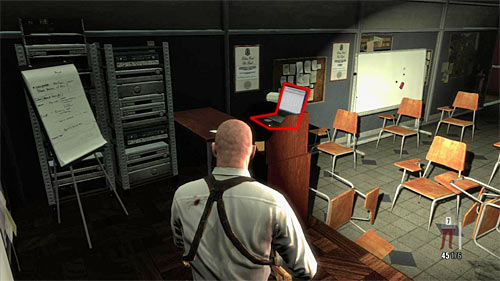
After getting to the new place, move to the rostrum and interact with the laptop (screen). What is curious, you won't get a clue immediately but only after displaying all five slides (press Y) [Clue 6/7 - Slide Show]. Close the slide show (B button) and go to the proof store.
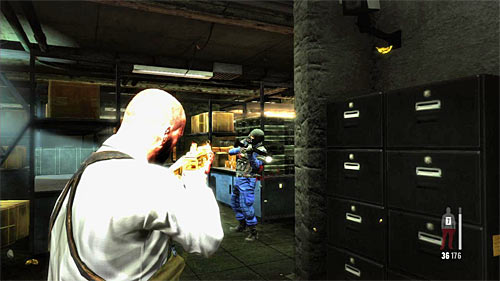
After getting there, start from killing two policemen. It shouldn't be problematic.
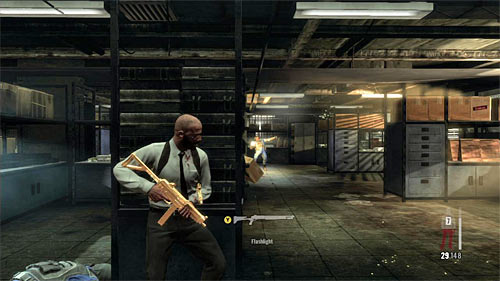
In the further part of the encounter place yourself behind the locker (screen) thanks to which enemies will move to you only from the right. Eliminate them without too risky actions.
You are not permitted to copy any image, text or info from this page. This site is not associated with and/or endorsed by the Rockstar Games or Rockstar Games. All logos and images are copyrighted by their respective owners.
Copyright © 2000 - 2025 Webedia Polska SA for gamepressure.com, unofficial game guides, walkthroughs, secrets, game tips, maps & strategies for top games.
