Chapter VIII - p. 3
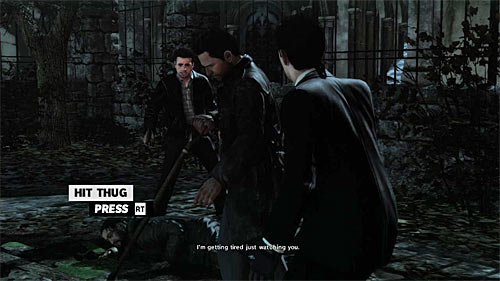
After receiving the proper information (screen) quickly press the right trigger to attack the thugs with the shovel. If you fail for the first time, you will be able to try again.
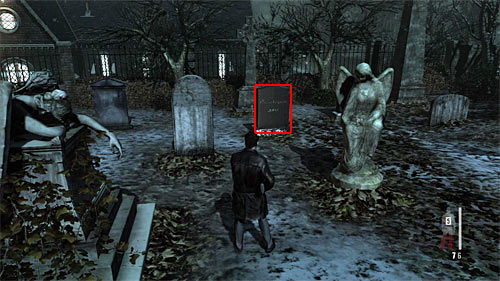
Wait until you regain full control and prepare for arrival of an enemy with the shotgun who you need to kill immediately. Before you leave this place search the cemetery on the right, specifically in the tombstone marked on the screen to collect the last clue in thus chapter [Clue 3/3 - Vinnie's Tombstone].
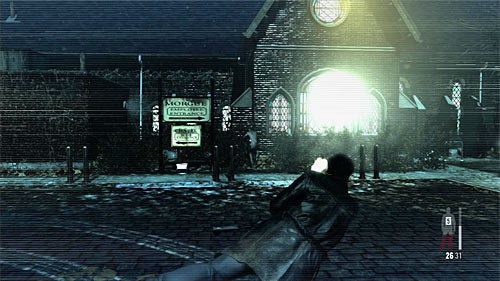
Now you can choose the path leading to the funeral home. Be careful, because this path is guarded by the guy with shotgun. Get rid of him and then attack next enemies placed on the left. I recommend to use the left building as a cover.
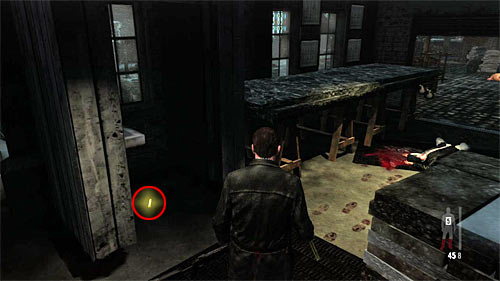
Make sure you eliminate all bandits and then search the mentioned left building. Inside you'll find painkillers and well hidden part of a weapon (screen above) [Golden Gun - Auto 9mm 3/3].
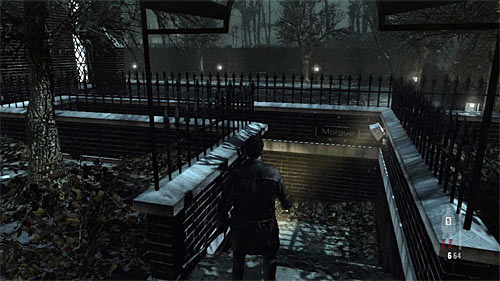
Exit the building and go right. You have to find shown on the screen stairs which lead to the mortuary.
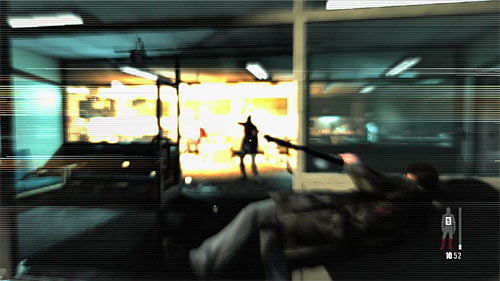
After getting there, move left and choose the good cover because after a while enemies start appearing. Depending on your likenesses use bullet time or covers. It's also worth to aim at the explosive objects what may make the encounter easier.
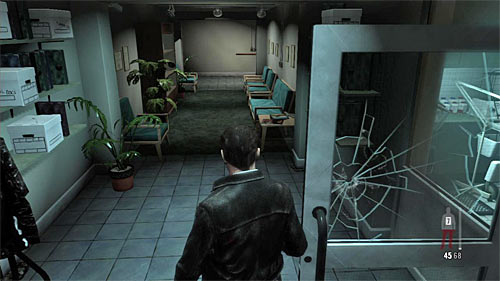
After the battle ends, search the whole mortuary. You'll find an interactive TV and two packs of painkillers. Go to the chapel of the funeral house.
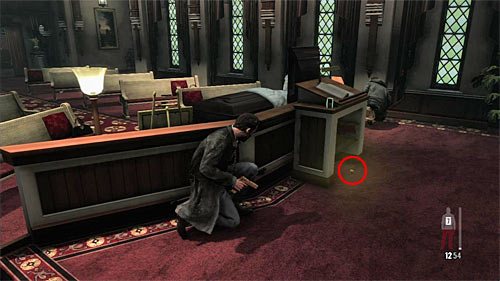
The final battle in the chapel is good to start with moving right. It let you pick up the painkillers and the last part of the gun [Golden Gun - 608 Bull 3/3].
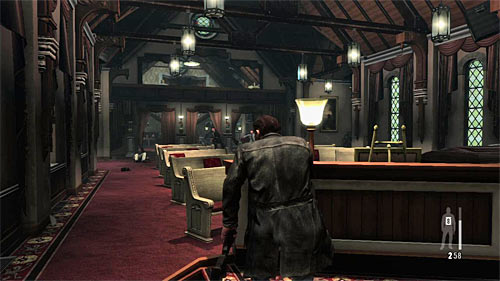
Only then attack enemies appearing in your field of vision. Eliminate all but one - ignore the guy with the shotgun standing on the upper balcony.
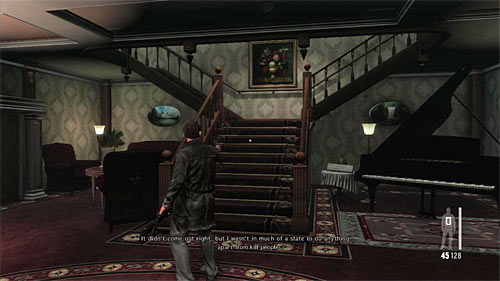
Wait until he starts reloading gun and run into him. Check the piano and choose the stairs leading to the upper balcony.
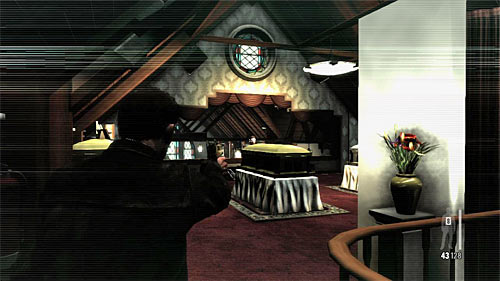
After getting there turn on the slow motion and eliminate the thug. Pick up SPAS-15 Shotgun from his dead body.
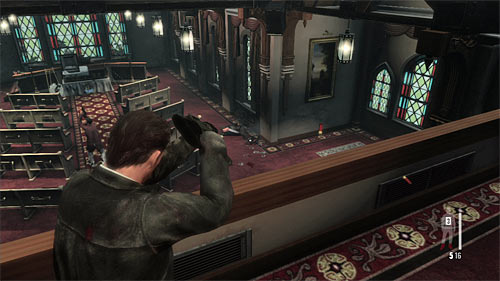
Now begin firing at thugs showing up downstairs, starting from those closest to the hiding Raul. It's also worth mentioning that hiding behind the balustrade isn't obligatory, because enemies should be focused on reaching your partner. Killing all of opponents ends the chapter.
Remark! You can't let any of thugs stay by the rostrum too long, because Raul will be killed automatically and you fail the mission.
You are not permitted to copy any image, text or info from this page. This site is not associated with and/or endorsed by the Rockstar Games or Rockstar Games. All logos and images are copyrighted by their respective owners.
Copyright © 2000 - 2025 Webedia Polska SA for gamepressure.com, unofficial game guides, walkthroughs, secrets, game tips, maps & strategies for top games.
