Chapter VI - p. 2
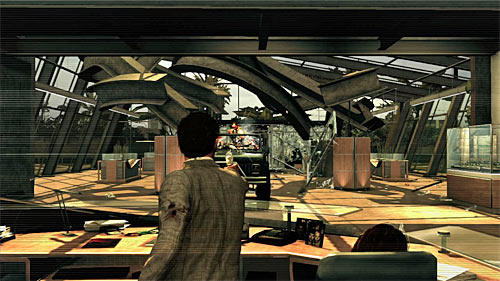
Be prepared, because after the cut scene you regain control. Aim at the pick up driver, because his death is enough to interrupt the scene.
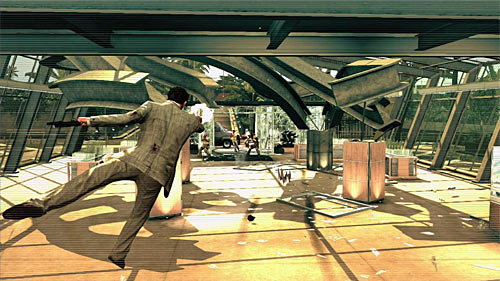
Use the "free" bullet time and try to kill as many enemies as you can before landing. Even before Max hide behind the cover, it's worth to make another slow motion jump (the best solution is make him in a way which make you land by the another cover).
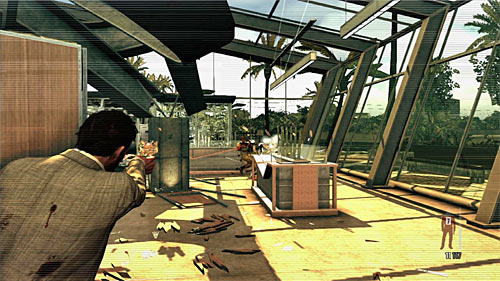
When you proceed to the next part of an encounter, slow down a bit, use pillars as covers and eliminate approaching enemies.
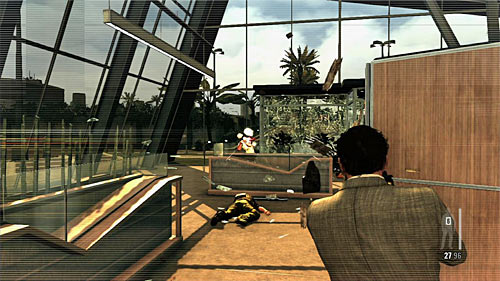
After the battle cut scene will be displayed which informs about an "elite" enemy and his two helpers. Firstly I recommend to eliminate those two thugs.
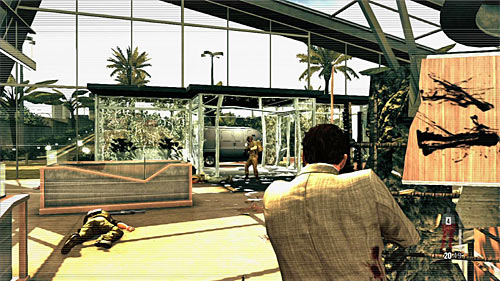
After that focus on the elite soldier. He uses the LMG machine gun, so it's important to stay behind the cover. Use bullet time and try aim at his head, make short series.
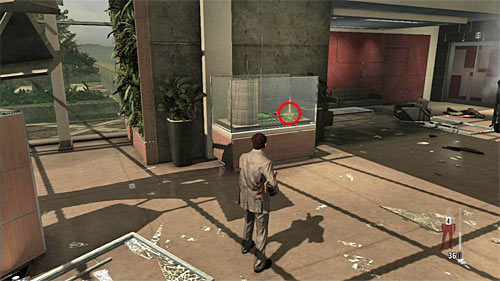
After the battle go to the dead enemy and take his weapon. Go to the lobby, but by the way destroy the marked on the screen exhibition and pick up the last fragment of a weapon [Golden Gun - MD-97L 3/3]. Then go to the elevator on the left from the destroyed desk.
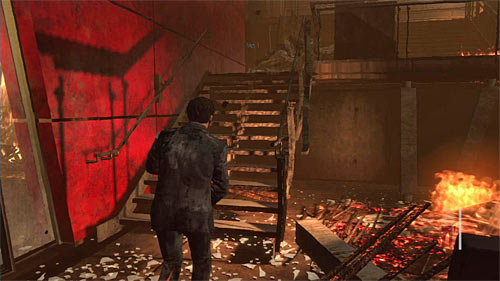
Go forward and don't bother that you don't have any weapons. Use the stairs leading to the office you searched before. Go through the gate.
Remark! During the final scene you shouldn't stop anywhere longer because Max may die because of CO poisoning or the building collapse.
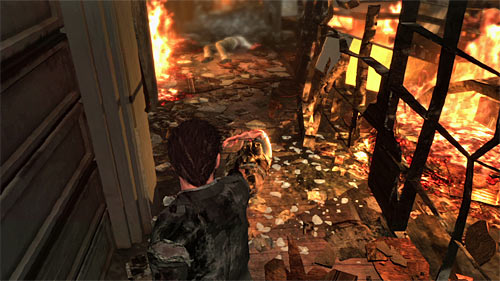
When you meet an enemy, do as the advices on the screen say, so first disarm him (right trigger) and do in (also right trigger).
![Go to the IT guy body lying little further and search it, what gives you the last clue [Clue 5/5 - Dead IT Guy] - Chapter VI - p. 2 - Walkthrough - Max Payne 3 Game Guide & Walkthrough](/maxpayne3/gfx/word/1591775734.jpg)
Go to the IT guy body lying little further and search it, what gives you the last clue [Clue 5/5 - Dead IT Guy].
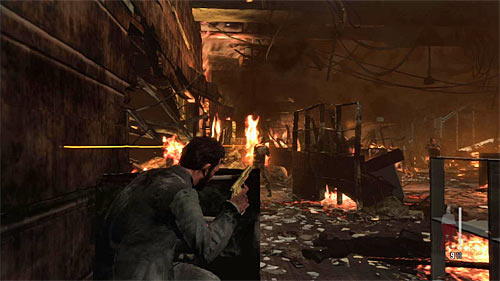
Move on. After reaching the corner place yourself behind the cover and eliminate two enemies. Approach them and pick up ammo (and the second pistol if you want to).

Continue your march through the burning building. Watch out on the single enemy who you have to finish after reaching the destroyed room (screen above).
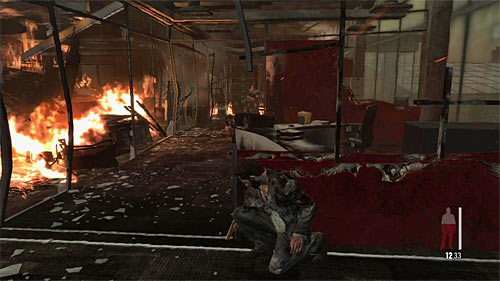
You will run into the last group of enemies in the next part of building. As you don't have any painkillers, attack them from behind the cover.
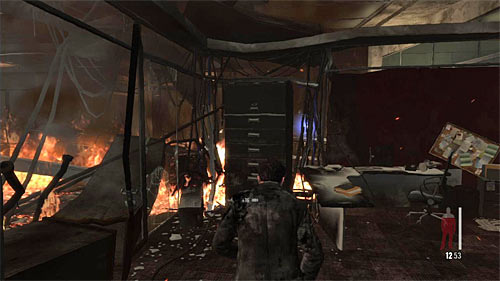
Make sure you kill enemies and move on. Go to the locker shown on the screen and press Y button rhythmically to turn it over.
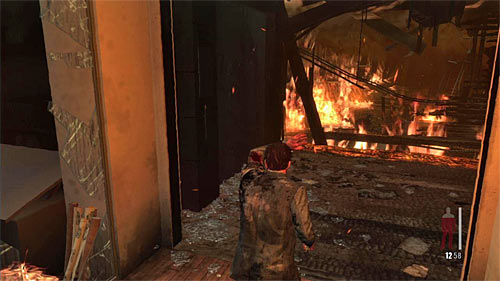
Use the unlocked passage and follow the path. After a while you get to the place where this chapter ends.
You are not permitted to copy any image, text or info from this page. This site is not associated with and/or endorsed by the Rockstar Games or Rockstar Games. All logos and images are copyrighted by their respective owners.
Copyright © 2000 - 2025 Webedia Polska SA for gamepressure.com, unofficial game guides, walkthroughs, secrets, game tips, maps & strategies for top games.
