Chapter VII - p. 5
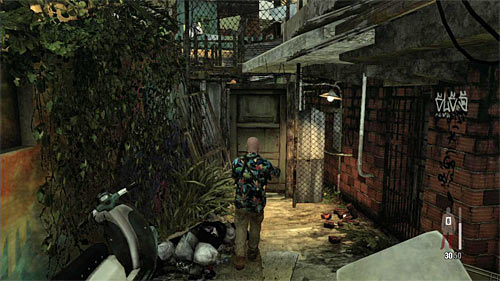
Check the building and find the painkillers then use the left exit. You have to reach the gate shown on the screen. Its opening begin the new cut scene.
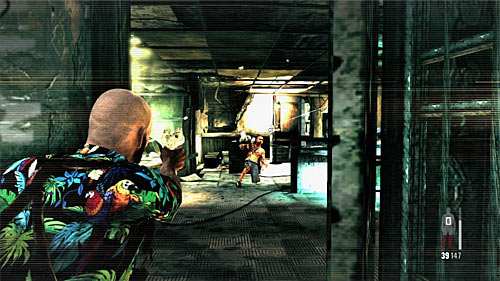
When you regain control, start from eliminating the gangster standing close to the door. Only then eliminate the remaining ones inside the building.
![After the encounter look around and find painkillers and the drags which are another clue [Clue 8/9 - Bag of Oxidado] - Chapter VII - p. 5 - Walkthrough - Max Payne 3 Game Guide & Walkthrough](/maxpayne3/gfx/word/1592094656.jpg)
After the encounter look around and find painkillers and the drags which are another clue [Clue 8/9 - Bag of Oxidado]. You can go to the opposite exit from the building.
Remark! Do not go to early to the exit because it launches the cut scene and after that picking up the collectible won't be possible.
![When you regain control, check the graffiti in front of you (screen) to get the last clue [Clue 9/9 - Upper Gang Spray Tag] - Chapter VII - p. 5 - Walkthrough - Max Payne 3 Game Guide & Walkthrough](/maxpayne3/gfx/word/1592094671.jpg)
When you regain control, check the graffiti in front of you (screen) to get the last clue [Clue 9/9 - Upper Gang Spray Tag]
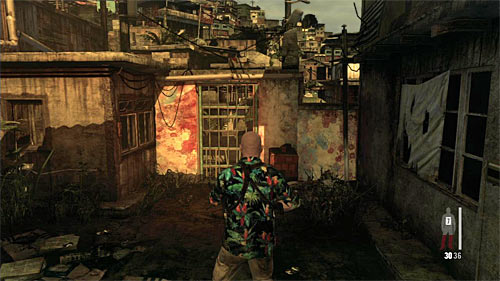
Choose the only possible path and reach the gate shown on the screen. Prepare to the last encounter in this chapter.
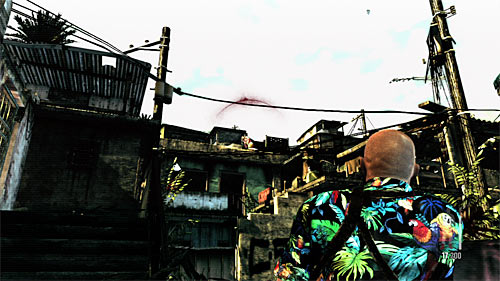
As far as possible start attacking new bandits, firstly those on the roofs because they'll throwing Molotov's cocktails at you. You can, of course, destroy those cocktails during the flight using a slow motion.
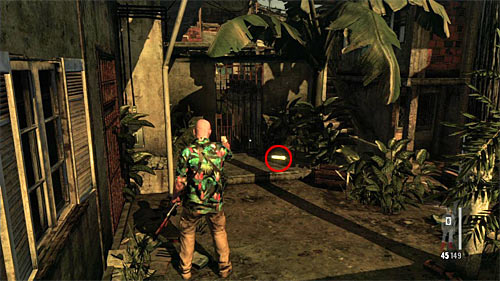
In the further part of the encounter kill also those thugs standing closer, running at Max from the stairs. After initial securing the area check the region on the left from the mentioned stairs where you find the last part of a weapon [Golden Gun - Sawed-Off Shotgun 3/3].
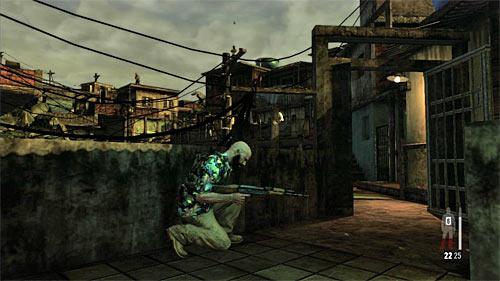
You can use the stairs now but you shouldn't hurry too much. The most important is to focus on successive eliminating thugs, especially those on the roofs and higher parts of buildings. During the march use walls, parapets and other as covers.
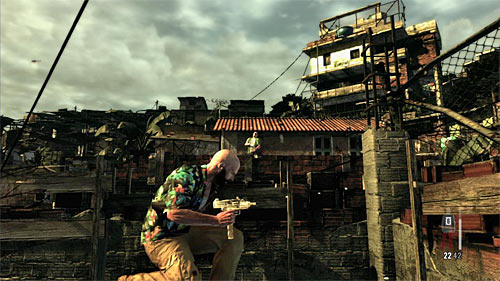
After reaching one of the higher balconies, prepare to another attack of the bandits who will appear on your left (screen). When you did them in, pick up painkillers.
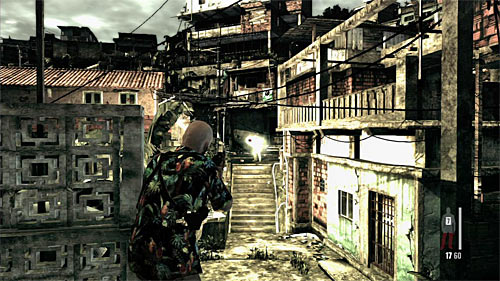
At the end you meet an enemy with the rocket launcher. When the game turns on the slow motion aim at the rocket flying at you and destroy it. The explosion will kill the gangster.
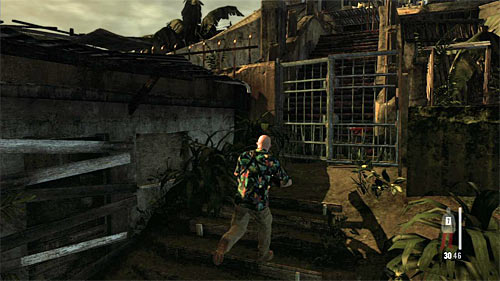
Jump down and head to the highest building, because you won't meet any enemies. This chapter ends when you reach the new gate.
You are not permitted to copy any image, text or info from this page. This site is not associated with and/or endorsed by the Rockstar Games or Rockstar Games. All logos and images are copyrighted by their respective owners.
Copyright © 2000 - 2025 Webedia Polska SA for gamepressure.com, unofficial game guides, walkthroughs, secrets, game tips, maps & strategies for top games.
