Chapter IV - p. 3
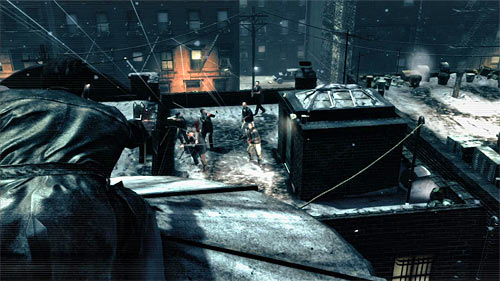
Game will display cut scene soon and force you to make a longer slow motion jump. You'll need a good gun because you have to eliminate all enemies located under you. With a powerful weapon you don't have to aim only in enemy's heads but it's enough to make two-three less accurate shots.
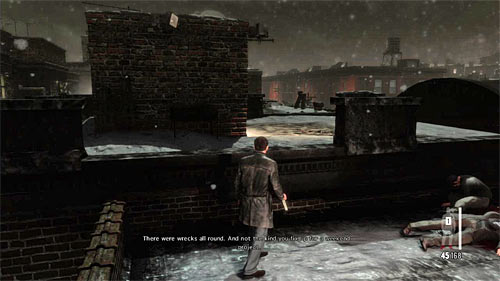
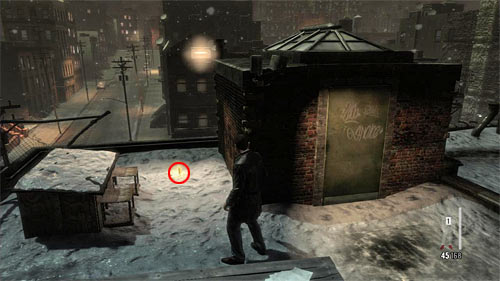
Ignore your partner, turn left (1st screen) and explore this part of a roof. It'll let you reach the hideout of another weapon fragment (2nd screen) [Golden Gun -SAF 40 CAL SMG 2/3]. You can return to the beginning place and follow Raul (by the way kill take a MPK SMG). Be careful, you'll reach a battle zone in a while.
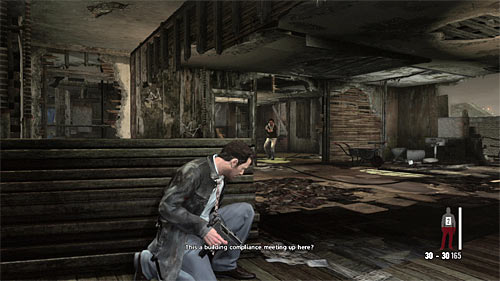
Use the tunnel to get inside the building in which fight takes place. I propose two variants of eliminating enemies. First one is to firing behind the wall or the wooden cover shown on the screen above.
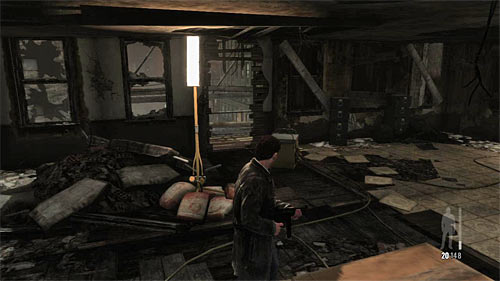
The other variant is to use exit shown on the screen above, which is on the left from the beginning place. After reaching the outside balcony, you have to get to its second end what will allow you to attack enemies from the flank (through one of the shutters). Regardless of your choice pick up ammo after the battle and find stairs leading to the higher floor (Raul should be standing by them).
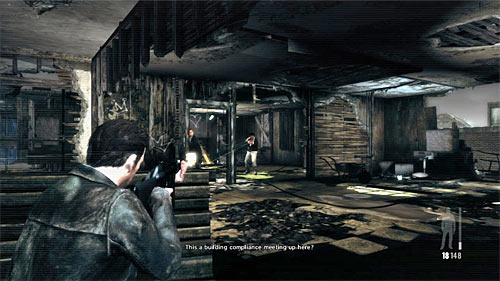
Also on this floor you'll have harsh encounters with enemy's forces. I recommend to act similarly to the previous one, so find a cover and eliminate enemies in a safe way. They shouldn't use grenades so you won't be forced to change your position.
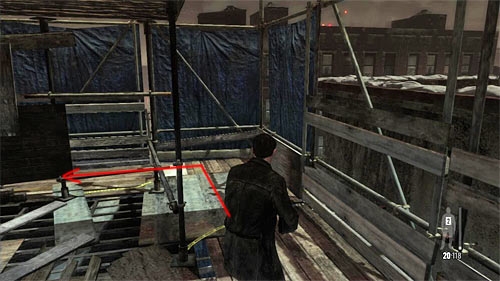
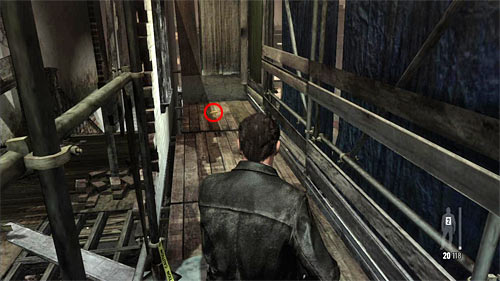
After the encounter look around for two painkillers and return to the vicinity of the stairs you used to get on this floor. In the corner find narrow passage (1st screen) reaching the weapon fragment (2nd screen) [Golden Gun -M500 Shotgun 3/3]
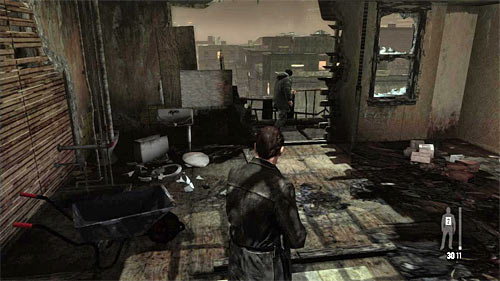
Before you leave this place, search the bodies of dead enemies: one of them should've a Kalashnikov. Go to the Raul and you'll be got to the brand new place.
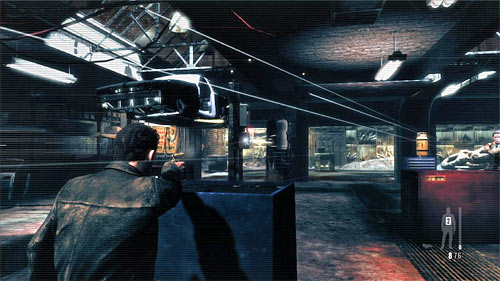
When the encounter in the garage begins, I recommend to aim at two interactive objects which are the left jack (should lower the car on the bandit) and in the gas cylinder at front of you, which will explode.

After that, I recommend to do at least one slow motion jump. But when enemies with machine guns appear it's better to use covers. Continue firing until eliminating enemies.
Remark! Don't get close to the exit because it'll initiate another encounter. As a result you may not have enough time to find the collectible, because Raul will die if you don't join the fight quickly.
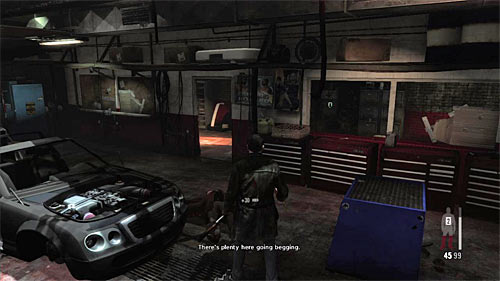
After the encounter go to the right office room (screen above). Opposite the entrance you will find painkillers and on the desk on the left the last one fragment of a weapon [Golden Gun -SAF 40 CAL SMG 3/3]. Only then reach the exit from the garage and run to the Raul. It'll begin the last battle.
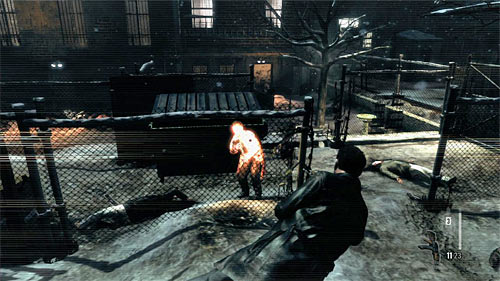
Start attacking new group of bandits. Depending on your favorite style you can stand by the Raul and fire behind the cover or use side passages (best the right one) attacking bandits from the flank and helping yourself with slow motion jumps. This battle ends the chapter.
You are not permitted to copy any image, text or info from this page. This site is not associated with and/or endorsed by the Rockstar Games or Rockstar Games. All logos and images are copyrighted by their respective owners.
Copyright © 2000 - 2025 Webedia Polska SA for gamepressure.com, unofficial game guides, walkthroughs, secrets, game tips, maps & strategies for top games.
