Chapter XI - p. 4
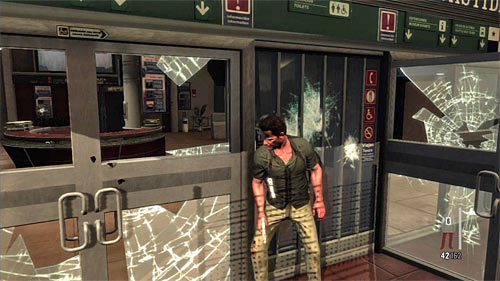
Secure the area around the "landing zone" and head to the main building. I recommend to set yourself by one of the entrances and eliminate enemies inside behind the safe cover. But you can also jump inside with the bullet time on and do them in.
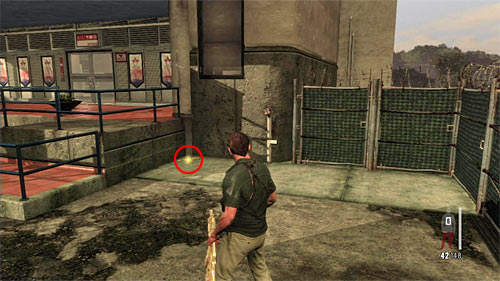
Make sure you're outside the building and check the area on the right from your landing place. In the place marked on the screen you find a part of weapon [Golden Gun - Super Sport 3/3].
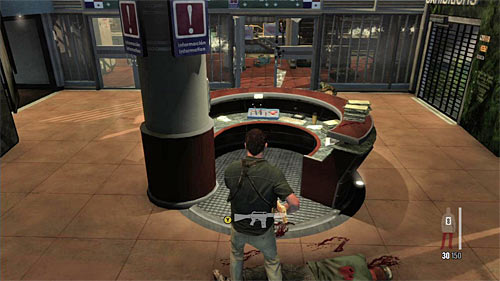
Search dead bodies for ammo and guns (remember that you've lost your main gun), enter the building and look around, what gives you two packs of painkillers. Then move to the control panel shown on the screen.
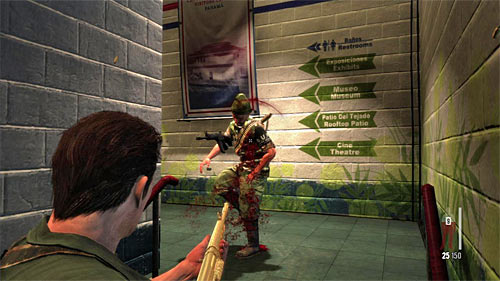
Now you can use the unlocked right passage, reaching the stairs leading upstairs. Do not hurry, because you'll run into a single enemy you have to do in immediately.
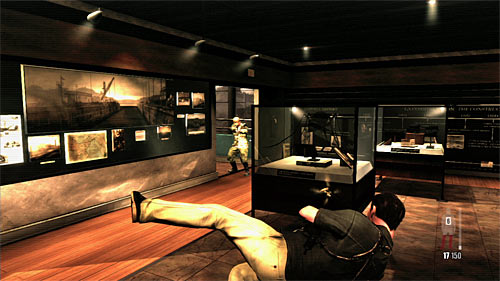
Fire from the distance enemies standing on the floor and move forward. Approach carefully to the hall with exhibits and get rid of next enemies. At the end secure the path leading to the next floor, but don't go there now.
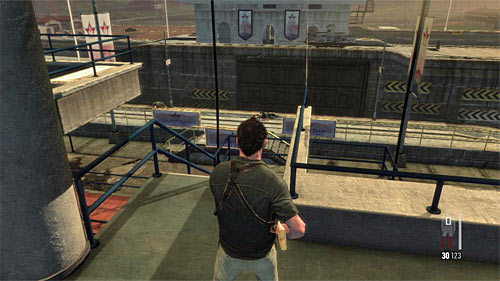
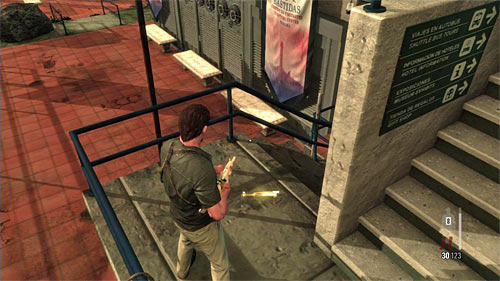
Return to the stairs you use to get here. Find the smaller stairs with the blue balustrade (1st screen) and go down. After a while look for the part of a weapon (2nd screen) [Golden Gun - AK-47 3/3].
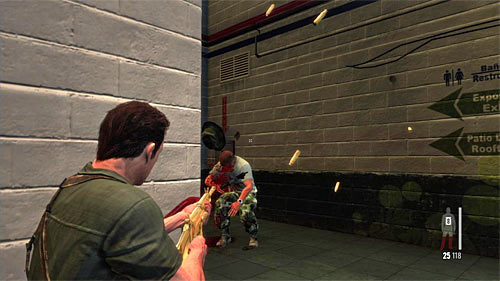
Return to the exhibit hall and go upstairs. Ignore the empty cinema hall and head to the stairs. Again watch out for a single bandit.
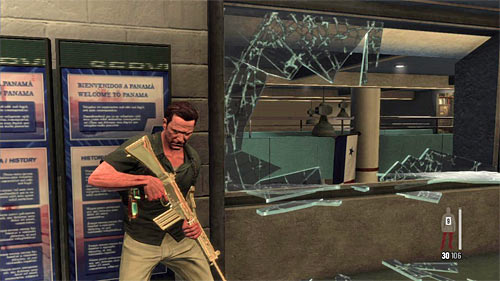
Check the side corridor for painkillers and only then finish the climbing up on the new floor. As the previous time, start from firing at enemies visible far. Be careful also after reaching the glazed corridor, because on the left balcony (screen) enemies may hide.
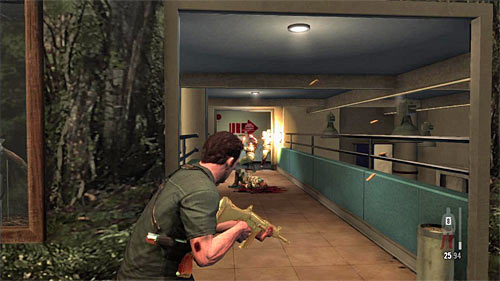
For a while ignore the hall dedicated for the tourists and secure the path (screen) leading on the roof. Traditionally don't choose it immediately, but examine the floor first.
![Return to the main hall on this floor and look at the exhibition (screen), what unlocks the last clue [Clue 8/8 - Visitor Center Display] - Chapter XI - p. 4 - Walkthrough - Max Payne 3 Game Guide & Walkthrough](/maxpayne3/gfx/word/1131073921.jpg)
Return to the main hall on this floor and look at the exhibition (screen), what unlocks the last clue [Clue 8/8 - Visitor Center Display].

You can return to the secured path. Use the stairs. When you reach the highest floor, the game displays a cut scene and ends this chapter.
You are not permitted to copy any image, text or info from this page. This site is not associated with and/or endorsed by the Rockstar Games or Rockstar Games. All logos and images are copyrighted by their respective owners.
Copyright © 2000 - 2025 Webedia Polska SA for gamepressure.com, unofficial game guides, walkthroughs, secrets, game tips, maps & strategies for top games.
