Chapter III - p. 2
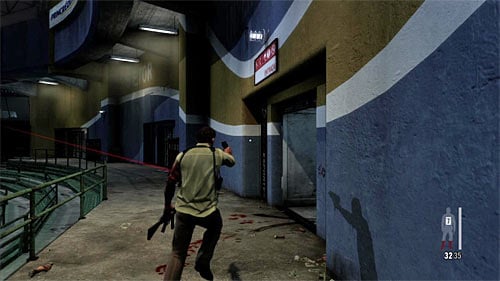
Follow Raul without hesitation and stops. It should be enough to avoid sniper's bullets, but if you'd like to secure additionally, you can make one or few somersaults (press A twice).
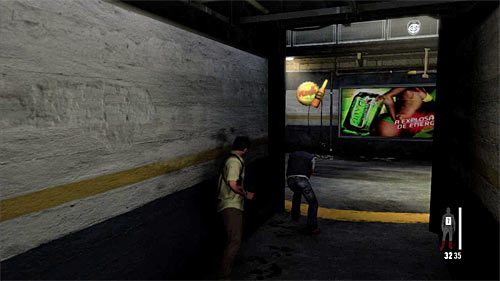
Get closer to the new group of enemies. Similarly to the bandits from the beginning stage of this chapter, you can wait until they go away or attack. First option is much better because otherwise you'll get under the concentrated fire.
![Regardless of your choice, continue your march and check the right wall of the corridor where you find painkillers and a clue shown on the screen [Clue3/4 - Blood Stained Hallway] - Chapter III - p. 2 - Walkthrough - Max Payne 3 Game Guide & Walkthrough](/maxpayne3/gfx/word/1591109359.jpg)
Regardless of your choice, continue your march and check the right wall of the corridor where you find painkillers and a clue shown on the screen [Clue3/4 - Blood Stained Hallway].
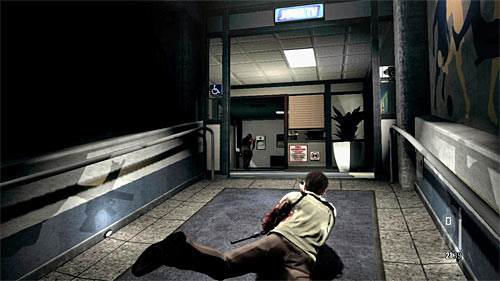
Go to the other end of the corridor and turn right. Be prepare to kill quickly another enemy and after that choose the ramp leading on the upper level. Pick up painkillers and enter the controlling room.
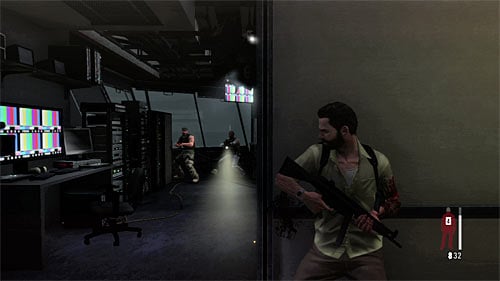
Place yourself by the entrance and attack three enemies inside (two should be in front of you and the third one on the right). After the fight you'll be automatically proceeded to the further part of the chapter.
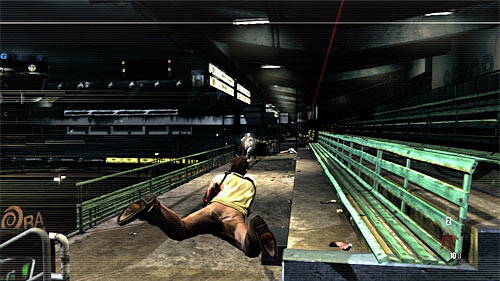
First group of enemy is best to get rid of by using a slow motion with accurate shots. Pros of this solution is a fact that they'll be standing very close to each other what makes them very easy targets.
Remark! Do not move to much forward, because it'll start a cut scene and an arrival of a new group of enemies. It'll make finding the collectible described below harder.
![After encounter move to the beginning place, turn left and go downstairs to the lowest part of a tribune where you find another part of weapon [Golden Weapon - M10 2/3] - Chapter III - p. 2 - Walkthrough - Max Payne 3 Game Guide & Walkthrough](/maxpayne3/gfx/word/1591109421.jpg)
After encounter move to the beginning place, turn left and go downstairs to the lowest part of a tribune where you find another part of weapon [Golden Weapon - M10 2/3]. After collecting it, move back to the eliminated enemies. After the cut scene another group will arrive.
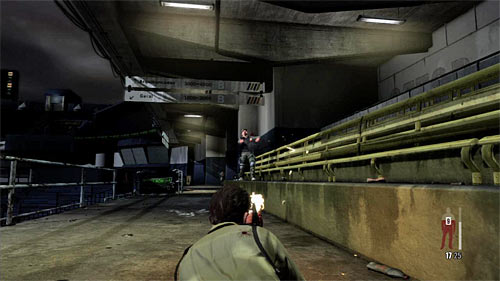
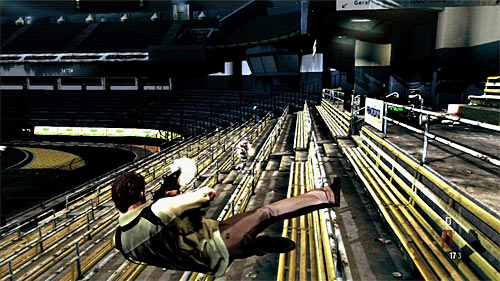
This battle is much more difficult, because enemies appear in few groups and not in the same place. If you want to count only on slow motion I recommend make jumps with few seconds staying in a lying position (1st screen) or longer jumps connected with flying over the seats (2nd screen).
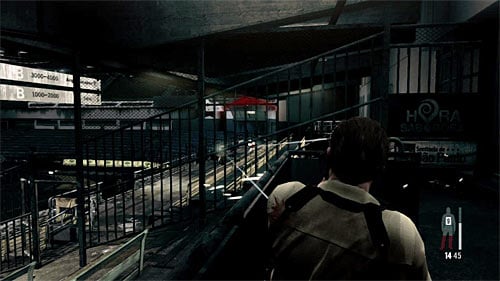
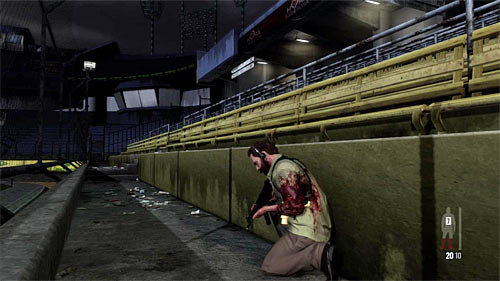
But if you prefer covers, get interested in the highest part of a tribune, located on a right from the beginning place (1st screen) or hide behind a wall in the lower part of a tribune (2nd screen). In both cases you have to watch out on grenades thrown by the enemies.
You are not permitted to copy any image, text or info from this page. This site is not associated with and/or endorsed by the Rockstar Games or Rockstar Games. All logos and images are copyrighted by their respective owners.
Copyright © 2000 - 2025 Webedia Polska SA for gamepressure.com, unofficial game guides, walkthroughs, secrets, game tips, maps & strategies for top games.
