Chapter VI - p. 1
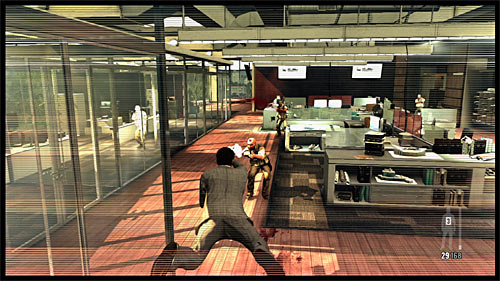
Prepare yourself because you'll be fighting at once. Game suggests to use the slow motion at the beginning and it's a good choice. Your further tactics (covers vs slow motion jumps) depends on your preferences. Regardless of this watch out on the attack from the flank and the bandit standing in the left office.
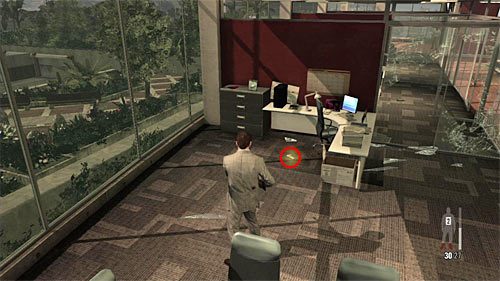
Ignore the IT expert and go to the next location to collect weapons (I recommend taking MD-97L Rifle) and search carefully this area. Begin from the left office where you find painkillers and a part of weapon on the floor [Golden Gun -MD-97L 1/3]
Remark! In the further part of a mission you'll be accompanied by the IT expert. Remember to not fire at him accidentally because it fails the mission. You don't have to protect him in any other way because enemies won't be interested in him.
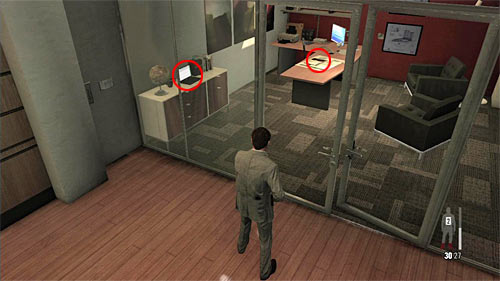
Now go to the office in the right corner which belongs to Victor Branco. You'll find two clues here [Clue 1/5 - Rodrigo's Emails] [Clue 2/5 - File on Fabiana]. At the end join the TI expert for going to the next area of the office building.
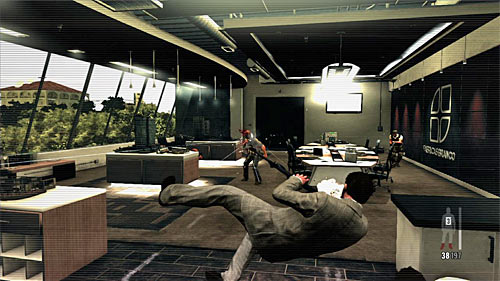
New encounter isn't too difficult, because you have only 4 bandits to kill. Play it as you like.
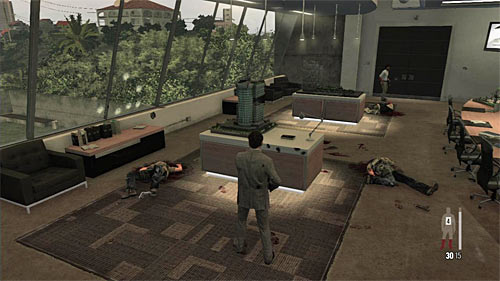
Similarly as previously don't run after the IT expert but search the area carefully. Get interested in the models (screen) among which you'll find another clue [Clue 3/5 - Architectural Models]. Now you can join the IT guy.
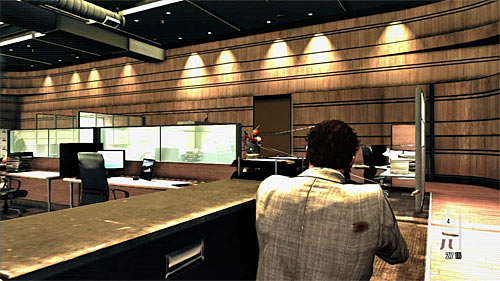
More difficult battle waits for you. But you can attack enemies from a surprise, what is your advantage. I recommend to do in the man walking on the right, so he won't harm you later.
Remark! During this and the next battle do not leave the area by approaching the stairs, because it'll cause the IT guy death and fail of the mission.
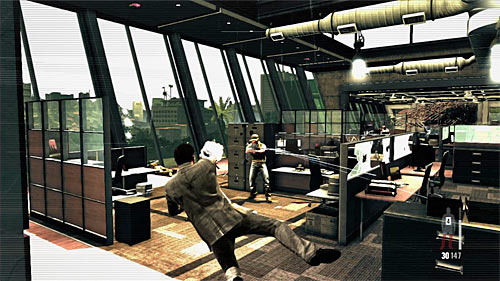
When the battle begins, focus on eliminating enemies who'll try get closer to you and watch out for their grenades. Simultaneously try not to hide behind the wooden covers, because they're very easily destructible. Remember to pick up ammo and weapons from the dead opponents. You will find also two painkillers (in the desks in the central part of the room).
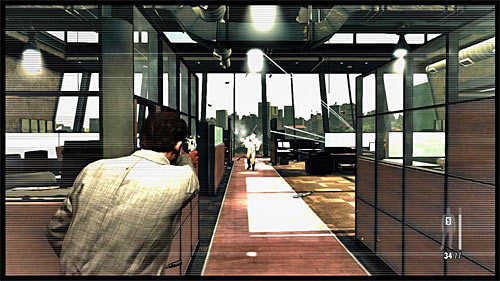
After short cut scene another encounter awaits you. The problem is a fact that you begin in it the central part of them, behind the wooden cover. So try fire at the enemies standing in the main passage firstly.
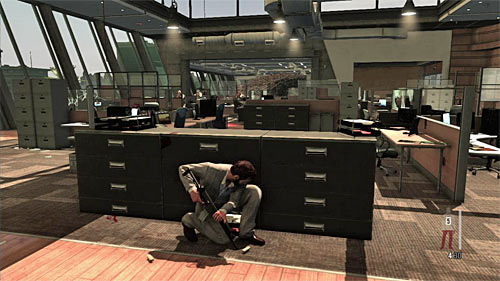
In the further part of this encounter you can make lot of slow motion jump or back to the starting position (screen) and hide behind one of more endure covers. Regardless of your tactic, do not act risky, choose your targets carefully and do not let them surprise you.
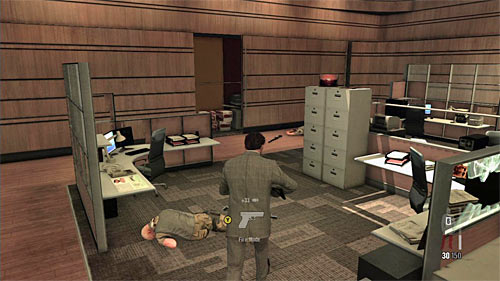
After the battle collect the ammo. At the end go where the IT guy stands to see another cut scene.
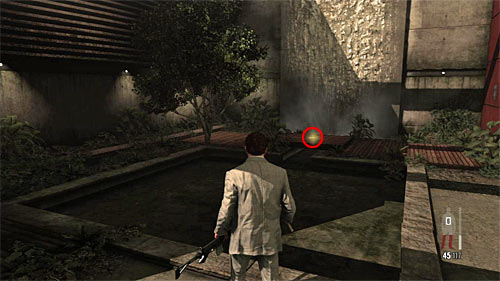
Only now use the stairs leading to the atrium and Rodrigo Branco's office. After getting there, listen the conversation with your employer. Stay there and check the wooden footbridge at the small waterfall (screen) to find a new part of weapon [Golden Gun - MD-97L 2/3].
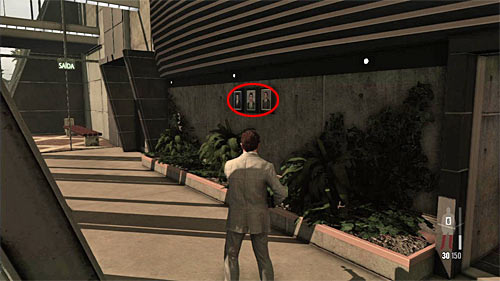
Go through the passage to the lobby. By the way go into the toilet (painkillers) and look at the photos hang up on the right (screen) to unlock new clue [Clue 4/5 - School Pictures].
You are not permitted to copy any image, text or info from this page. This site is not associated with and/or endorsed by the Rockstar Games or Rockstar Games. All logos and images are copyrighted by their respective owners.
Copyright © 2000 - 2025 Webedia Polska SA for gamepressure.com, unofficial game guides, walkthroughs, secrets, game tips, maps & strategies for top games.
