Chapter VIII - p. 2
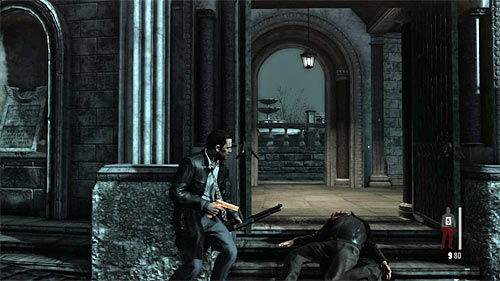
Only then go to the mausoleum seen in the far away. Quickly eliminate the first bandit who'll run into you. Then place yourself by the entrance and begin to fire at his fellows. At the end of battle you can enter the new area and eliminate the remaining thugs.
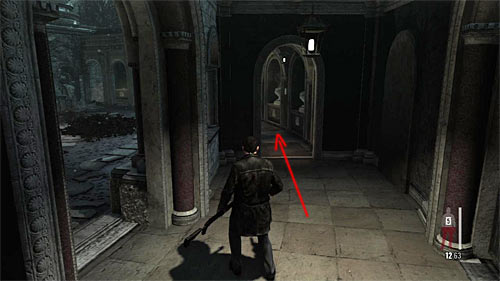
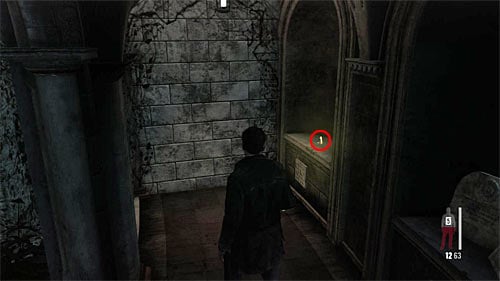
Choose the narrow path on the right from the entrance (1st screen). At its end check the last niche on the right (2nd screen). It'll give you another piece of a weapon [Golden Gun - Auto 9mm 2/3].
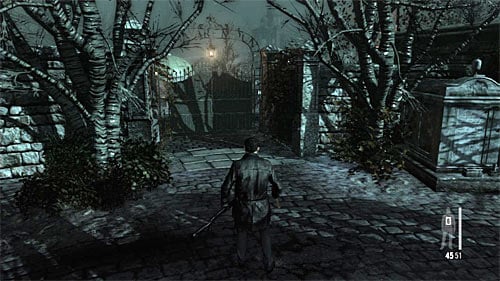
Pick up weapons and ammo from defeated enemies and go the only possible path to the next location. As the previous time, search the small shed in which you find two painkillers. Approach the gate (screen) only when you pick up the medicaments.
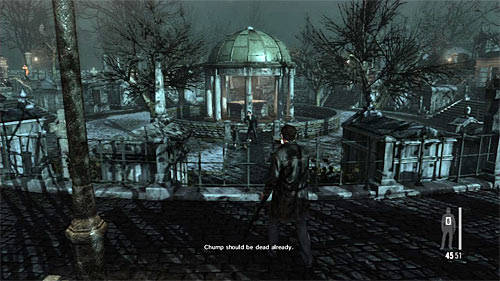
After the cut scene kill the bandit aiming at Raul in the bullet time.
Remark! During the next encounter you have to theoretically cover the Passos, but you don't have to make anything special to protect him. What is more, enemies will be interested mostly in him what makes your task even easier.
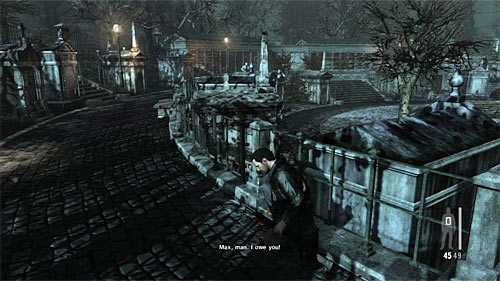
Start firing at enemies gathered here, starting from those on your left (screen above).
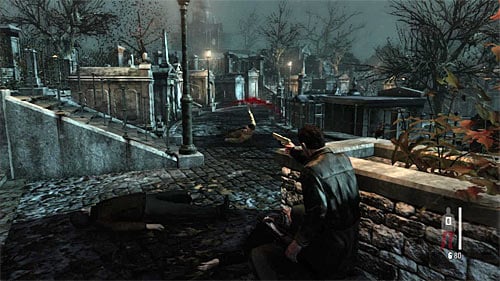
In the further part of the encounter I recommend to move clockwise. Eliminate next bandits, but be especially careful during attacking those with the better weapon. As I mentioned before, most of them will be interested in Raul thanks to which the victory will be a piece of cake.
Remark! I remind again not to approach the gate at which Passos will stand immediately after the encounter.
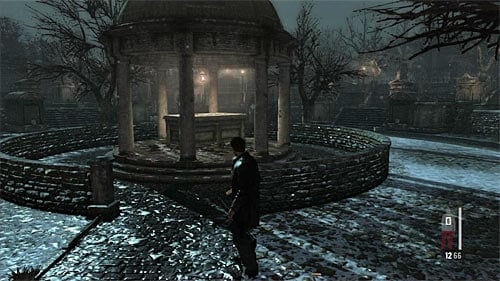
![Go to the sarcophagus in the central part of this area and search for the fragment of a weapon (1st screen) [Golden Gun - 608 Bull 2/3] - Chapter VIII - p. 2 - Walkthrough - Max Payne 3 Game Guide & Walkthrough](/maxpayne3/gfx/word/1130078312.jpg)
Go to the sarcophagus in the central part of this area and search for the fragment of a weapon (1st screen) [Golden Gun - 608 Bull 2/3]. Stay in the lowest part of this location and find the tombstone which can be examined (2nd screen) [Clue 2/3 - Nicole Mausoleum].
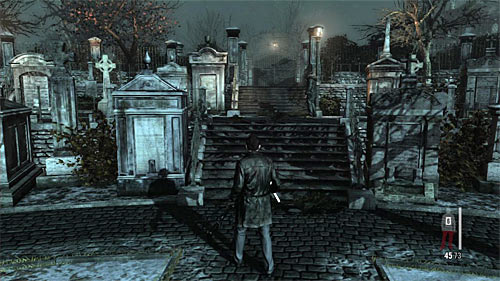
You can go to the gate (screen) at which Passos waits for you.
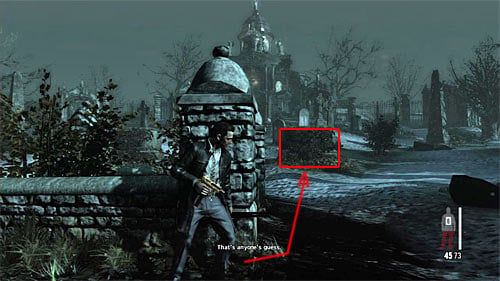
Wait until Raul starts distract the sniper at run to the right tombstone marked on the screen.
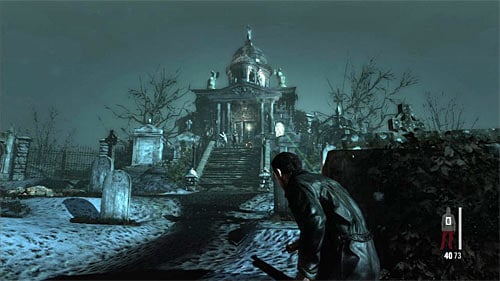
Fire several enemies who'll run out of the building. As the sniper will interest in you again in the meantime it's good to lean out only for a short time even if because of that the particular enemy will be only hurt not killed.
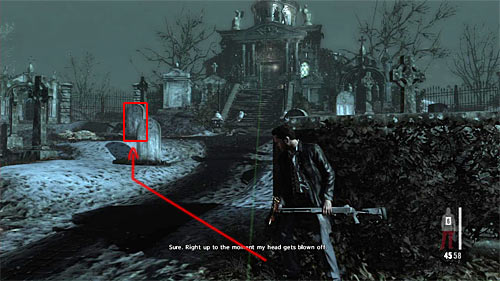
Prepare to repeat activities described above. This time run to the left tombstone (screen) and after hiding behind it eliminate the new group of enemies.
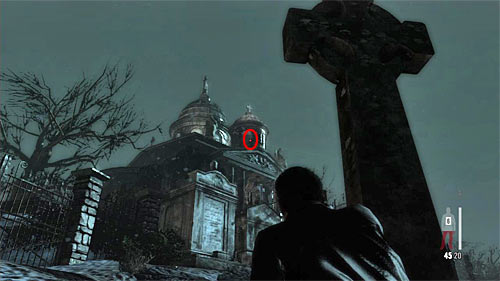
The last time wait until Raul start firing at the sniper. DON'T RUN to the building's entrance, but, following the Passos' advice, go on the left. You have to place yourself in the place which allow you reach the sniper (screen). Fire at him (pistol is enough) and kill him, what launches the longer cut scene.
You are not permitted to copy any image, text or info from this page. This site is not associated with and/or endorsed by the Rockstar Games or Rockstar Games. All logos and images are copyrighted by their respective owners.
Copyright © 2000 - 2025 Webedia Polska SA for gamepressure.com, unofficial game guides, walkthroughs, secrets, game tips, maps & strategies for top games.
