Mafia 2: Enemy of the State - p. 3
FINDING THE SAFE AND STEALING THE STAMPS:
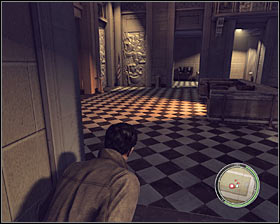 | 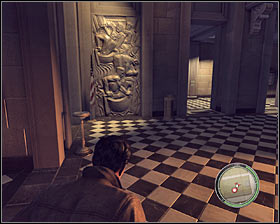 |
The safe is in the Distribution Point room located on the first floor (9 on the map), however you shouldn't go there right away, because opening the safe without any preparation would result in raising an alarm. Return to the ground floor and move towards the guard sitting behind the desk (5 on the map) #1. Walk around him (without being spotted) and head towards the opposite corridor (6 on the map) #2.
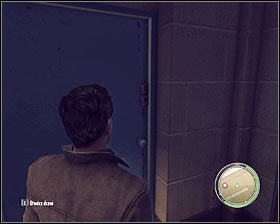 | 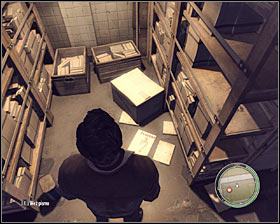 |
Eventually you should be able to reach a blue door leading to the basement (7 on the map) #1. Go down there and make sure to explore all rooms, because one of them will contain a Playboy magazine #2.
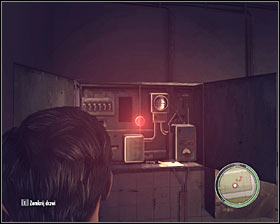 | 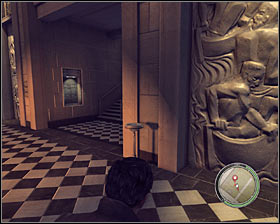 |
Find a room with a control panel located on the wall #1. Interact with the panel to turn off the safety measures for the safe. You may now return to the guard on the ground floor (5 on the map). Your next objective will be to go to the first floor. I wouldn't recommend choosing the main staircase (8 on the map) #2, because you could easily be seen. It is best to return to the southern staircase (3 on the map) used not long ago.
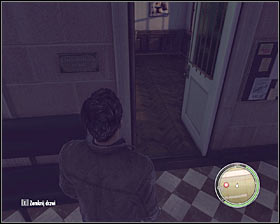 | 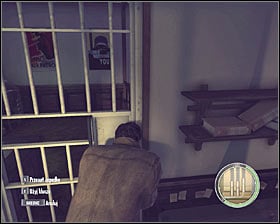 |
As mentioned before, you will have to get to the Distribution Point room found on in the western section of the first floor of the building (9 on the map) #1. Enter this room and close the door behind you. Approach a metal gate. Opening the gate will require you to complete a well-known mini-game #2.
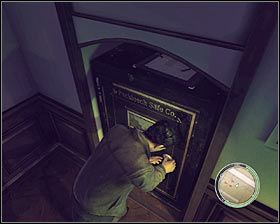 | 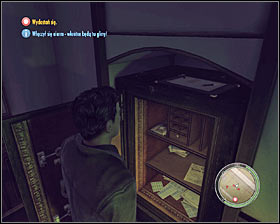 |
You may finally approach the safe #1. Press the action key to open it. If you've disabled the alarm in the basement nothing bad will happen. If you've ignored this step an alarm will be raised #2 and this will make your escape trickier.
LEAVING THE BUILDING:
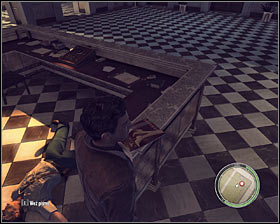 | 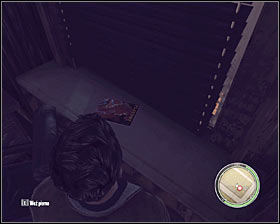 |
I would strongly recommend that you explore the entire building BEFORE leaving it, because you'll have a chance to find two additional Playboy magazines. One of the magazines is on the desk next to the guard on the ground floor (5 on the map) #1 and the other one is inside the Industrial Specialist room found on the first floor #2.
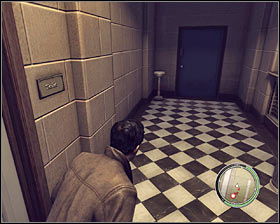 |  |
There are three ways to get out of the building. If you've been avoiding enemy units so far and prevented the alarm from being raised you choose one of two exits. The easiest solution would be to return to the toilets area (1 on the map) where you've started exploring the government building. You would have to find a blue door (10 on the map) #1 and solve a mini-game to open it. An alternative solution would be to return to the cellar using the blue door located on the ground floor (7 on the map) #2.
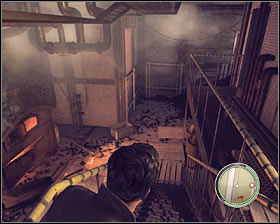 | 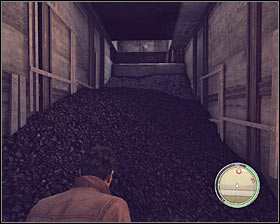 |
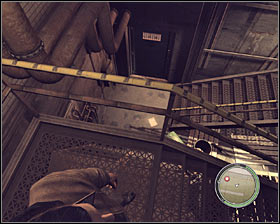
If you've chosen the route through the cellar you'll have to find a boiler room #1. Descend the stairs, head straight and then turn right. Proceed forward here #2 by and finish off by climbing up (SPACE key).
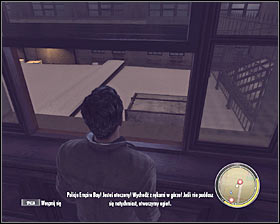 | 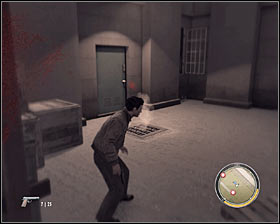 |
If you've caused mess and triggered an alarm you should choose the last third option. Proceed to the Hearings room located in the north-western section of the first floor (11 on the map). Find an opened window there #1, approach it and press the SPACE key. You'll now have to drop down from the roof safely #2, but it shouldn't be a big problem.
- Mafia II Game Guide & Walkthrough
- Mafia 2: Walkthrough
- Mafia 2: The Old Country
- Mafia 2: Home Sweet Home - p. 1
- Mafia 2: Home Sweet Home - p. 2
- Mafia 2: Home Sweet Home - p. 3
- Mafia 2: Enemy of the State - p. 1
- Mafia 2: Enemy of the State - p. 2
- Mafia 2: Enemy of the State - p. 3
- Mafia 2: Enemy of the State - p. 4
- Mafia 2: Murphy's Law
- Mafia 2: The Buzzsaw - p. 1
- Mafia 2: The Buzzsaw - p. 2
- Mafia 2: The Buzzsaw - p. 3
- Mafia 2: Time Well Spent - p. 1
- Mafia 2: Time Well Spent - p. 2
- Mafia 2: In Loving Memory, F. Potenza
- Mafia 2: The Wild Ones - p. 1
- Mafia 2: The Wild Ones - p. 2
- Mafia 2: The Wild Ones - p. 3
- Mafia 2: Balls and Beans - p. 1
- Mafia 2: Balls and Beans - p. 2
- Mafia 2: Balls and Beans - p. 3
- Mafia 2: Room Service - p. 1
- Mafia 2: Room Service - p. 2
- Mafia 2: Room Service - p. 3
- Mafia 2: Room Service - p. 4
- Mafia 2: A Friend of Ours - p. 1
- Mafia 2: A Friend of Ours - p. 2
- Mafia 2: A Friend of Ours - p. 3
- Mafia 2: Sea Gift - p. 1
- Mafia 2: Sea Gift - p. 2
- Mafia 2: Exit the Dragon - p. 1
- Mafia 2: Exit the Dragon - p. 2
- Mafia 2: Stairway to Heaven - p. 1
- Mafia 2: Stairway to Heaven - p. 2
- Mafia 2: Stairway to Heaven - p. 3
- Mafia 2: Stairway to Heaven - p. 4
- Mafia 2: Per Aspera Ad Astra - p. 1
- Mafia 2: Per Aspera Ad Astra - p. 2
- Mafia 2: Walkthrough
You are not permitted to copy any image, text or info from this page. This site is not associated with and/or endorsed by the developers and the publishers. All logos and images are copyrighted by their respective owners.
Copyright © 2000 - 2026 Webedia Polska SA for gamepressure.com, unofficial game guides, walkthroughs, secrets, game tips, maps & strategies for top games.
