Gears 5: Act 3 Chapter 3 - Some Assembly Required Walkthrough
After securing the train, the Delta team wants to retrieve Hammer of Dawn's tracking transmitters. Your main goal is to reach the cosmonaut training facility. Chapter 3 of the third act of Gears 5 contains a whole lot of additional missions, as well as a large number of collectibles. They will be listed throughout the course of the walkthrough.
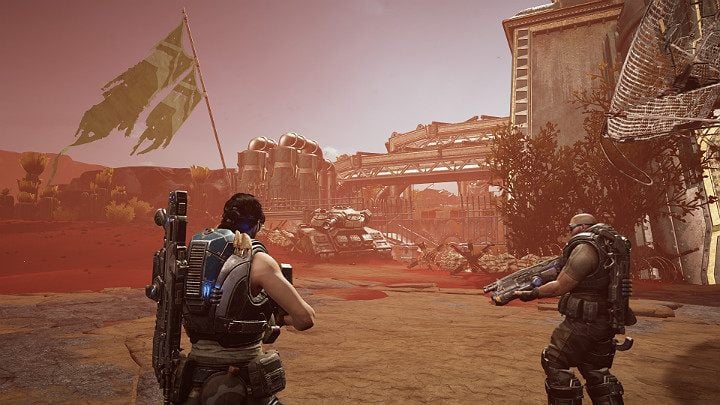
Activate the map and continue in the direction of the water tower. To open the map, click the button that activates the abilities window, then choose the map from the upper menu. If you are in the process of riding a sail scooter, activating the tactical view will automatically launch the map.
- Side mission - Water supply (part 1)
- Side mission - Scavengers (part 1)
- Side mission - Water supply (part 2)
- Side mission - Scavengers (Part 2)
- Side mission - Scavengers (part 3)
- Side mission - Water supply (part 3)
- Cosmonaut training facility
- Nomads Convoy
Side mission - Water supply (part 1)
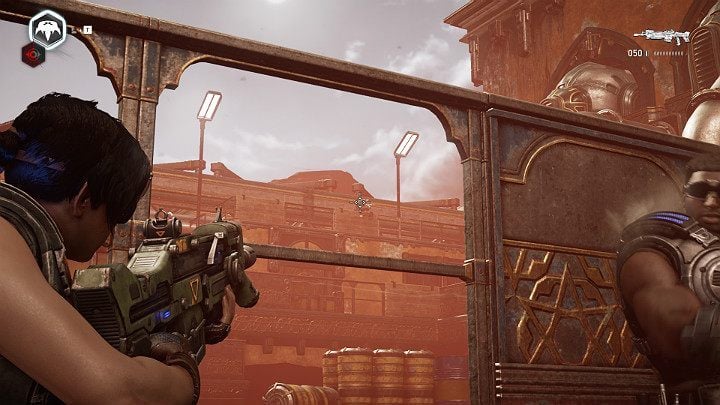
You'll be attacked by a group of opponents once you pass through the gates of water supply. Find a suitable cover and eliminate the opponents. Continue forward and face the second group. This group is holed behind better cover and contains more opponents. Pay special attention to the snipers hiding on the upper bridge.
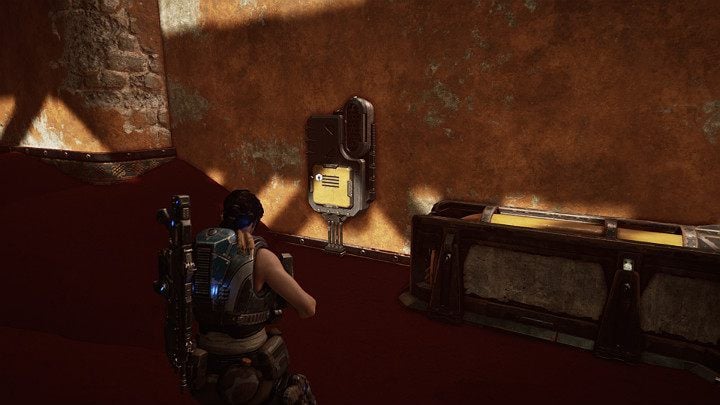
Circle the main building. There is a component on the other side of the building. Pick it up and enter the building through the main door.
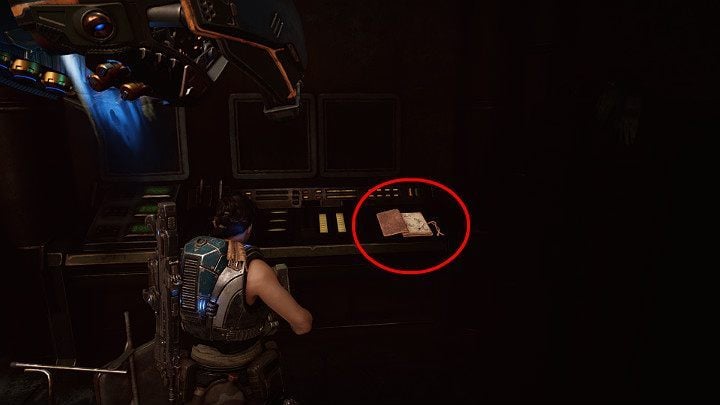
In the corner of the room you will find a collector's item - Nomad's sketchings. The side mission ends here - you can go back to the vehicle. Now, proceed towards the ruins of the city. The ruins are close to the docks.
Side mission - Scavengers (part 1)
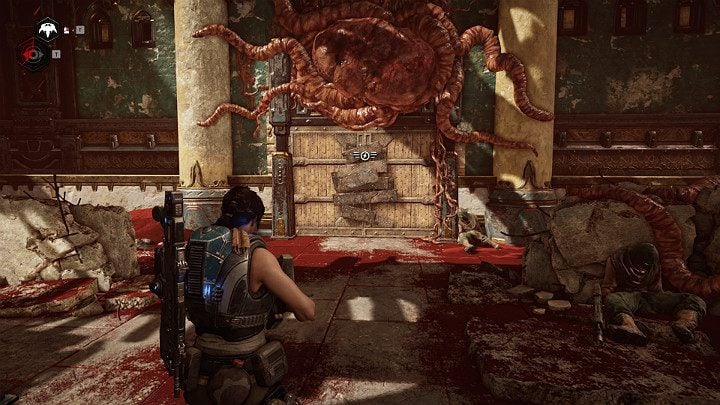
Once you enter the ruins of the city, you'll activate a side mission - Scavengers. Continue forward - you can't get lost. You have to reach the door shown in the screenshot above. Ask Jack to open the door and get ready for battle.

Pay special attention to hunters with bows who can use camouflage, making them invisible at first. The opponents are also equipped with smoke grenades. After you clear the area, go into the building.

There is a collector item on the table - UNR LC Circuit A1.
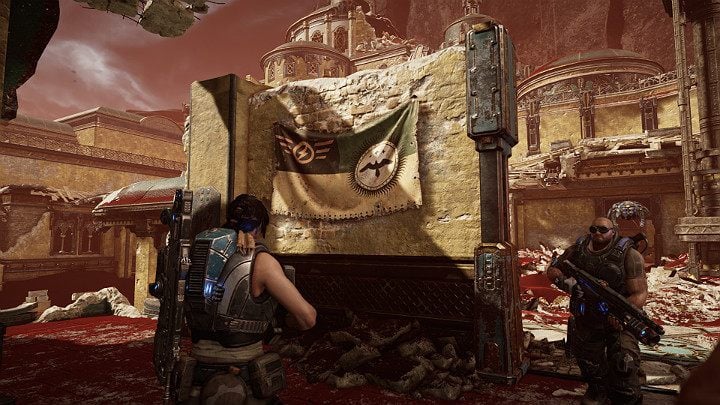
Exit through the door and continue forward. Turn around once you pass the damaged wall. Here you will find another collectible - well-worn Vasgar flag.
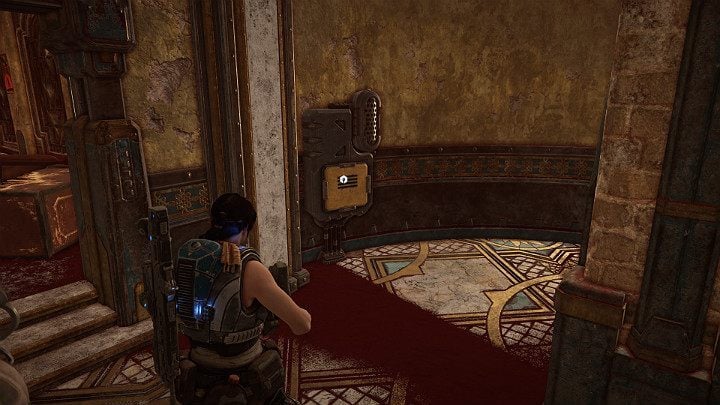
The yellow chest a little further ahead contains another component. Mission completed. Go back to the vehicle and proceed towards the rocket hangar to find another collectible.
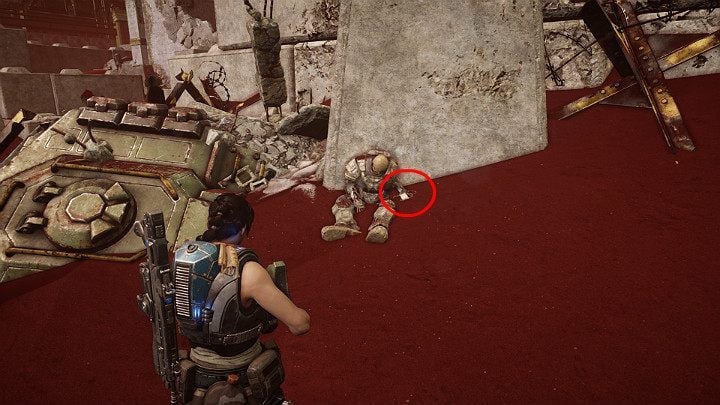
Approach the skeleton and pick up a collectible - UNR Dogtag: Fallen Loyalist. The next collectible is somewhat far away - you need to go beyond the docks.

Proceed towards the canyon wall (250 degrees SW) until you reach destroyed tanks. There is a single component in the middle. Once you collect it, you'll be immediately attacked by the enemy.

Behind one of the tanks, you will find a collector's item - Loyalist orders for Lieutenant Melich. Get in the scooter and travel to the docks.
Side mission - Water supply (part 2)

When you enter the water supply, you will have to deal with a large group of opponents. There will be one stronger opponent among them.
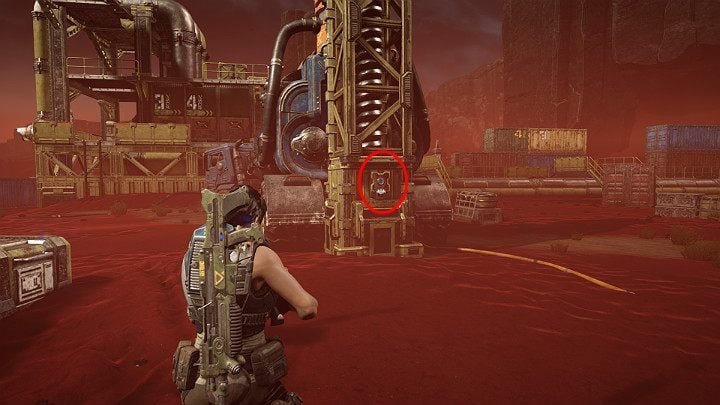
After clearing the area, tell Jack to check the drills. Mission complete. Time to visit the artillery battery to begin another secondary mission. Proceed to the railway bridge and turn right.
Side mission - Scavengers (Part 2)
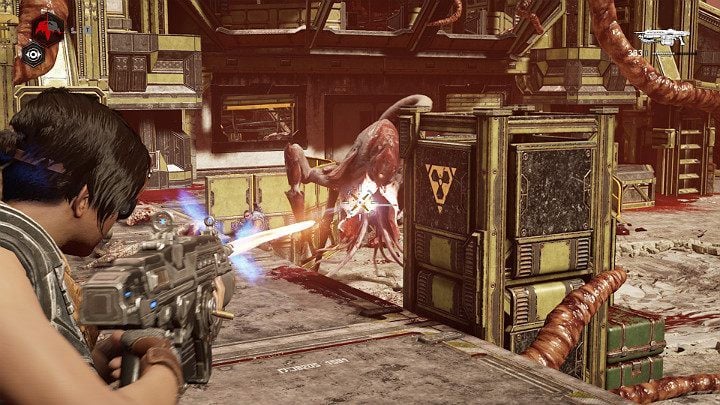
Before you enter the building, you need to take care of a group of smaller opponents and one Jumper. Avoid his area of effect attack - he spits acid His jump is also deadly - don't stay in one place for too long.

Enter the building and open up the pods to save the nomads. Take the stairs to the upper floor of the building.

The table in the middle contains a collectible - UNR LC circuit C1. Nearby, a little to the left you will find another collectible - Emergency loyalist radiogram. The yellow box on the right contains a component. Go back to the scooter and head towards the next side mission - the Cargo Shipwreck location is on the opposite side of the canyon.
Side mission - Scavengers (part 3)

As usual, you'll encounter a group of opponents. The fight can be divided into 3 stages - in the first stage you fight against two swarms of leeches. In the second stage, you need to defend yourself from suicide robots. During the final phase, you'll once again face leeches. To make the fight easier, enter the container and use the mech. The mech should help you quickly deal with the threat.
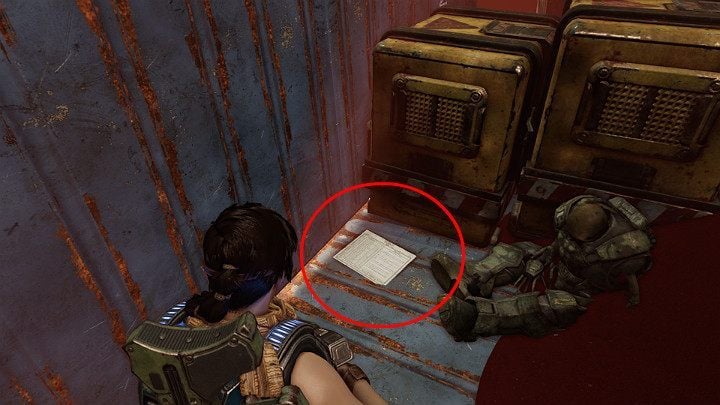
Approach the container from the right to pick up another collectible - RNV Borascu captain's log.

In this small area you will find another collectible - UNR LC Circuit B1. You'll also receive an upgrade - Detonator implant. You now have all of the necessary items to begin the story mission.
Side mission - Water supply (part 3)

While moving towards the cosmonaut training facility, make a stop at the pumping station. Time for the final side mission. Your task is to protect the pumping station from incoming enemies. Beware of enemies armed with bombs - they explode when they come too close.

Clear the area, then pick up the component which is found on the chests. Now, approach the console and connect Jack to the computer.
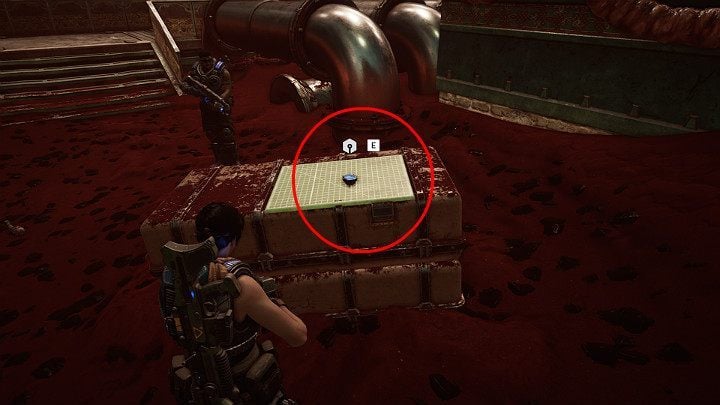
In exchange for your help, you will receive an upgrade - Slayer. All side missions completed - proceed to the cosmonaut training facility.
Cosmonaut training facility

Turn left just outside the barbed wire surrounding the facility. There is a component on the ground.
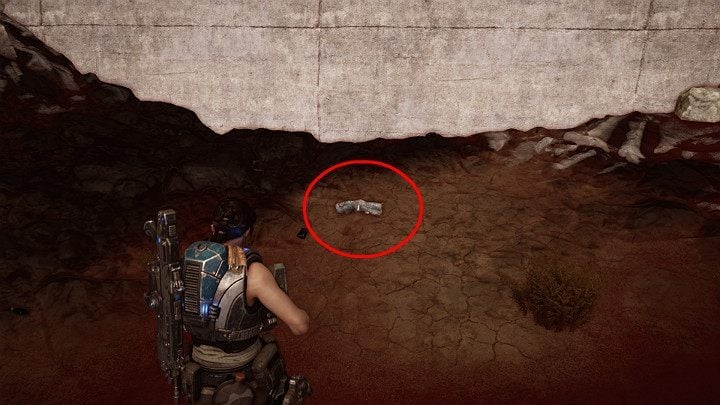
When you stand in front of the cosmonaut training facility, don't go in yet. Turn right and run towards the wall. On the ground, you will find a collectible - Lightmass missile fragment. Now you can enter the facility.
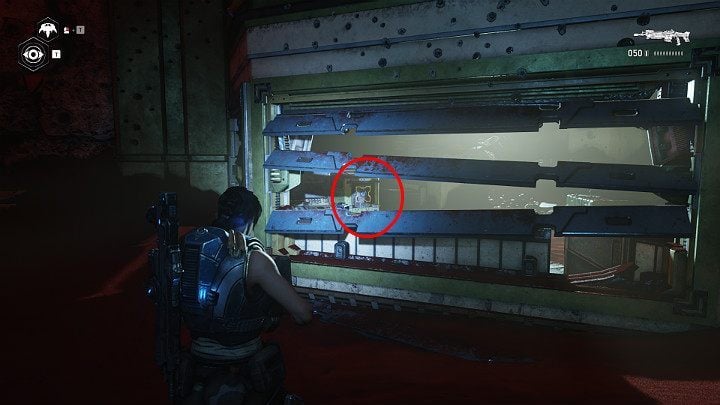
Go to the ruined office. Unfortunately, Jack won't be able to fly through the blinds, so you need to find another way to access the room.
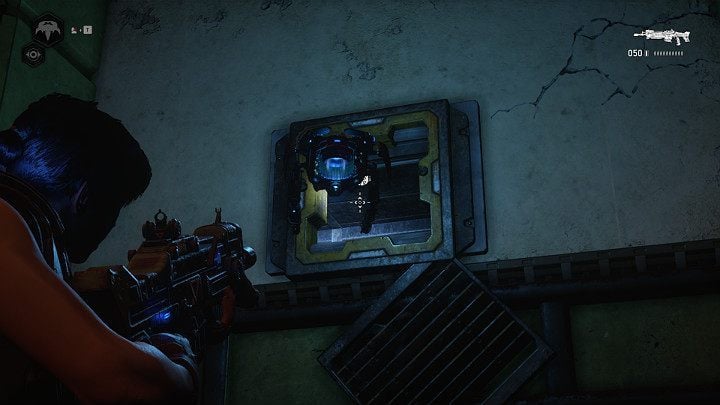
Approach to the ventilation shaft and order Jack to get inside. The robot will connect with the computer, unlocking access to the further part of the site.

Continue forward, but stick to the right side. Finally, you will find yourself in a room with a safe. Approach the safe and pick up a component.

Continue forward - soon, you'll encounter a large group of opponents. Among the usual enemies, you'll encounter one Bastion with a supporting robot. To continue, go up the stairs.

In the astronauts' locker room you find a yellow box containing a component.

Go to the control panel on the right. Ask Jack to connect to the computer and unlock the pathway to the further part of the complex.

The next control panel is located high above. Watch out - there are several suicide robots behind the next obstacle.

Climb up and send Jack to the next panel. You will create a bridge that will allow you to get through the chasm.

There is a locked door on your right. Open it up, go inside and collect another component. Continue forward - along the way you will encounter a few opponents.

You'll reach a control room. Downstairs, there are a lot of sleeping robots. Go to the console on the right and try to collect data.

Descend to the lower floor and connect Jack to the console on the left. The centrifuge will start, but unfortunately, it cannot be stopped, and you'll need to find a way to do that.

Stay close to the right side and go forward. Watch out for the spinning centrifuge. When you get to the point where you can see the console, make your way to the other side of the channel. As soon as the centrifuge will pass your position - run. You'll wake up the robots, but you should be able to get rid of them quickly.

Approach the console and pull the lever. Now you have to fend off enemy attacks. There will be a lot of enemies and they will come from all sides. After the battle, pick up ammunition and continue to the area shown on your compass.

On your left you will find a collectible - UNR Dogtag: Captain Tagger. Now examine the part on the right. Mission completed, proceed to your vehicle.

Along the way you will be ambushed - you're standing before a large group of opponents. Ask Jack to open the door, while you mount the machine gun and get ready to defend yourself. After the end of the battle you can leave the facility.

Go back to the base to report to Baird and give him the transmitter. Don't forget to get another module for Jack - Barrier. Soon, you will make use of this gadget.

Get ready to defend the airport - a quite large enemy army is approaching. After the end of the battle, get in the vehicle and drive to the place indicated on the map.
Nomads Convoy

As soon as you enter the area where the Nomads convoy was attacked, turn right behind the first tank. Pick up the last collectible from this chapter lying on the ground - Fallen Nomad's Visor.

Go to the place where the massacre took place and get ready to defeat the enemies. You have to defeat three jumping opponents. Keep them at a distance, and dodge when they raise the tail up - this is a sign that they are about to shoot at you.

Get the component lying near one of the broken containers. Get back in the vehicle and drive towards the rocket hangar.

To get to the missile hangar, you must enter through the front door. Note - once you enter the hangar, you won't be able to go back. If you didn't collect all collectibles, do it now.
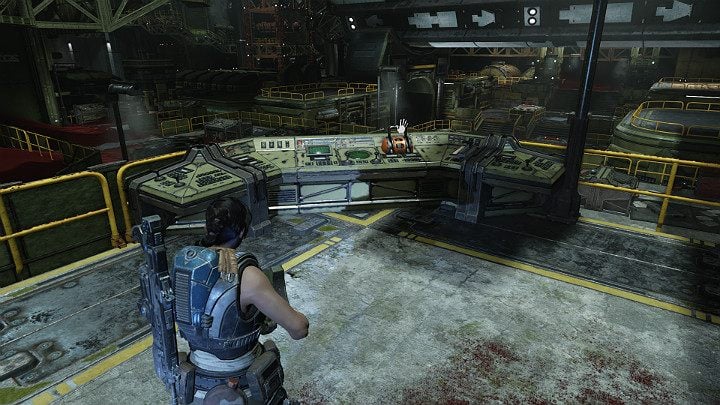
Go to the console and run the procedure to install the missiles. Unfortunately, as it usually happens at such moments - nothing goes smoothly. The procedure failed and you need to place the gantry crane back.

As soon as you get in the middle of the hangar, you will be attacked by two Snatchers and several armored creatures with grenade launchers. Be careful, because opponents can shoot from a long distance and can knock you down with one well-aimed shot. During the battle, pay attention to the allies who got knocked down and revive them - if you don't, the mission will end in failure. A good idea to end this fight quickly is to use a grenade launcher and blow up red canisters that will explode in fire and cause a lot of damage.
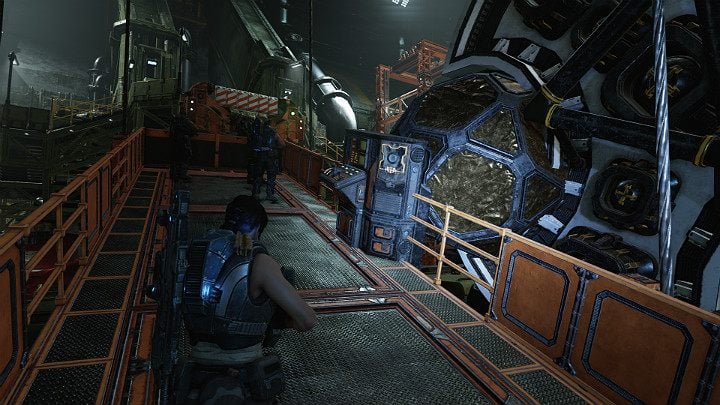
After the battle is over, go to the console and allow Jack to do its part. The gantry crane will start moving upwards.

While going up, you will be attacked by a swarm of fast opponents. Beware of those who carry explosives on their backs and eliminate them first.
You are not permitted to copy any image, text or info from this page. This site is not associated with and/or endorsed by the developers and the publishers. All logos and images are copyrighted by their respective owners.
Copyright © 2000 - 2025 Webedia Polska SA for gamepressure.com, unofficial game guides, walkthroughs, secrets, game tips, maps & strategies for top games.
