Farming Simulator 17: From sowing to harvesting - step by step
1. Scarifying the Soil
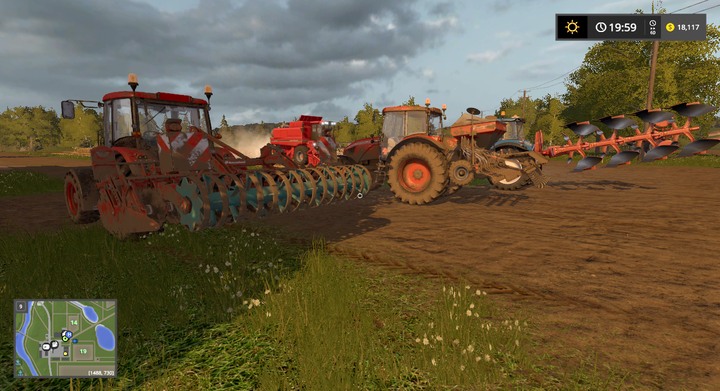
First, you will have to scarify the soil with a tractor. You need to do this within your lot (the green number on the map). You can use plows or tillers. Plows can dig deeper which grants you +10% crop. However, this process takes longer and requires better machines and extenders in front of the vehicle. Cultivators can cover a large area and can work a lot faster. Both devices are attached to a tractor. If you play on high difficulty level, you will need to scarify the soil with a plow once in a while (can switch on/off dynamic option during gameplay). An "old" land will be marked red.
2. Sowing
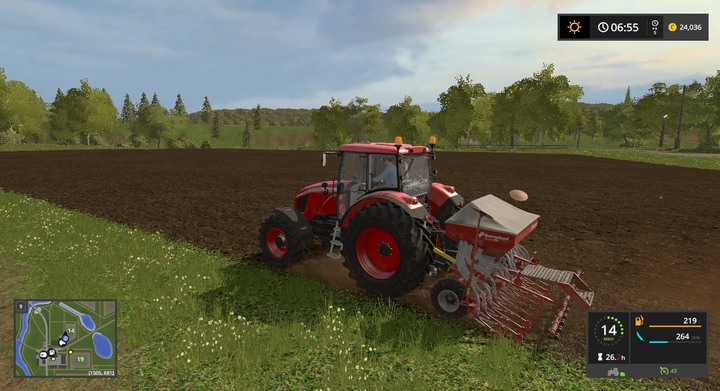
The next step is sowing. Use a seeder to spread the seed across the entire field. Remember - not all the seeders can all the crop: potatoes require a special machine, and corn, sunflower and beetroot require a separate seeder. Most seeders have additional options: they can fertilize (e.g. Amazaone ED-3000C) [only artificial fertilizers] or can be attached to cultivator - Vaderstad Rapid A 600S. It's worth selecting such machines as you won't have to go over the field for the second time. If you are going to use natural fertilizers, don't purchase the former group of seeders.
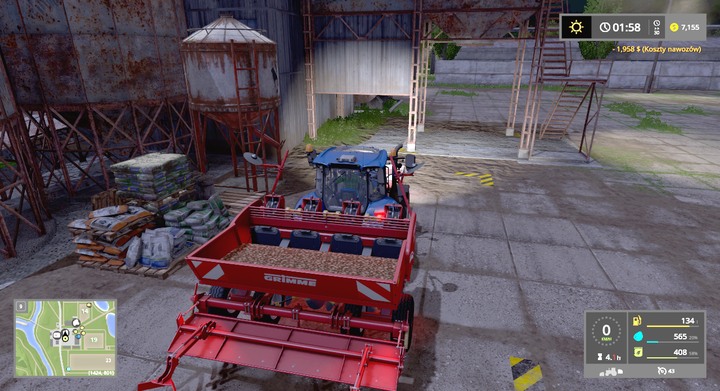
Each seeder needs to be filled first - there will be special bags in a given area. Go there and select filling (it's quite expensive). If you let your employee handle this, you make him take the seed manually, without having to refill the container.
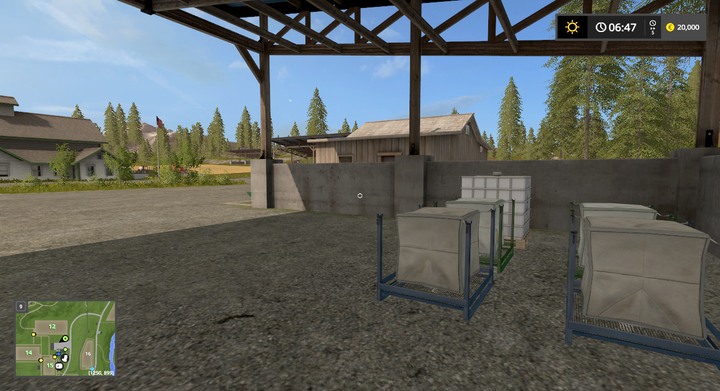
If your field is far away from the headquarters and there is no fertilizer feeder (like in Goldcrest Valley) - you will need to purchase pallets with seed and fertilizer in a store.
3. Fertilization
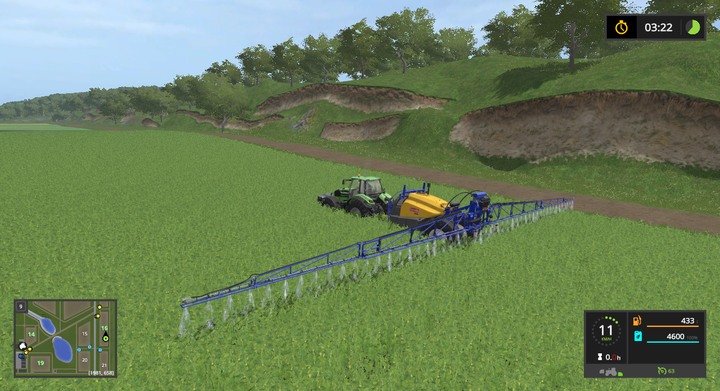
Your next move would be to fertilize the field, however; it's an optional step. There are many possible options which were described in information on crop -> fertilizers. All fertilizers work in the same way. Depending on the difficulty level (can be modified during gameplay), it's enough to fertilize fields once or 3 times per every stage of growth. You can use artificial fertilizers (expensive) or natural ones (requires farm animals). The level of fertilization is visible on your map in soil composition. Fertilization improves crops by 90% (on high difficulty level, each of the 3 processes provides a +30% bonus).
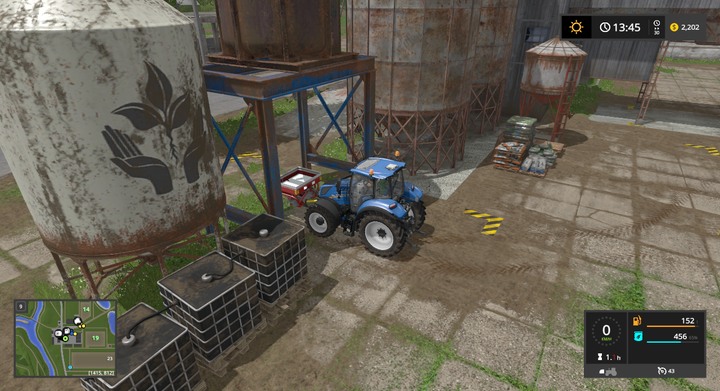
If you want to use artificial fertilizers, you will need machines from the sprinklers / spreaders category. Drive your machine towards a container with the fertilizer and refill it (map in Sosnovka) - in Goldcrest Valley you will have to purchase pallets with seed/fertilizer. Artificial fertilizers are expensive, so it's not recommended to use the in the early stages of the game.
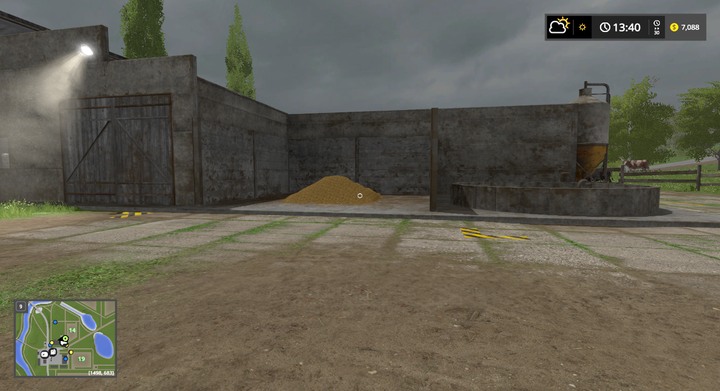
The natural fertilizer can be found in two various forms: manure and slurry, is a by-product of farming cows / pigs. To spread them, you will need two separate machines. Both will be generated a couple of days after inbreeding and all you have to do is to drive your manure/slurry spreader near the farming building and collect the by-product.
Once this is done, get to the field and spread the fertilizer - soil that was fertilized will always change its color. It's a quick process that can be completed by your employees.
4. Harvesting
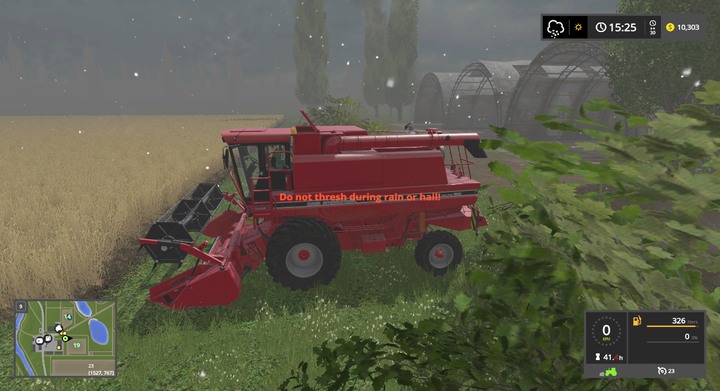
The most intensive part. You will need a harvester with the right attachment (a special one for a given model and type of crop - icons are listed next to each of them). A harvester moves slowly and stores crop until it is full. When that happens, use a vehicle with a semitrailer, and collect your crop.
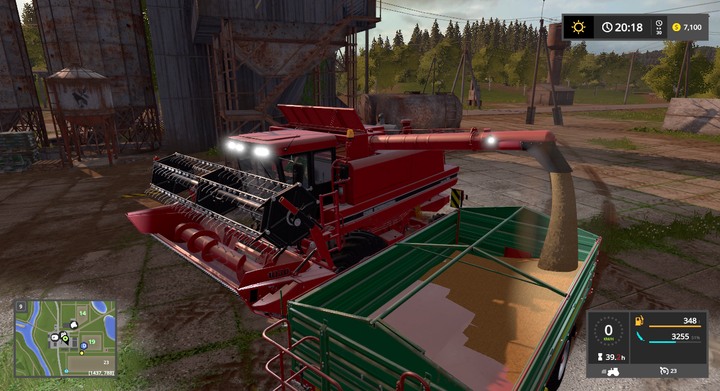
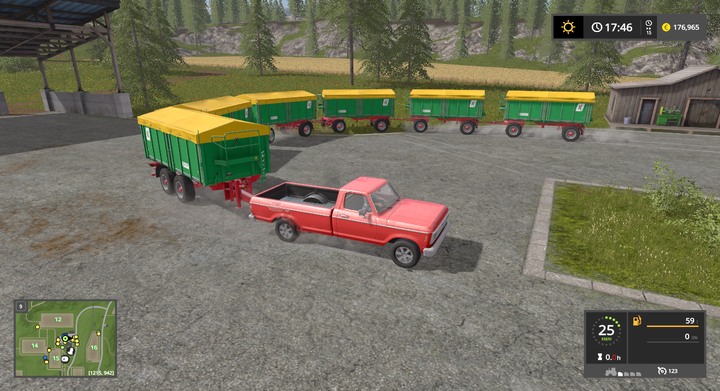
Semitrailers will differ in terms of capacity. However, some can be attached to one another - when that happens, the first semitrailer attached to the tractor will have wheels on its back, while the other semitrailers will have them in an evenly manner [see above photo].
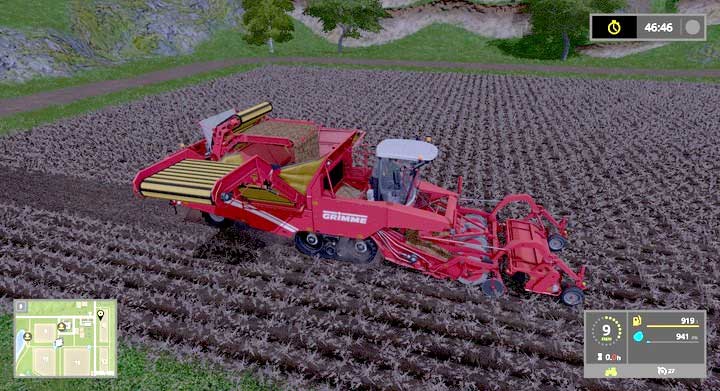
Potatoes and beetroots are an exception - they require unique harvesters. Furthermore, before you even start harvesting, you will need to cut stalk with special machines (these can be found in a store in harvesting potatoes / harvesting beetroots). If you want to harvest root crops in the early stages of the game, rent a harvester attacked to a tractor.
5. Storing and transporting
Remember - this process cannot be handled by your employees.
Different products will be stored in a different way. Crops will be placed in silos - just drop your cargo on a platform with holes, (where a feeder is located) and select load option.
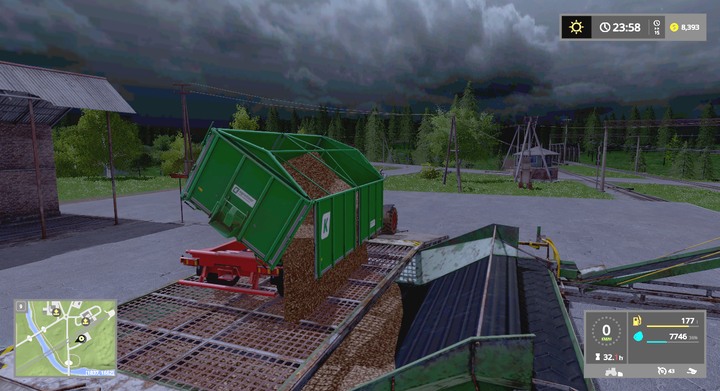
Remember that silos have limited capacity (this can be extended by purchasing buildings but it is a very expensive investment). Root crops will be stored freely in a covered area - it's best to use the system of belts to load them again. Other products will be stored in other possible ways: straw will be stored in bales (or in piles), grass can be placed wherever you want (it doesn't disappear), cotton is packed and stored on pallets (root crops have this option as well).
6. Selling
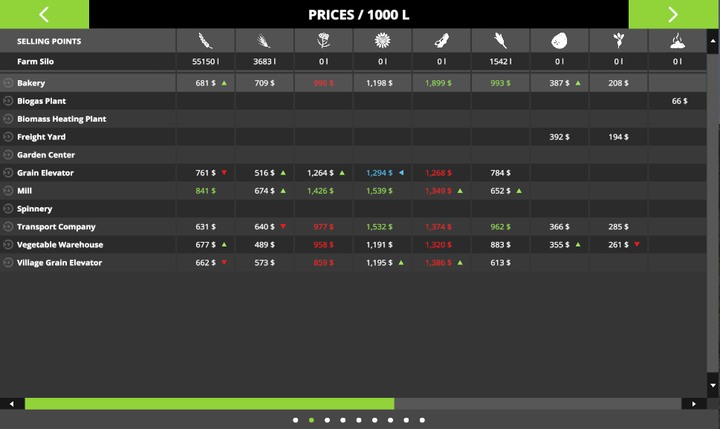
Selling is also a process that cannot be performed by your employees. It's important to sell products at best prices possible. Prices change every day. To learn more, check the Price tab. From time to time, when there is lack of a specific product, the prices will be very high and this will be marked with blue color. You can sell products right away, or store them and wait for a better offer. In order to sell your products, take them to one of the available selling points and place it in the unloading area. You will be paid immediately.
Tip: if you are playing in fast mode (30x+) it's best to slow it down for the remaining time of the offer.
- Farming Simulator 17 Game Guide
- Farming Simulator 17: Game guide
- Farming Simulator 17: For beginners
- Farming Simulator 17: Difficulty level options
- Farming Simulator 17: Menu and monitoring
- Farming Simulator 17: From sowing to harvesting - step by step
- Farming Simulator 17: Missions
- Farming Simulator 17: Store, modifying and exploiting your machines
- Farming Simulator 17: Market Mechanisms
- Farming Simulator 17: Creating and Connecting Lots
- Farming Simulator 17: Strategic Tips
- Farming Simulator 17: Buildings and Investments
- Farming Simulator 17: How to Empty a Prism/Silo?
- Farming Simulator 17: For beginners
- Farming Simulator 17: Game guide
You are not permitted to copy any image, text or info from this page. This site is not associated with and/or endorsed by the developers and the publishers. All logos and images are copyrighted by their respective owners.
Copyright © 2000 - 2026 Webedia Polska SA for gamepressure.com, unofficial game guides, walkthroughs, secrets, game tips, maps & strategies for top games.
