Dragon Age Origins: The final battle
The final battle
![Description: Start this quest by leaving Denerim and choosing [Redcliffe] as your next destination on the world map - Dragon Age Origins: The final battle - Main quests - Dragon Age: Origins Game Guide](/dragonageorigins/gfx/word/351433796.jpg)
Description: Start this quest by leaving Denerim and choosing [Redcliffe] as your next destination on the world map. You won't be allowed to travel directly to the castle and instead you'll end up standing near the entrance to the village. Make a few steps forward here (M27, 1) and listen to what one of the survivors has to say (M27, 2). You can now secure the rest of the village or you can proceed directly to [Redcliffe castle - Courtyard] using the well-known passageway (M27, 28).
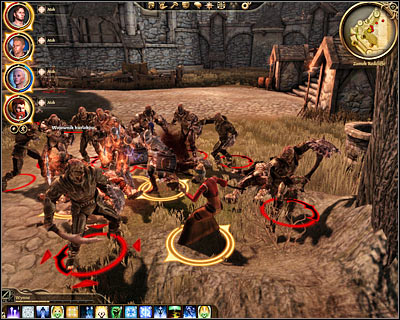
Once you've arrived at the courtyard (M30, 4) you'll witness a huge battle taking place between the monsters and Redcliffe warriors. Start attacking the monsters and make sure to move your team away from the main gate (especially your mages), because that's where enemy reinforcements will be showing up. The best choice would be to order your team to stand on the side (M30, 5) to avoid trouble.
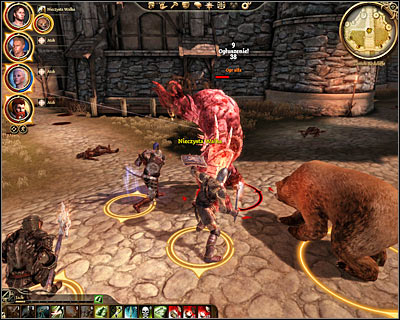
This battle may seem simple at first, however an alpha ogre will arrive here soon and that'll make the matters worse. Make sure to keep your team members alive while trying to defeat the ogre and order at least some of your allies to attack this beast from a larger distance. Once all the monsters have been defeated take your time to collect the trophies from the battlefield and then talk to the messenger (M30, 3). Confirm that you want to enter the castle with him and you'll be automatically transported to [Redcliffe castle - Main floor] (M29, 5). Witness a conversation taking place between arl Eamon, Riordan and Alistair. They'll talk about the archdemon and darkspawns marching on Denerim.
FINAL PREPARATIONS BEFORE THE INVASION:
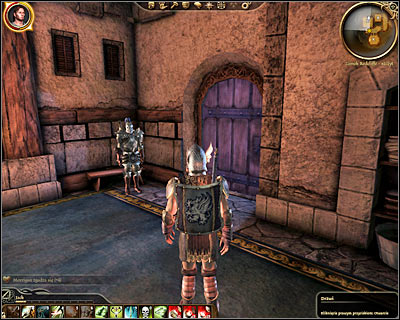
You can now spend some time talking to the men and women found inside the castle to listen to their opinions on what's happening in Ferelden. I would recommend talking to one of the bodyguards and to a dwarven commander. Don't forget about your followers, because some of them may have something interesting to share. Head on to [Redcliffe castle - Upper floor] (M29, 6) when you're ready to move on with this main quest. Here you'll have to proceed directly to Riordan's chamber (M29, 8). Talk to the Grey Warden and during this conversation you'll find out that the only way to kill the archdemon will be to sacrifice a life of one of the wardens. Thankfully you won't have to make a decision on who it's going to be right now.
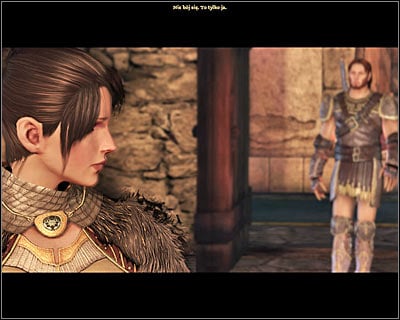
Once you've ended the conversation head back to your room where you'll find Morrigan (M29, 9). She'll offer you an alternative solution and it'll be to spend a night with a Grey Warden to transfer the essence of the archdemon to her unborn baby. If you're playing as a male you can agree to have sex with her or you can refuse. If you're playing as a female or if you refused while playing as a male you'll listen to her modified plan and that will be to spend a night with Alistair or Loghain. Notice that you would have to convince that person to have sex with Morrigan! You can agree to the modified plan or refuse for the second time. If you've managed to "seal the deal" Morrigan will remain with the team until the end, but if you didn't find a compromise she'll leave you right now and she won't return. Several new cut-scenes are going to be displayed after the conversation and then you'll end up in Denerim.
RETAKING CONTROL OVER CITY GATES:
![The final battle will begin in [Denerim - City gates] (M76, 1) - Dragon Age Origins: The final battle - Main quests - Dragon Age: Origins Game Guide](/dragonageorigins/gfx/word/351433875.jpg)
The final battle will begin in [Denerim - City gates] (M76, 1). Don't worry that only the main character is playable at the moment, because achieving victory here shouldn't be a problem. Just keep following your inactive team members and assist them in getting rid of the darkspawn. Thankfully all the beasts will die quickly and you won't encounter any mini-bosses. Try attacking the largest groups, because they're the only ones that may cause trouble. The monsters will be arriving in the northern, in the western and in the southern areas of the map (M76, 2), however it won't take long until they're dead (use your personal map to find them quickly).
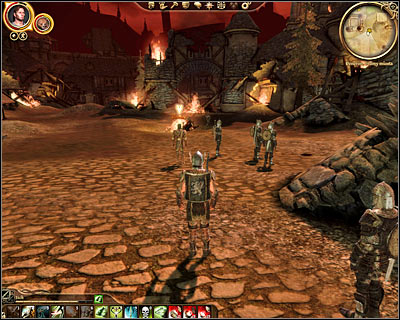
Return to the central area of the map (M76, 3) once all the beasts have been defeated and find Riordan (M76, 3). During your conversation with the Grey Warden you'll find out about the existence of two generals and you'll also have to decide who to take with you for the final battle. This is an important decision. You can't leave only the weakest members of your team behind, because they'll take part in a separate mission in the near future. On the other hand you'll want to have some of the best followers at your side, because most of the upcoming fights (including the last battle with the archdemon) are going to be tough. End the conversation and say goodbye to those who will stay here. After that proceed to the exit and choose [Denerim - Market district] (M76, 4) from the list of available locations.
SECURING THE MARKET DISTRICT:
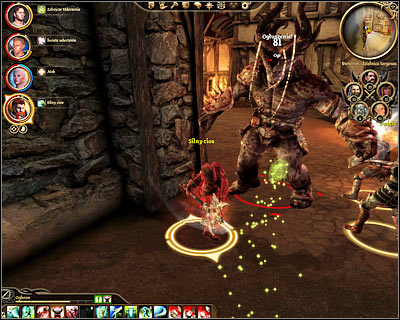
This (M64, 16) is where you'll be given a chance to request help from an army. You'll be allowed to choose between all the fractions and races you've had a chance to convince to join your during the course of an entire game (Redcliffe warriors, dwarves, mages, templars, golems, werewolves, elves). I wouldn't recommend calling anyone unless it's necessary, because you'll need as many friendly units as possible for the final battles of the game, including the one with the archdemon. There are several ogres nearby (M64, 17) and it would be a good idea to provoke one creature at a time to follow you to the start area where you can defeat it with the help from the rest of the team.
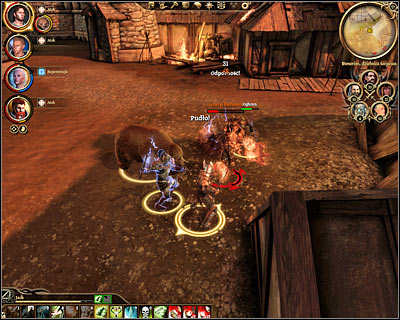
Aside from the ogres you'll also have to watch out for an enemy emissary, especially since the beast will have powerful spells in its arsenal. Once it's relatively safe here focus your efforts on finding and killing the hurlock general (M64, 18). Bear in mind that it'll be very resistant to your attacks, but on the other hand this boss is only a warrior. Once the general has been killed go back the same way you came before and choose [Denerim - Elven alienage] (M66, 14) from the list of active locations.
SECURING THE ELVEN ALIENAGE:
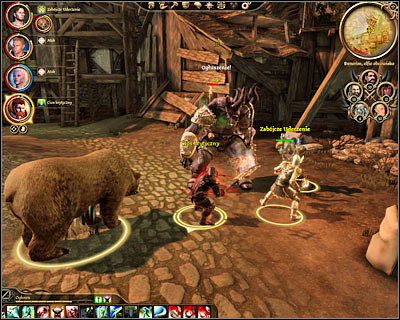
Start off by heading south-west and keep moving in that direction until you've reached the courtyard (M66, 15). You can talk to Shianni here and you can ask for her help in securing the alienage or you may decide that you'll be fine on your own. Enemy units are stationed near the southern exit (M66, 16) and you'll have to wait for a new ogre to break the wooden barrier. Move back to deal with this beast prior to engaging other enemy troops.
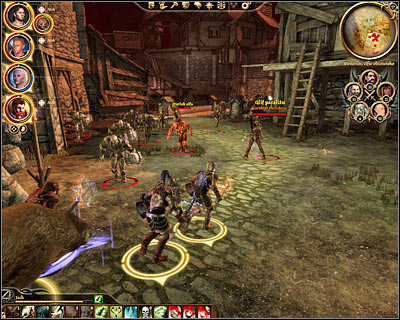
Use your archers to deal with some of the darkspawn from the distance. Sooner or later you'll have to attack the hurlock general and be careful, because this time you'll be dealing with a mage. Attack enemy positions and focus on defeating the boss before attacking any other creatures. Don't forget to use healing spells and potions, however you can also consider retreating if your followers take too much damage. More beasts will appear near the bridge, however it should be easier to kill them. Go back to Shianni (M66, 15) once it's safe again and she'll reward you with a Dawn ring. You may now head south (M66, 1). Ignore the cut-scene featuring the dragon and choose [Denerim - Palace district] from the list of locations. You won't get there right away, because you'll have to take charge of the group you've left behind near the city gates (M76, 3).
HOLDING THE CITY GATES:
![Notice that once again youre in [Denerim - City gates] - Dragon Age Origins: The final battle - Main quests - Dragon Age: Origins Game Guide](/dragonageorigins/gfx/word/351433968.jpg)
Notice that once again you're in [Denerim - City gates]. This time you'll take command over the second team and your objective will be to defend city gates against monster attacks. Make sure that your team is prepared for this battle and then talk to one of the officers to make the monsters appear (M76, 1). I would strongly recommend that you focus on eliminating an alpha ogre during this battle, however you'll also have to defeat several Hurlock emissaries. Ignore the normal monsters, because your allies will deal with those. Once you've won talk to the messenger again (M76, 5) and you'll return to commanding the main team.
REACHING FORT DRAKON:
![You shouldnt have any other problems reaching [Denerim - Palace district] (M77, 1) - Dragon Age Origins: The final battle - Main quests - Dragon Age: Origins Game Guide](/dragonageorigins/gfx/word/351433984.jpg)
You shouldn't have any other problems reaching [Denerim - Palace district] (M77, 1). Watch an interesting cut-scene showing Riordan fighting the archdemon after which you'll be allowed to continue your journey. There are two passageways (M77, 2) leading to the eastern section of the map and you can choose either one of them. Bear in mind that you'll have to kill at least one ogre along the way (mini-boss), as well as dozens of genlocks and hurlocks. Make sure to kill the archers first while fighting the darkspawn.
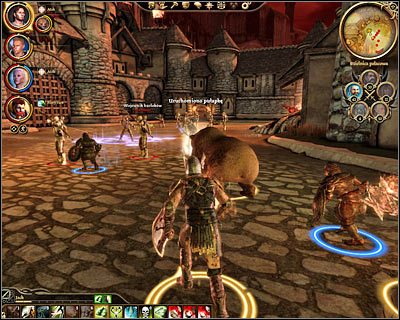
I would recommend that you call for backup once you're close enough to the royal palace (M77, 3). This area is also going to be defended by an ogre and there will be two passageways leading to the eastern section of the map (M77, 4). Watch out for new traps placed near the last courtyard. During the next battle with the darkspawn (M77, 5) you should focus mostly on eliminating enemy emissaries (mages), because otherwise your armies can lose a lot of men. Once you're ready to leave this area click on a gate nearby (M77, 6) and choose [Denerim - Fort Drakon] from the list of active locations.
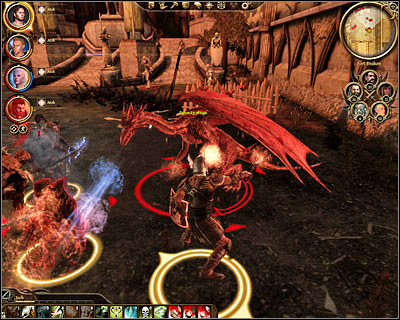
You'll start the game in front of the fort (M78, 1) and you should summon one of the armies as soon as possible. I would recommend choosing human or dwarven warriors to assist you in dealing with enemy archers hidden behind barricades. You on the other hand should focus on killing one of the smaller dragons at the same time. Once the beast has been eliminated start attacking other powerful creatures, including new hurlock emissaries. Keep fighting until you've defeated all hostile units and then click on the main gate of the fort (M78, 2) to travel to [Denerim - Fort Drakon - Main floor] (M79, 9).
REACHING THE ROOF OF THE FORT:
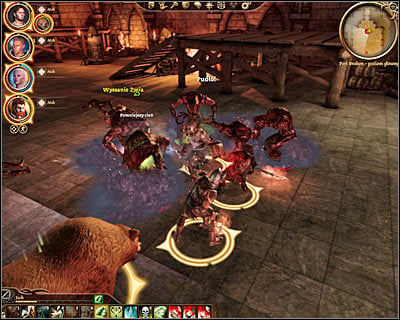
The biggest battle is going to take place inside the main room of the fort (M79, 14) which is going to be located to the south of the area where you've started the game. Watch out mostly for shades, especially since you'll encounter at least one mini-boss. Once the demons have been defeated start attacking a genlock conjurer (main boss). Head south once it's safe again to move on with the mission (M79, 11).
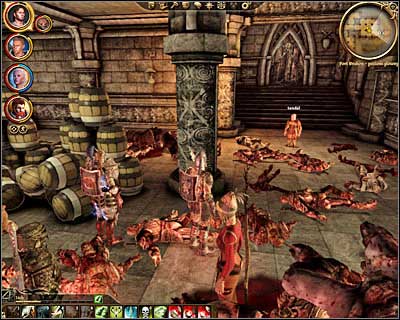
Keep going straight until you come across a large trap which must be disarmed. Get ready to defend yourself against a large group of the undead (M79, 15). You'll also have to watch out for two mini-bosses at the same time - an emissary (kill it as soon as possible) and a shapeshifter. Don't forget to loot bodies of fallen enemies for possible treasures, as well as to search nearby rooms. Head to the eastern warehouse (M79, 6) once you're done exploring. You'll meet Sandal here (M79, 16) and make sure to talk to him, because this will be your last opportunity to barter or to enchant weapons before the final battle takes place. Choose the passageway found behind his back to travel to [Denerim - Fort Drakon - First floor] (M79, 17).
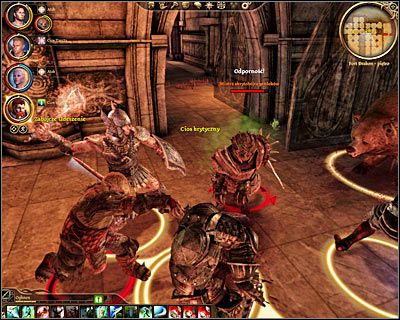
This time you'll begin in the north-western section of the fort (M80, 1) and you'll have to start moving east until you enter a room with two exits (M80, 2). Exploring the eastern room is optional - you would come across a lot of archers and after defeating them you would have a chance to look around. You must use the southern passageway if you want to get step closer to meeting the archdemon. Be careful here, because the next corridor contains a lot of traps and you'll be attacked by assassins, including a genlock master assassin. Prevent the creature from dealing too much damage and don't fight the genlocks near the traps to avoid potential trouble.
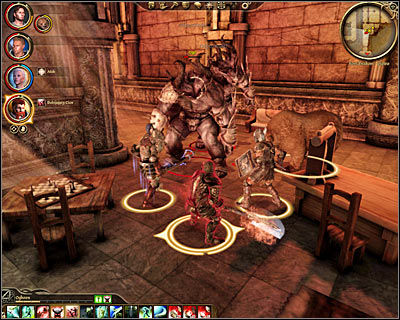
Once you've dealt with all assassins make sure to ask your rogue for help in disarming all of the remaining traps. You may now begin moving south until you make your way to yet another large hall (M80, 3). Attack the two ogres seen in the next room from a distance to make them chase you and stand somewhere near the door to fight with only one beast. Thankfully your team should be skilled enough by now to challenge even two ogres at the same time, but you should play it safe. Once you've defeated both ogres enter the large room again and this time focus on killing the emissary. Before you travel to [Denerim - Fort Drakon - Roof] (M80, 4) make sure to SAVE your game and to check nearby chests for additional treasures (M80, 5).
DEFEATING THE ARCHDEMON:
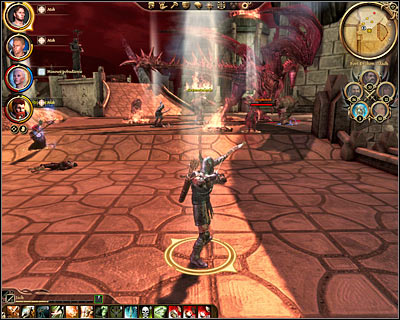
Start off by watching a short introduction after which you'll start the final battle with the archdemon (M81, 1). I assume that you've fought similar dragons in the past, so you should know the rules. Attack the archdemon with one or two warriors. The rest of your team should stay behind and use bows or spells to attack the dragon. Don't forget that healing your team members is a crucial thing, especially the ones in direct contact with the dragon. I would also recommend that you call for reinforcements as soon as the battle has started. Allied warriors (Redcliffe, dwarves) will do just fine, however you can also consider choosing golems, especially since the archdemon should ignore your archers and mages.

Naturally the archdemon won't stay in one spot during this battle, but you won't have to worry about any aerial attacks. If you do see the dragon landing on a small "island" (M81, 3) consider moving the mages and the archers closer, however you can also use nearby ballistae (M81, 2). Don't forget that the person using these devices should be skilled in reloading them once they run out of projectiles.
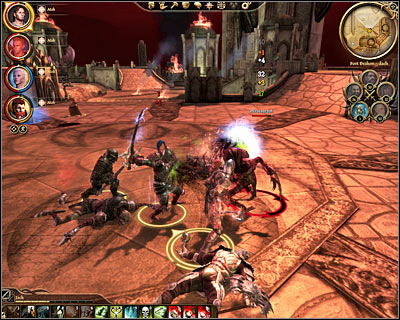
The only thing you'll have to worry about will be smaller monsters which will begin appearing in a few minutes. If you have allied troops at your side it won't be an important issue, however you should spend some time defeating the monsters. If you don't have a lot of reinforcements left you'll have to pay more attention to securing the roof. Watch out especially for shrieks, because they'll be harder to kill and they'll keep using camouflage to perform surprise attacks and to escape after receiving a lot of damage. This quest will end with archdemon's quest. Remember that if you didn't agree to Morrigan's proposal you'll have to be very careful at who makes the final blow. That person will die and it can be you or Alistair/Loghain. You'll now witness a series of cut-scenes and if you're still alive you'll also take part in a short epilogue. Congratulations!
- Dragon Age: Origins Game Guide
- Dragon Age Origins: Game Guide
- Dragon Age Origins: Main quests
- Dragon Age Origins: Lothering and the Imperial Highway
- Dragon Age Origins: Arl of Redcliffe
- Dragon Age Origins: Broken circle
- Dragon Age Origins: Lost in dreams
- Dragon Age Origins: Nature of the beast
- Dragon Age Origins: Paragon of her kind
- Dragon Age Origins: Urn of the Sacred Ashes
- Dragon Age Origins: Gather an army
- Dragon Age Origins: Landsmeet
- Dragon Age Origins: The final battle
- Dragon Age Origins: Main quests
- Dragon Age Origins: Game Guide
You are not permitted to copy any image, text or info from this page. This site is not associated with and/or endorsed by the developers and the publishers. All logos and images are copyrighted by their respective owners.
Copyright © 2000 - 2026 Webedia Polska SA for gamepressure.com, unofficial game guides, walkthroughs, secrets, game tips, maps & strategies for top games.
