Dragon Age Origins: Lost in dreams
![Description: The first area youll visit in your dreams is going to be [Weisshaupt] (M35, 1) - Dragon Age Origins: Lost in dreams - Main quests - Dragon Age: Origins Game Guide](/dragonageorigins/gfx/word/601926562.jpg)
Description: The first area you'll visit in your dreams is going to be [Weisshaupt] (M35, 1). Head forward and proceed to an upper platform where you'll meet fake Duncan (M35, 2). This conversation will end with you having to kill Duncan and two other guards. The method to defeat them depends on the class of your character, but it shouldn't be too hard to succeed. Don't worry, because you'll learn other ways to harm your opponents in the Fade soon enough. Once you've won the battle use the pedestal to travel to the [Raw Fade].
INTRODUCTION TO THE FADE:
Before we'll get into details, there are a few important things and rules you should know about this place.
1) The only way to unlock the final battle with the sloth demon is to secure five major areas - [Raw Fade], [Darkspawn invasion], [Templar's nightmare], [Burning tower] and [Mage asunder]. By securing the area one understands reaching the final room and defeating a less powerful demon guarding it. Once you've killed all five demons the game will automatically unlock access to the [Inner Sanctum] where the sloth demon will be waiting for you. Before you engage this beast you should also visit separate nightmares of the three remaining members of your team.
2) It's not possible to explore each area during your first visit, because access to some of the corridors and rooms is restricted to a character with certain transformation abilities. As a result you'll have to keep unlocking new transformations instead and use them to explore previously inaccessible areas. You can visit the five main locations in any order you want and you can return to them without any problems.
3) Your character will learn how to transform into one of four forms. Each form is unlocked after you've helped a certain person and here's the list of the people you need to find:
- Mouse - Mage apprentice [Raw Fade] (M35, 5)
- Ghost - Templar spirit [Darkspawn invasion] (M36, 3)
- Burning man - Dreaming templar [Burning tower] (M38, 5)
- Golem - Cursed dreamer [Mage asunder] (M39, 6)
And here's the list of the types of obstacles these transformations can help to overcome:
- Use the mouse form to travel through mouse holes
- Use the ghost form to interact with spirit doors
- Use the burning man form to move through the flames without taking any damage
- Use the golem form to destroy massive doors
4) Aside from focusing on your main assignments you can also visit smaller rooms to find essences. Each essence will raise one of your attributes and here's the info on where to find them:
Bonus type | Location | Instructions on how to find it |
strength | Burning tower (M38, 10) | The essence can be found in the exact same room where you've defeated Rhagos. |
magic | Burning tower (M38, 12) | Check the area near the stairs leading to the northern section of the map. Use the golem form to destroy a massive door (M38, 11) and then transform yourself into a ghost. |
cunning | Burning tower (M38, 2) | Soon after you've started exploring this area find a mouse hole and use it to gain access to the left room. |
cunning, constitution | Burning tower (M38, 7) | Check the burning labyrinth to the south of the templar and find a spirit door (M38, 6). Use this door to travel to a new location where you'll find two bonuses. |
cunning | Darkspawn invasion (M36, 2) | Go to the south-east and travel through a mouse hole. |
strength | Darkspawn invasion (M36, 8) | Use the golem to destroy a massive door in the southern section of the map (M36, 7). |
willpower | Mage asunder (M39, 10) | You'll have to wait until you've unlocked the golem form. Check the room to the north-west of where Slavren can be found and don't forget to transform yourself into a ghost. |
dexterity, cunning, dexterity, constitution
| Mage asunder (M39, 13) | You can find all these bonuses prior to fighting Slavren. Check the corridor with an arcane horror (M39, 11) and transform yourself into a ghost to use a spirit door (M39, 12). Once you're on the other side explore ALL nearby areas of the eastern complex. You'll have to use the mouse form once and one of the bonuses can only be collected while playing as a ghost. |
strength | Mage asunder (M39, 2) | Use the mouse hole as soon as you've arrived here. |
magic | Mage asunder (M39, 3) | This essence can be found in one of the rooms near the start area, but you can't collect it unless you know how to transform into a ghost. |
strength | Mage asunder (M39, 9) | You'll have to wait until you've unlocked the golem form. Check the room to the north-east of where Slavren can be found. |
dexterity | Raw Fade (M35, 7)
| Keep using the standard portals until you come across a spirit door (M35, 6). Use the ghost form and once you're on the other side deal with a couple of whisps. |
willpower | Raw Fade (M35, 9) | It's the going to be exact same room where you've defeated Yevena. Don't forget to transform yourself into a ghost. |
cunning | Templar's nightmare (M37, 11) | The essence can be found in the exact same room where you've defeated Vereveel. |
dexterity | Templar's nightmare (M37, 2) | Check one of the smaller rooms of the first circle and use the mouse hole to gain access to a new room. Kill the Plague wolf and collect the essence. |
willpower | Weisshaupt (M35, 10) | You can find this bonus after you've unlocked the ability to transform yourself into a ghost. |
SECURING THE RAW FADE:
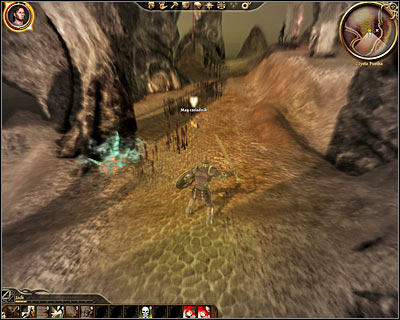
Make a few steps forward and talk to a friendly character Niall (M35, 3). Listen to what he has to say about the Fade and then use a nearby portal (M35, 4). Defeat a single demon and talk to the Mage apprentice (M35, 5). During the conversation he'll teach you how to transform yourself into a mouse and you can test this feature right away. Notice that you can also camouflage yourself. This may come in handy while trying to avoid more powerful creatures instead of fighting them.
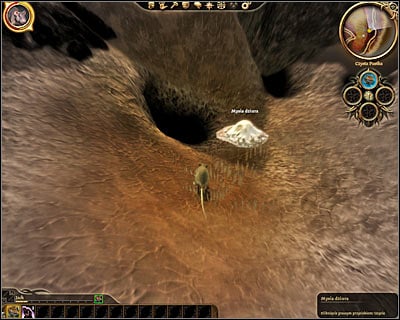
Start off by transforming yourself into a mouse and use a nearby mouse hole to travel to a different location. You'll be encountering shades and demons along the way, so you should be careful. I would recommend defeating them instead of avoiding them, because killing them is going to be a relatively easy achievement. Keep using the portals until you've returned to Niall (M35, 3).
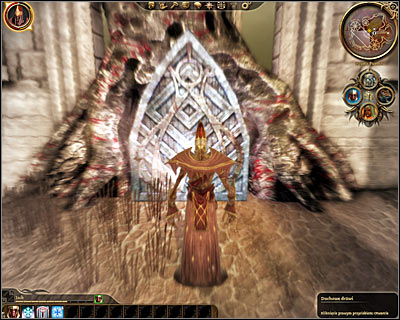
You won't be allowed to defeat the main demon of this location until you've learned how to transform yourself into a ghost. Once you have that ability in your arsenal use a spirit door located close to Niall (M35, 8). Using this passageway will transport you to an arena and you'll automatically start the battle with Yevena (M35, 9). I wouldn't recommend using the golem form here, because she's very agile. Instead remain as a ghost or transform into a burning man. Once you've defeated the demon use the spirit door and you'll end up standing next to the pedestal.
SECURING THE DARKSPAWN INVASION:
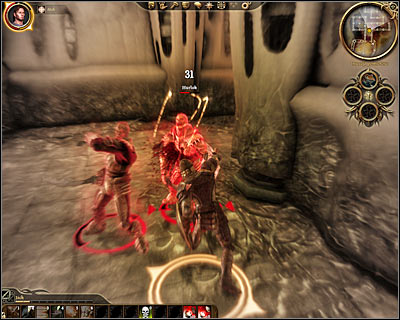
You'll have to be moving north here (M36, 1). If you haven't unlocked any useful transformations yet you can remain in your body and challenge the beasts or you can try moving as a mouse and rely on camouflage. The second method is quite interesting actually, because you'll find a lot of mouse holes along the way. If you decide to fight the monsters expect to encounter a lot of hurlocks and genlocks (including emissaries and alpha forms).
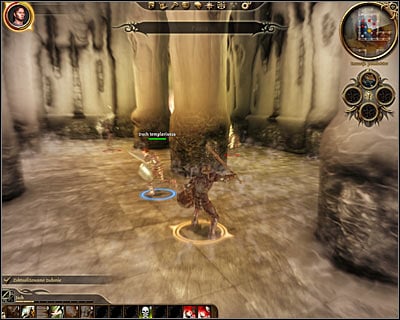
It's also a good idea to surprise some of your enemies from behind using the camouflage and to change form a second before the attack. Don't forget that you can receive bonuses to damage done to someone by stabbing them in the back. Choosing this method will also help you in preventing some of the enemy mages from throwing powerful spells before you get close enough to hit them. Keep pushing to the north until you end up inside a larger room with a friendly templar spirit (M36, 3). Help the templar to defeat all enemy units and in return he'll teach you how to transform yourself into a ghost.
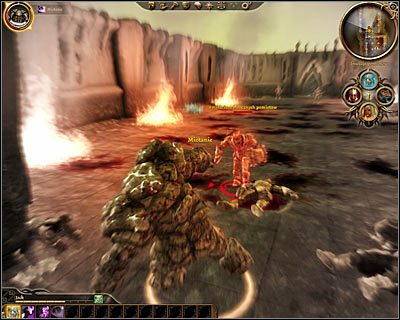
In order to reach the lair of the main demon of this location you'll have to transform yourself into a golem, because a massive door (M36, 4) will separate you from him. The door can be found to the north of the room where you've met the templar the last time you were here. Be careful, because the next corridor will be guarded by a very large of monsters and a mini-boss will be among them (darkspawn emissary).
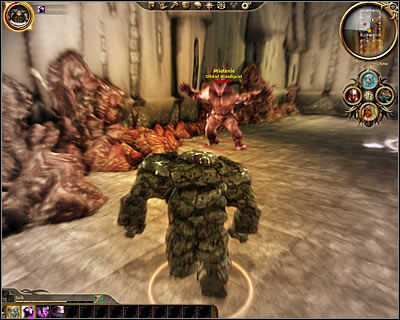
Eliminate all the hostile creatures before moving north. Destroy the last massive door (M36, 5) and head forward to find out that Uthkiel the Crusher is already waiting for you (M36, 6). Choosing the golem form here won't be the best decision you can make, because Uthkiel can harm you very quickly in direct combat and he even can knock you down. Notice that he's kind of a slow creature, so you should consider using the burning man form during this battle. Either way you'll have to defeat the demon after which you'll be allowed to use the pedestal to return to safety.
SECURING THE TEMPLAR'S NIGHTMARE:
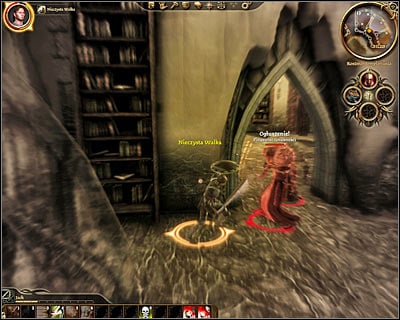
You'll start exploring this area in the first circle (M37, 1) and if you can't turn yourself into a burning man or a golem you'll have to be very careful, because you'll be dealing with a lot of dangerous abominations, arcane horrors and traps along the way. Use one of the mouse holes (M37, 3) to travel to the second circle.
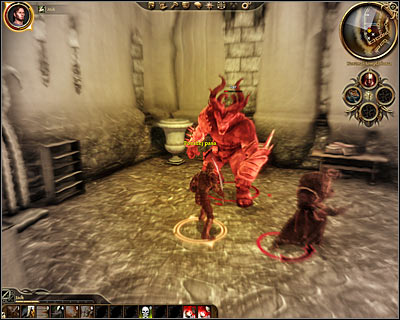
When you'll arrive at the second circle (M37, 4) you'll probably notice that an ogre is standing nearby, so be very careful. I wouldn't recommend fighting the ogre unless you can use the golem or the burning man form. Thankfully this beast will be easier to kill than most of the ogres you've encountered during your previous journeys. It is possible to ignore the ogre, however you would have to stay away from this area during some of the upcoming fights.
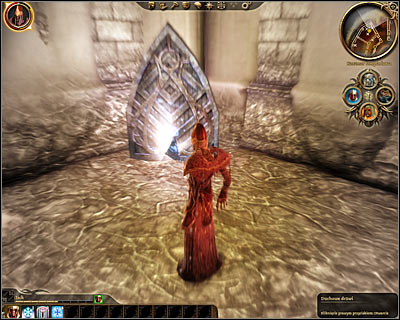
Your next area of interest in the alchemy lab (M37, 5) which can be found in the second circle. There are two ways of gaining access to the lab. The first solution is to use the burning man form to enter a nearby room after which you would have to turn yourself into a mouse and travel through a hole. The second solution is to use the golem form and to destroy a massive door. Either way you'll have to use the spirit door once you're inside to travel to the third circle.
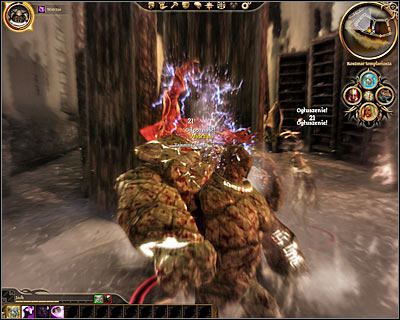
You'll end up standing in a new room (M37, 6) and I would strongly recommend using the golem form here, so it won't be a big problem to survive. Eventually you'll have to make your way to an isolated room (M37, 7) and once again you'll be allowed to choose between using the mouse hole and destroying the door. Defeat new enemies and step through the portal to travel to the final fourth circle (M37, 8).
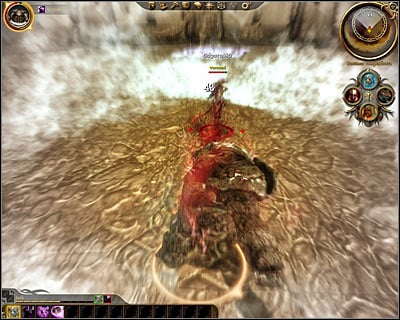
I would strongly recommend activating the burning man form as soon as you've arrived at the last circle, because the area will be set on fire. Wait for new demons to show up, defeat them and head forward. As soon as you've left the burning room you can go back to being a golem. Head on to the last room (M37, 9), transform yourself into a mouse and use the hole to travel to the arena. Here you'll have to defeat Vereveel (M37, 10) - the main boss of this location. Using the golem form during this duel may be a little risky, because the monster be trying to slow you down. My recommendation is the burning man form. Use the pedestal once you've defeated the boss and collected all bonuses.
SECURING THE BURNING TOWER:
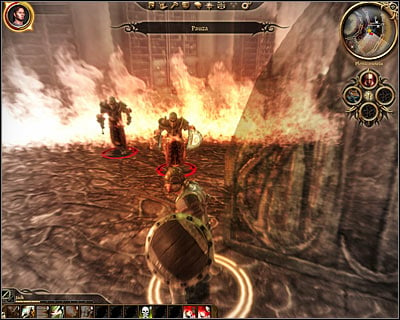
During your time spent in the tower (M38, 1) you'll have to watch out mostly for the flames, especially prior to unlocking the burning man ability. You'll also be dealing with a lot of burning templars, however defeating them shouldn't be a problem. You must make your way to the staircase (M38, 3) leading to a different section of the map.
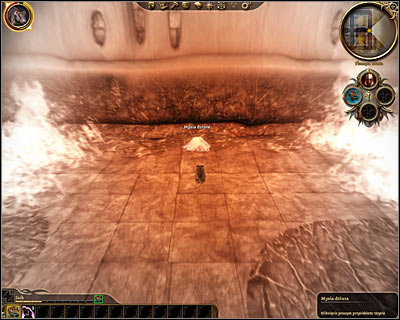
Don't be scared by the fact that you're standing in a burning labirynth, because it'll be next to impossible to get lost. Instead watch out for burning mabari. Eventually you'll have to get to a mouse hole found near the flames (M38, 4). Use this hole to travel to a new location where you'll be forced to defeat a burning demon and a dreaming templar (M38, 5). Eliminating the templar will allow you to unlock the burning man form.
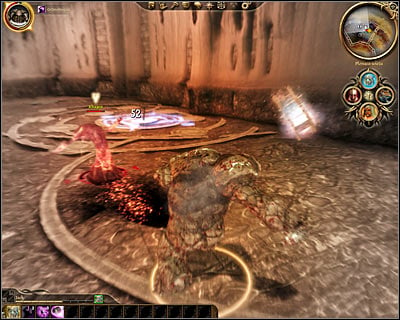
In order to gain access to the demon's lair you must first become a golem, because a massive door will stand in your way (M38, 8). That's not all - in order to survive the next trap transform yourself into a burning man. Keep pushing north, eliminating all the undead standing in your way, as well as other burning templars. Rhagos will be waiting for you in the last room (M38, 9) and you should playing as a golem during the course of this duel. Once Rhagos has been defeated use the nearest pedestal to leave this area.
SECURING THE MAGE ASUNDER:
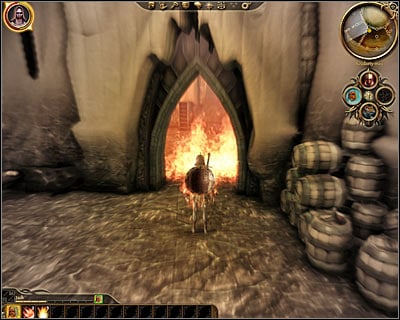
You'll be dealing mostly with enemy mages in this location (M39, 1) and you'll be allowed to surprise smaller groups using the camouflage feature, but sooner or later you'll be forced to attack enemy units and to defeat them in direct combat. I would recommend using the burning man form here, because most of his fire spells will be very effective. Focus on harming as many enemies with a single attack as possible, so you won't have to make too many stops along the way. Once you've reached a burning corridor (M39, 4) make sure to play as a burning man. Lesser rage demons will keep attacking you in the next room and you can fight back or ignore them.
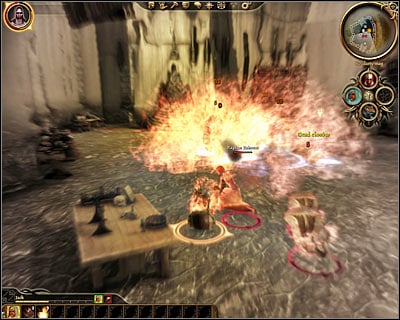
The next two rooms are heavily guarded by even more mages, so you should keep playing as a burning man in order to avoid trouble. Make your way to a new staircase (M39, 5) and use the stairs once it's safe to move on with the mission. Once you've arrived at a new area (M39, 6) start using the fireballs to defeat all enemies seen near your character, including powerful golems. Prevent the enemies from getting too close and avoid boulders being thrown at you by the golems.
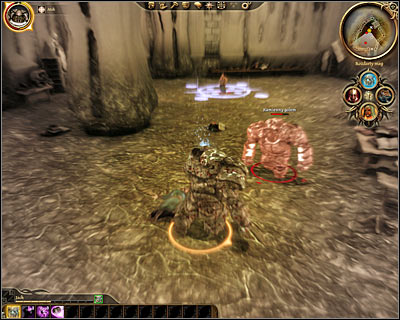
Defeating all the monsters in this room will allow you to talk to the cursed dreamer (M39, 6) and he'll teach you how to transform yourself into a golem. I would strongly recommend testing this new power right away. Use the stairs (M39, 7) to reach a new area of the map and begin by attacking enemy units. Don't forget to use some of the golem's skills, including the skill which tells it to smash the ground. Most of the attacks will be effective against larger groups of weaker beings, so you should always engage them in combat as soon as possible. After you've won approach a massive door (M39, 8) and destroy it with one of golem's attacks to unlock a new passageway.
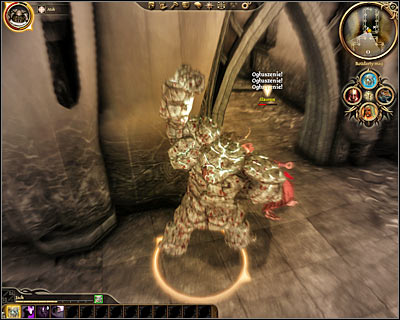
Deal with a new group of mages and head forward. There are three large rooms in the surrounding area. They're being guarded by mages and golems and they contain valuable treasures, so you might want to consider exploring them first. Head south if you want to focus only the main mission and destroy a new massive door (M39, 11). Deal with an arcane horror here and proceed to the next room to meet the main boss - Slavren (M39, 14). You can keep playing as a golem during this boss battle. Your enemy will die quickly as long as you remember to use all of golem's special attacks. Once it's safe again use the pedestal to get out of here.
SURVIVING THE NIGHTMARES:
Each member of your team will have an individual nightmare, however the common thing about them is that you'll have to convince your allies that they're living in a dream. Depending on a person this may be difficult, however you will have a chance to rely on persuasion or intimidation. Each nightmare will end in a battle with a demon and defeating this monster will allow you to free a member of your team. This is very important, because rescued team members will join you in the final battle.
DEFEATING THE SLOTH DEMON:
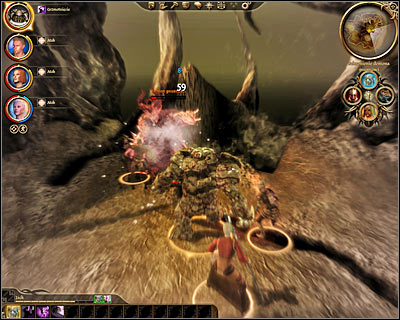
Make sure that you've rescued your allies and defeated five demons before you decide to take on a sloth demon. Use the pedestal and confirm that you want to travel to the [Inner sanctum] (M40, 1). Thankfully your opponent will give only a short speech this time and immediately after that the battle will start (M40, 2). Choosing the form to transform yourself into is not a crucial deal here, because all forms may come in handy. I was using a golem form for most of the battle, however you may also decide to use ghost's spells or burning man's fire attacks.
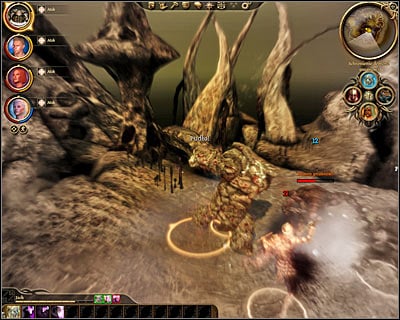
Ignore the initial health bar seen near the main boss, because each time he's lost enough health he'll regenerate and reappear in a different form. Keep attacking the demon and don't forget to heal your team members if they lose a lot of health. The boss will finally seize with the transformations and you'll defeat it. This quest will end with a conversation with Niall after which you'll return to the [Circle tower] (M34, 7) and resume Broken circle quest.
- Dragon Age: Origins Game Guide
- Dragon Age Origins: Game Guide
- Dragon Age Origins: Main quests
- Dragon Age Origins: Lothering and the Imperial Highway
- Dragon Age Origins: Arl of Redcliffe
- Dragon Age Origins: Broken circle
- Dragon Age Origins: Lost in dreams
- Dragon Age Origins: Nature of the beast
- Dragon Age Origins: Paragon of her kind
- Dragon Age Origins: Urn of the Sacred Ashes
- Dragon Age Origins: Gather an army
- Dragon Age Origins: Landsmeet
- Dragon Age Origins: The final battle
- Dragon Age Origins: Main quests
- Dragon Age Origins: Game Guide
You are not permitted to copy any image, text or info from this page. This site is not associated with and/or endorsed by the developers and the publishers. All logos and images are copyrighted by their respective owners.
Copyright © 2000 - 2026 Webedia Polska SA for gamepressure.com, unofficial game guides, walkthroughs, secrets, game tips, maps & strategies for top games.
